How to's
How to design a great science poster in PowerPoint
On this page I'll explain how to use PowerPoint to get a great science poster design. Good to mention beforehand: this is a tutorial about using PowerPoint for your design. If you want to learn how to create a concept/idea for a science poster or visual, you can find this knowhow in the Science Poster Design Guide. After that, you can for example use a tool such as PowerPoint to create the final design.
1. Create a poster file
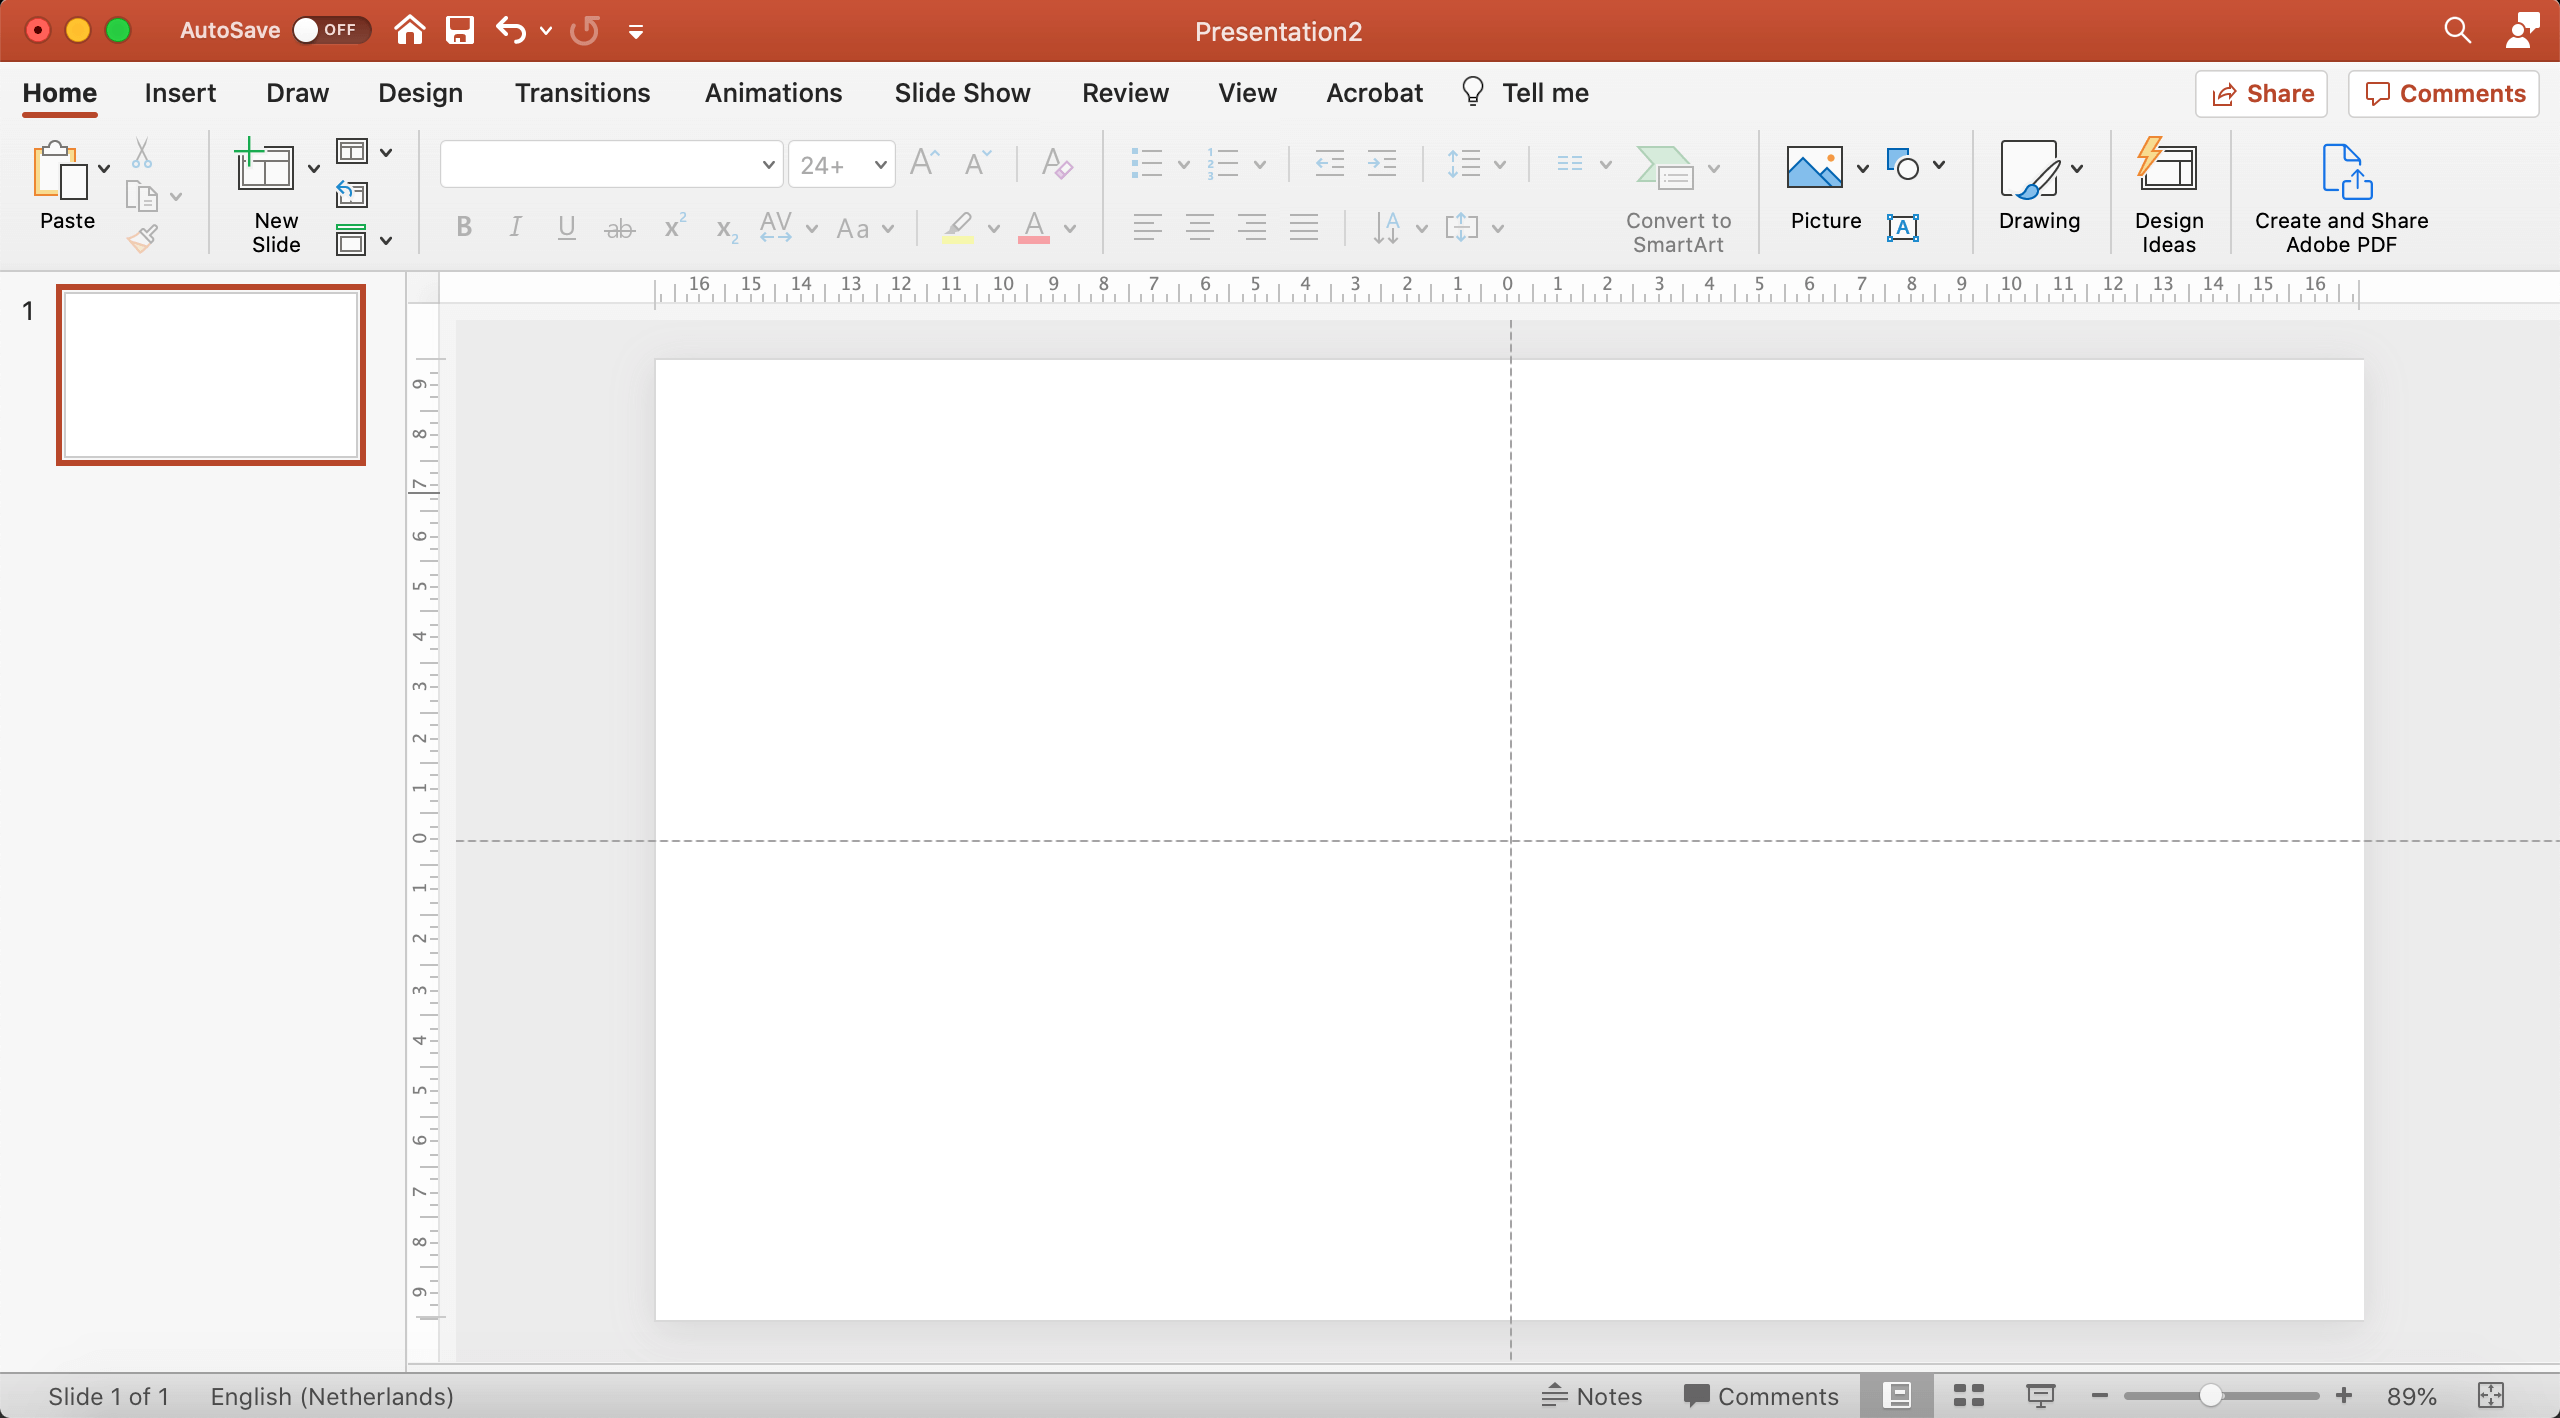
- Open PowerPoint. In the top bar go to File > New Presentation.
- A new file opens. Delete all the content boxes on the blank page.
- Save your file as a regular PowerPoint file.
2. Resize to A0: 841 x 1189 mm
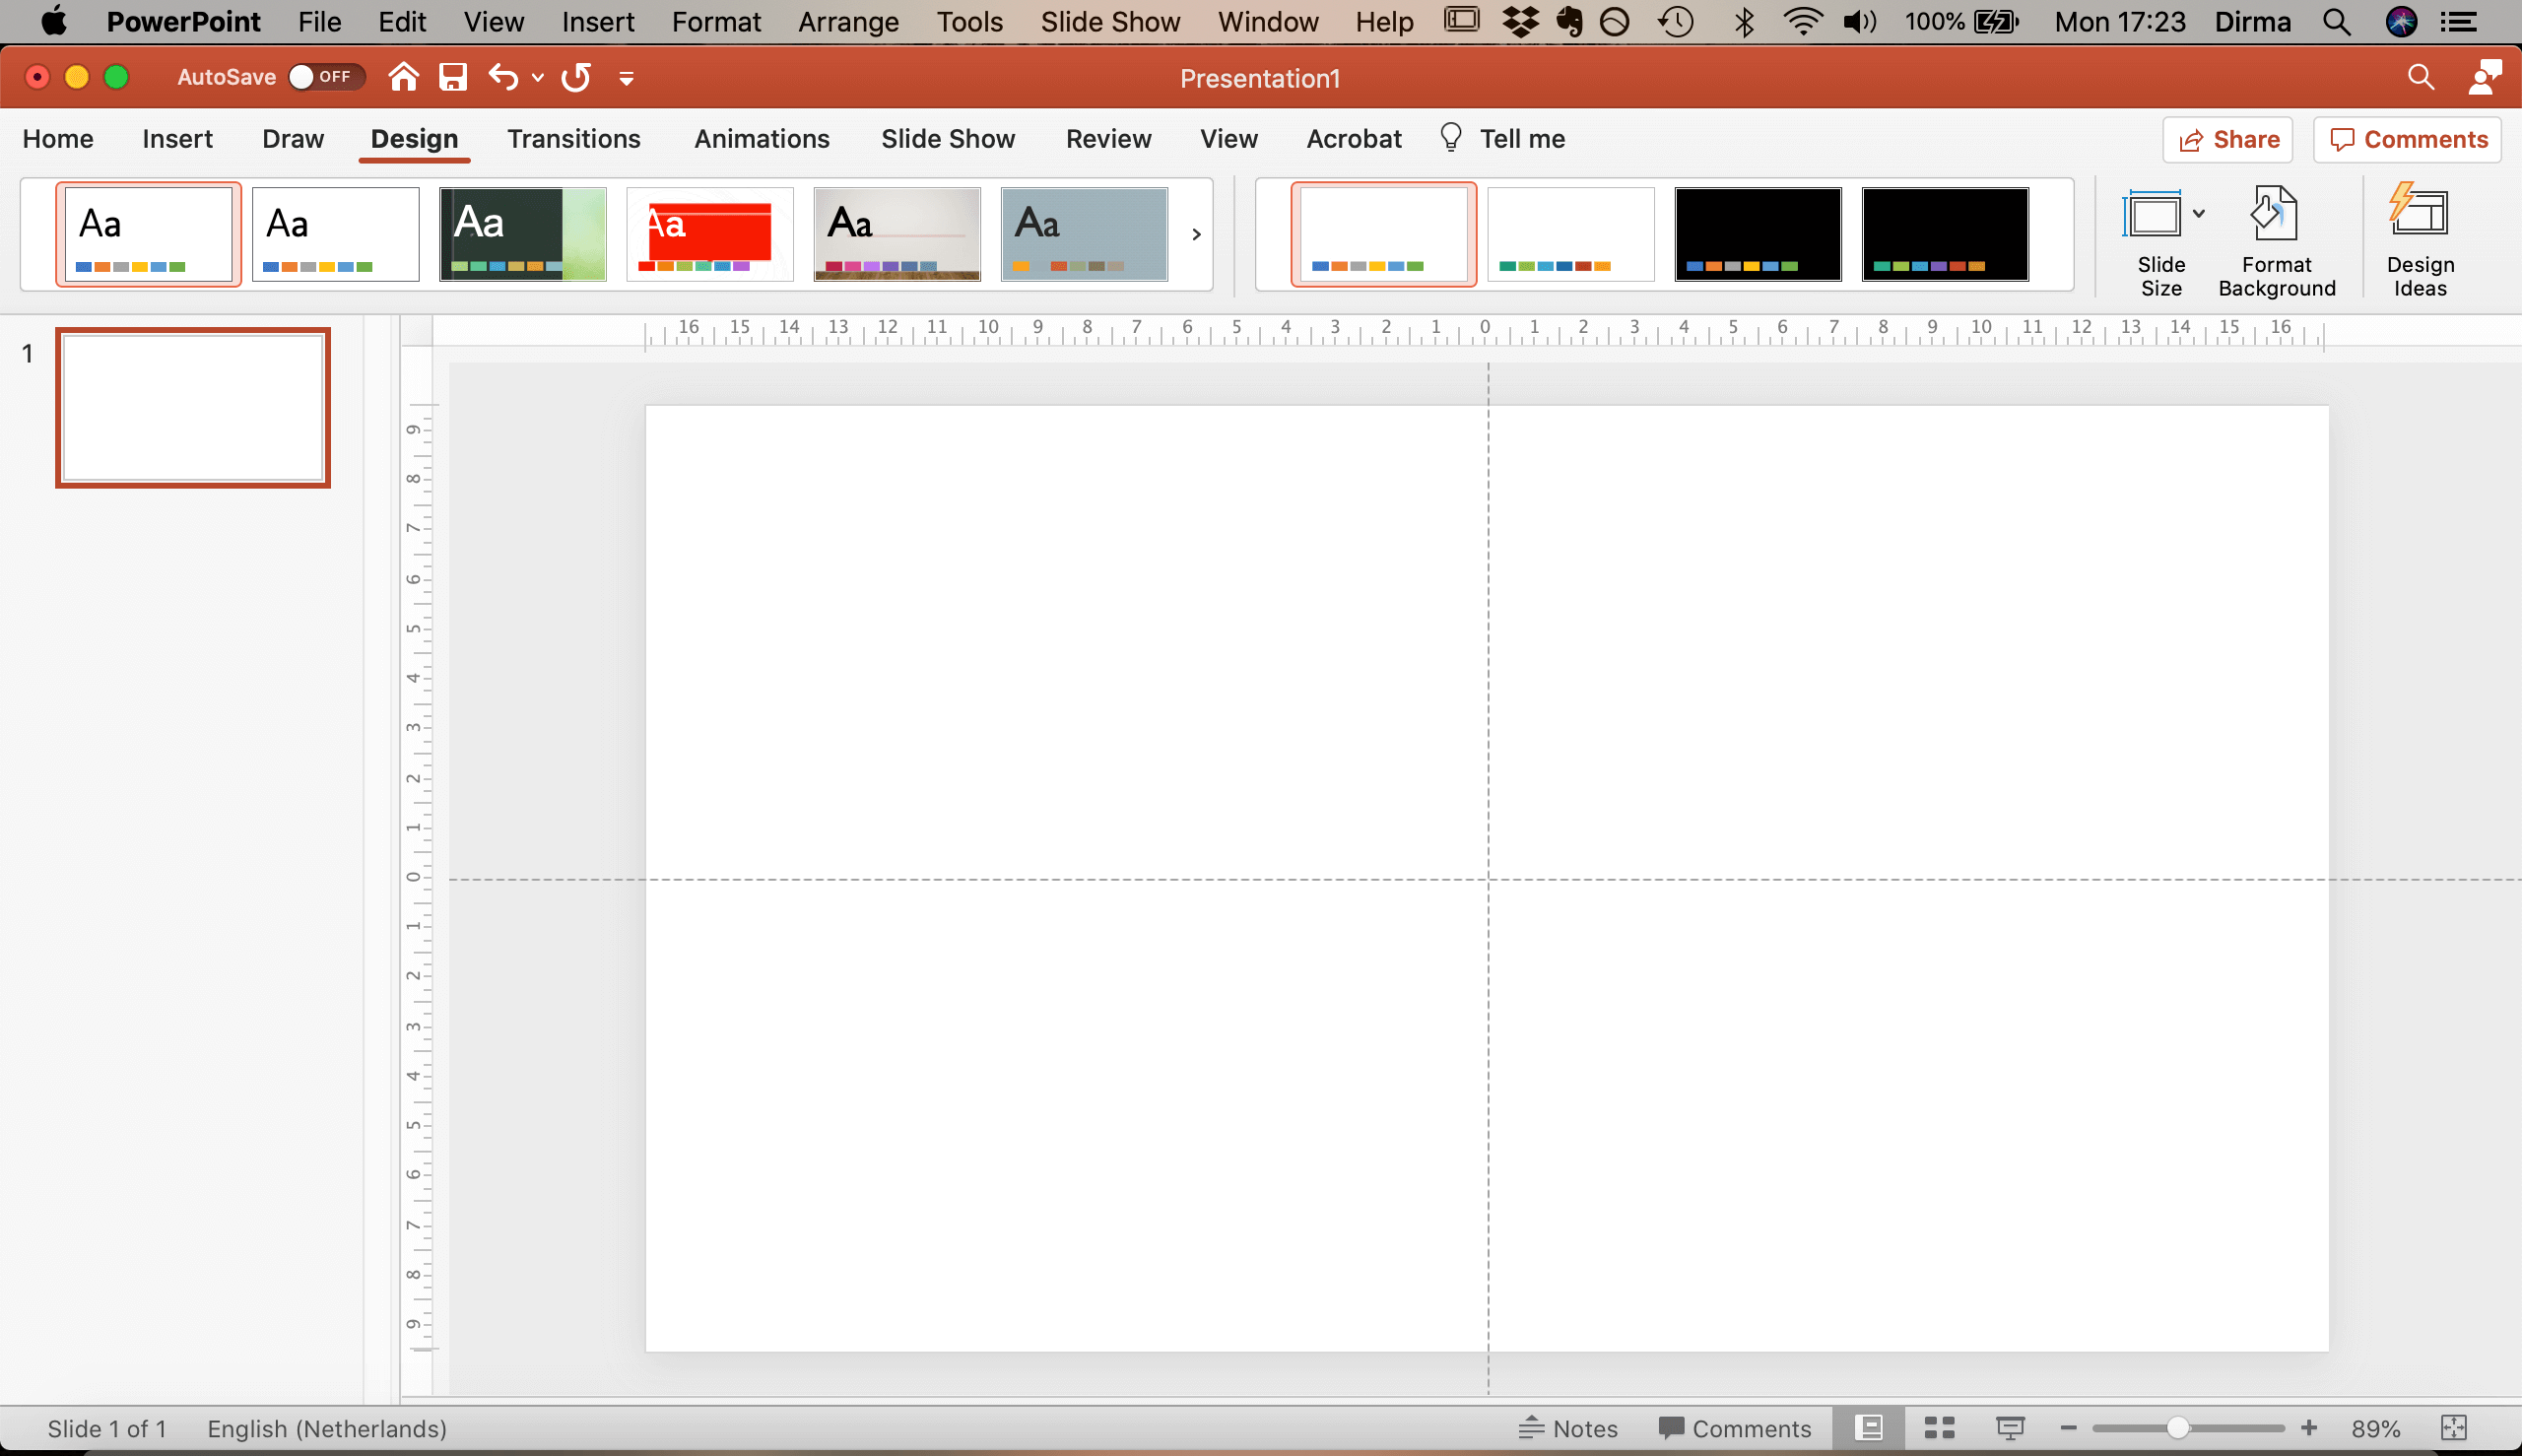
- Go to top bar 2 (the one with ‘Home, Insert, Draw’) > Design.
- Select Slide Size (image 1).
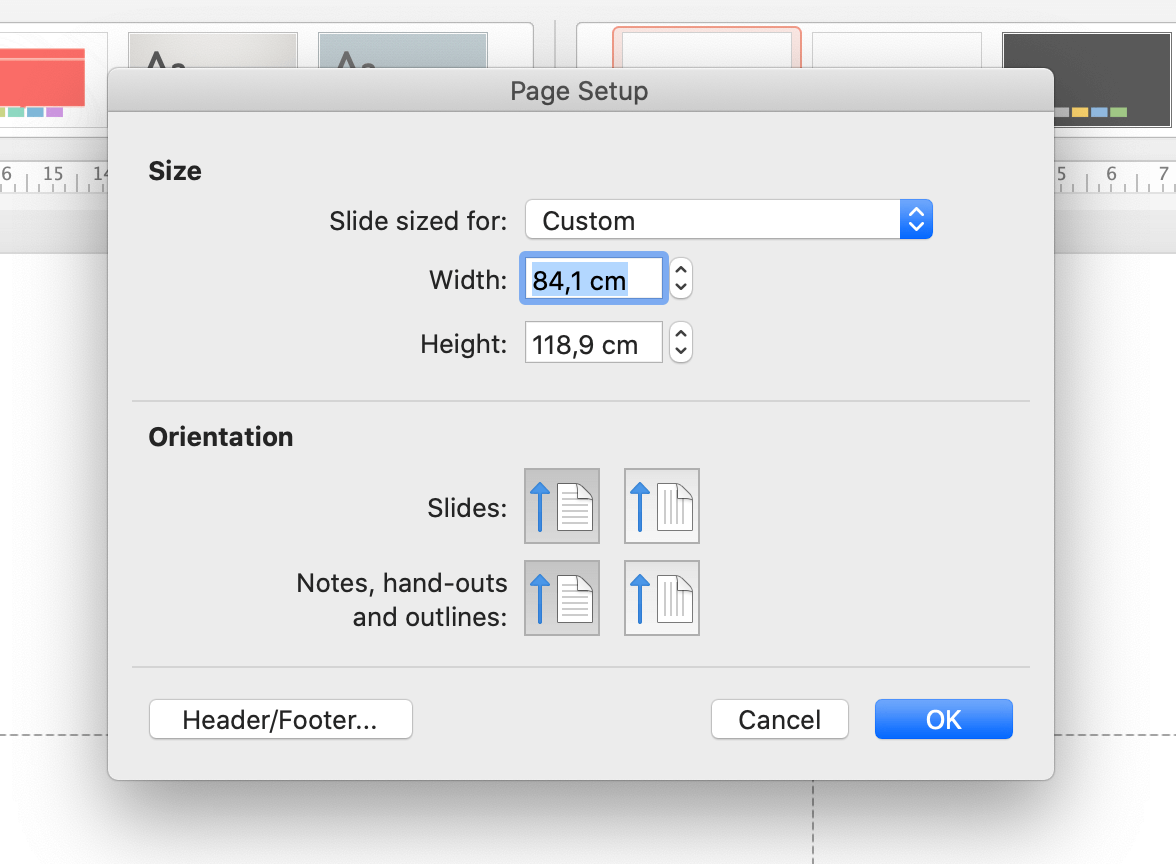
- Click Page Setup > Fill in: Width - 841 mm, Height: 1189 mm (image 2). Click OK.
3. Add your colour palette
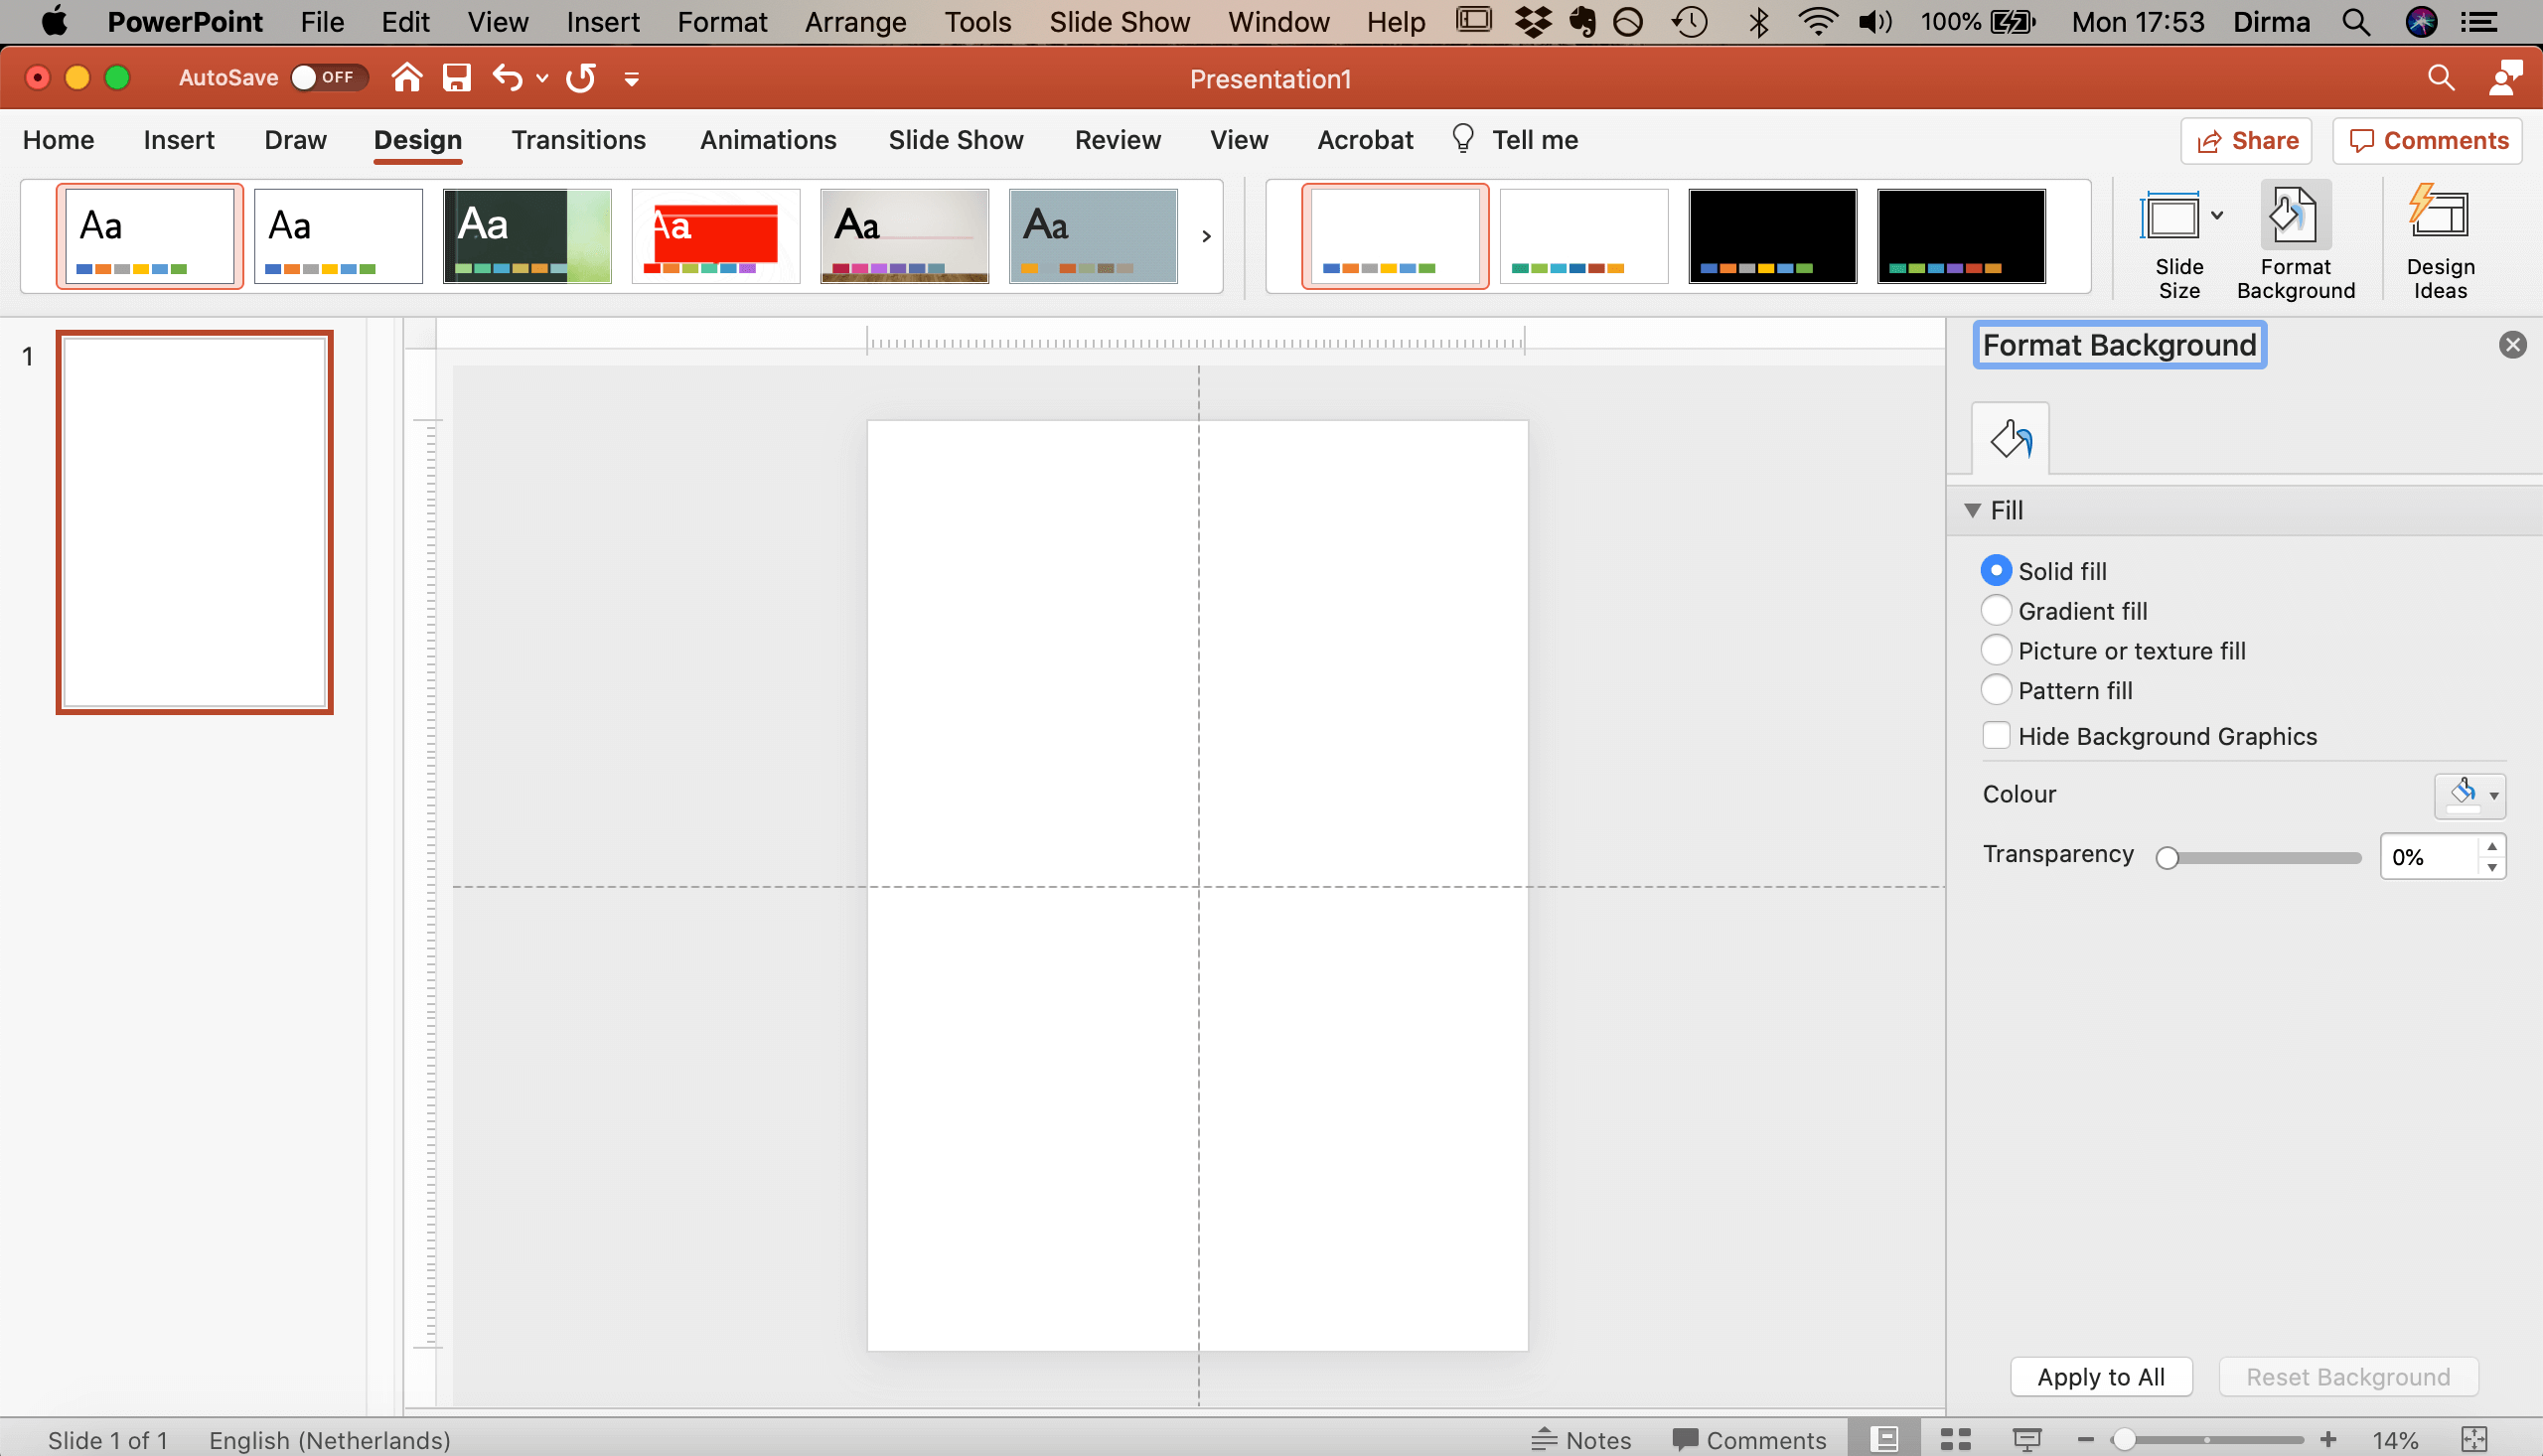
- Go to top bar 2 > Design.
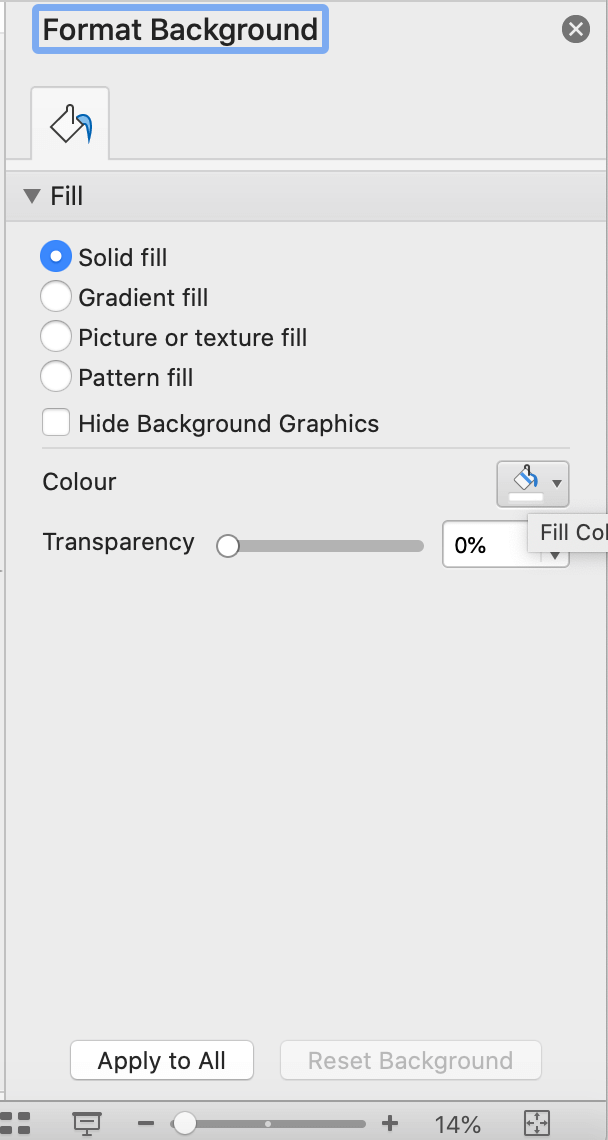
- Go to Format Background (image 1).
- At Fill, select Solid fill (image 2).
- Click the icon next to Colour (in the Format Background menu).
- From the popup menu select 'More Colours'.
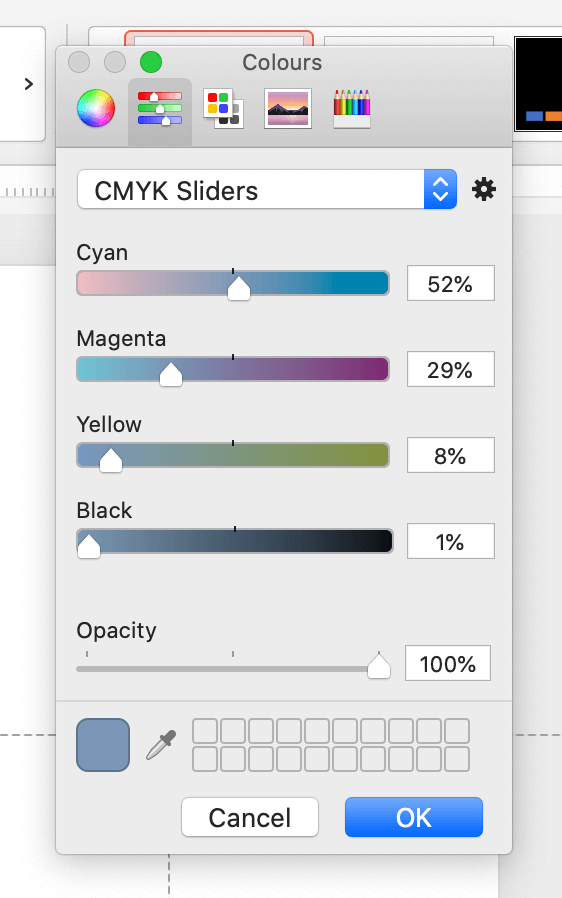
- From the new popup menu, select 'CMYK' Sliders in the dropdown box (image 3).
- Fill in the CMYK values of colour 1 of your colour palette. If you have a colour palette from for example coolors.co, they provide you with the CMYK values of each colour. If you don’t have the CMYK colours, you can get them through various tools, such as color-hex.com.
- Drag the colour in the left bottom corner to the empty colour rectangles (image 4). Repeat step 8 and 9 for all your colour palette colours.
4. Background colour (optional)

- If you want to give your background a colour, go to top bar 2 > Design > Format Background.
- At 'Fill' select 'Solid fill' (image 1).
- Click on the icon next to 'Colour'.
- In the popup window, select 'More Colours...'.
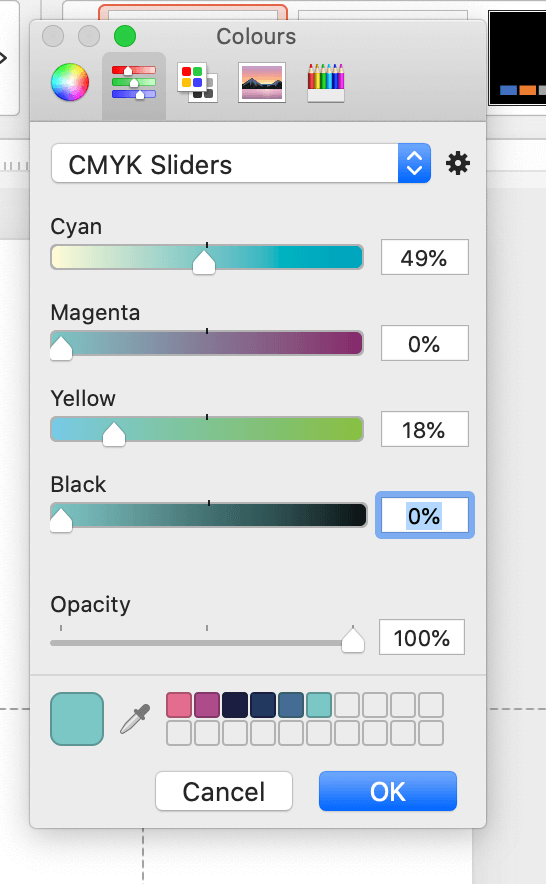
- In the new popup window, you see your colour palette, or you can select another (suitable) colour in the CMYK sliders (image 2).
- Select your colour and click 'OK'.
5. Add background shapes (optional)
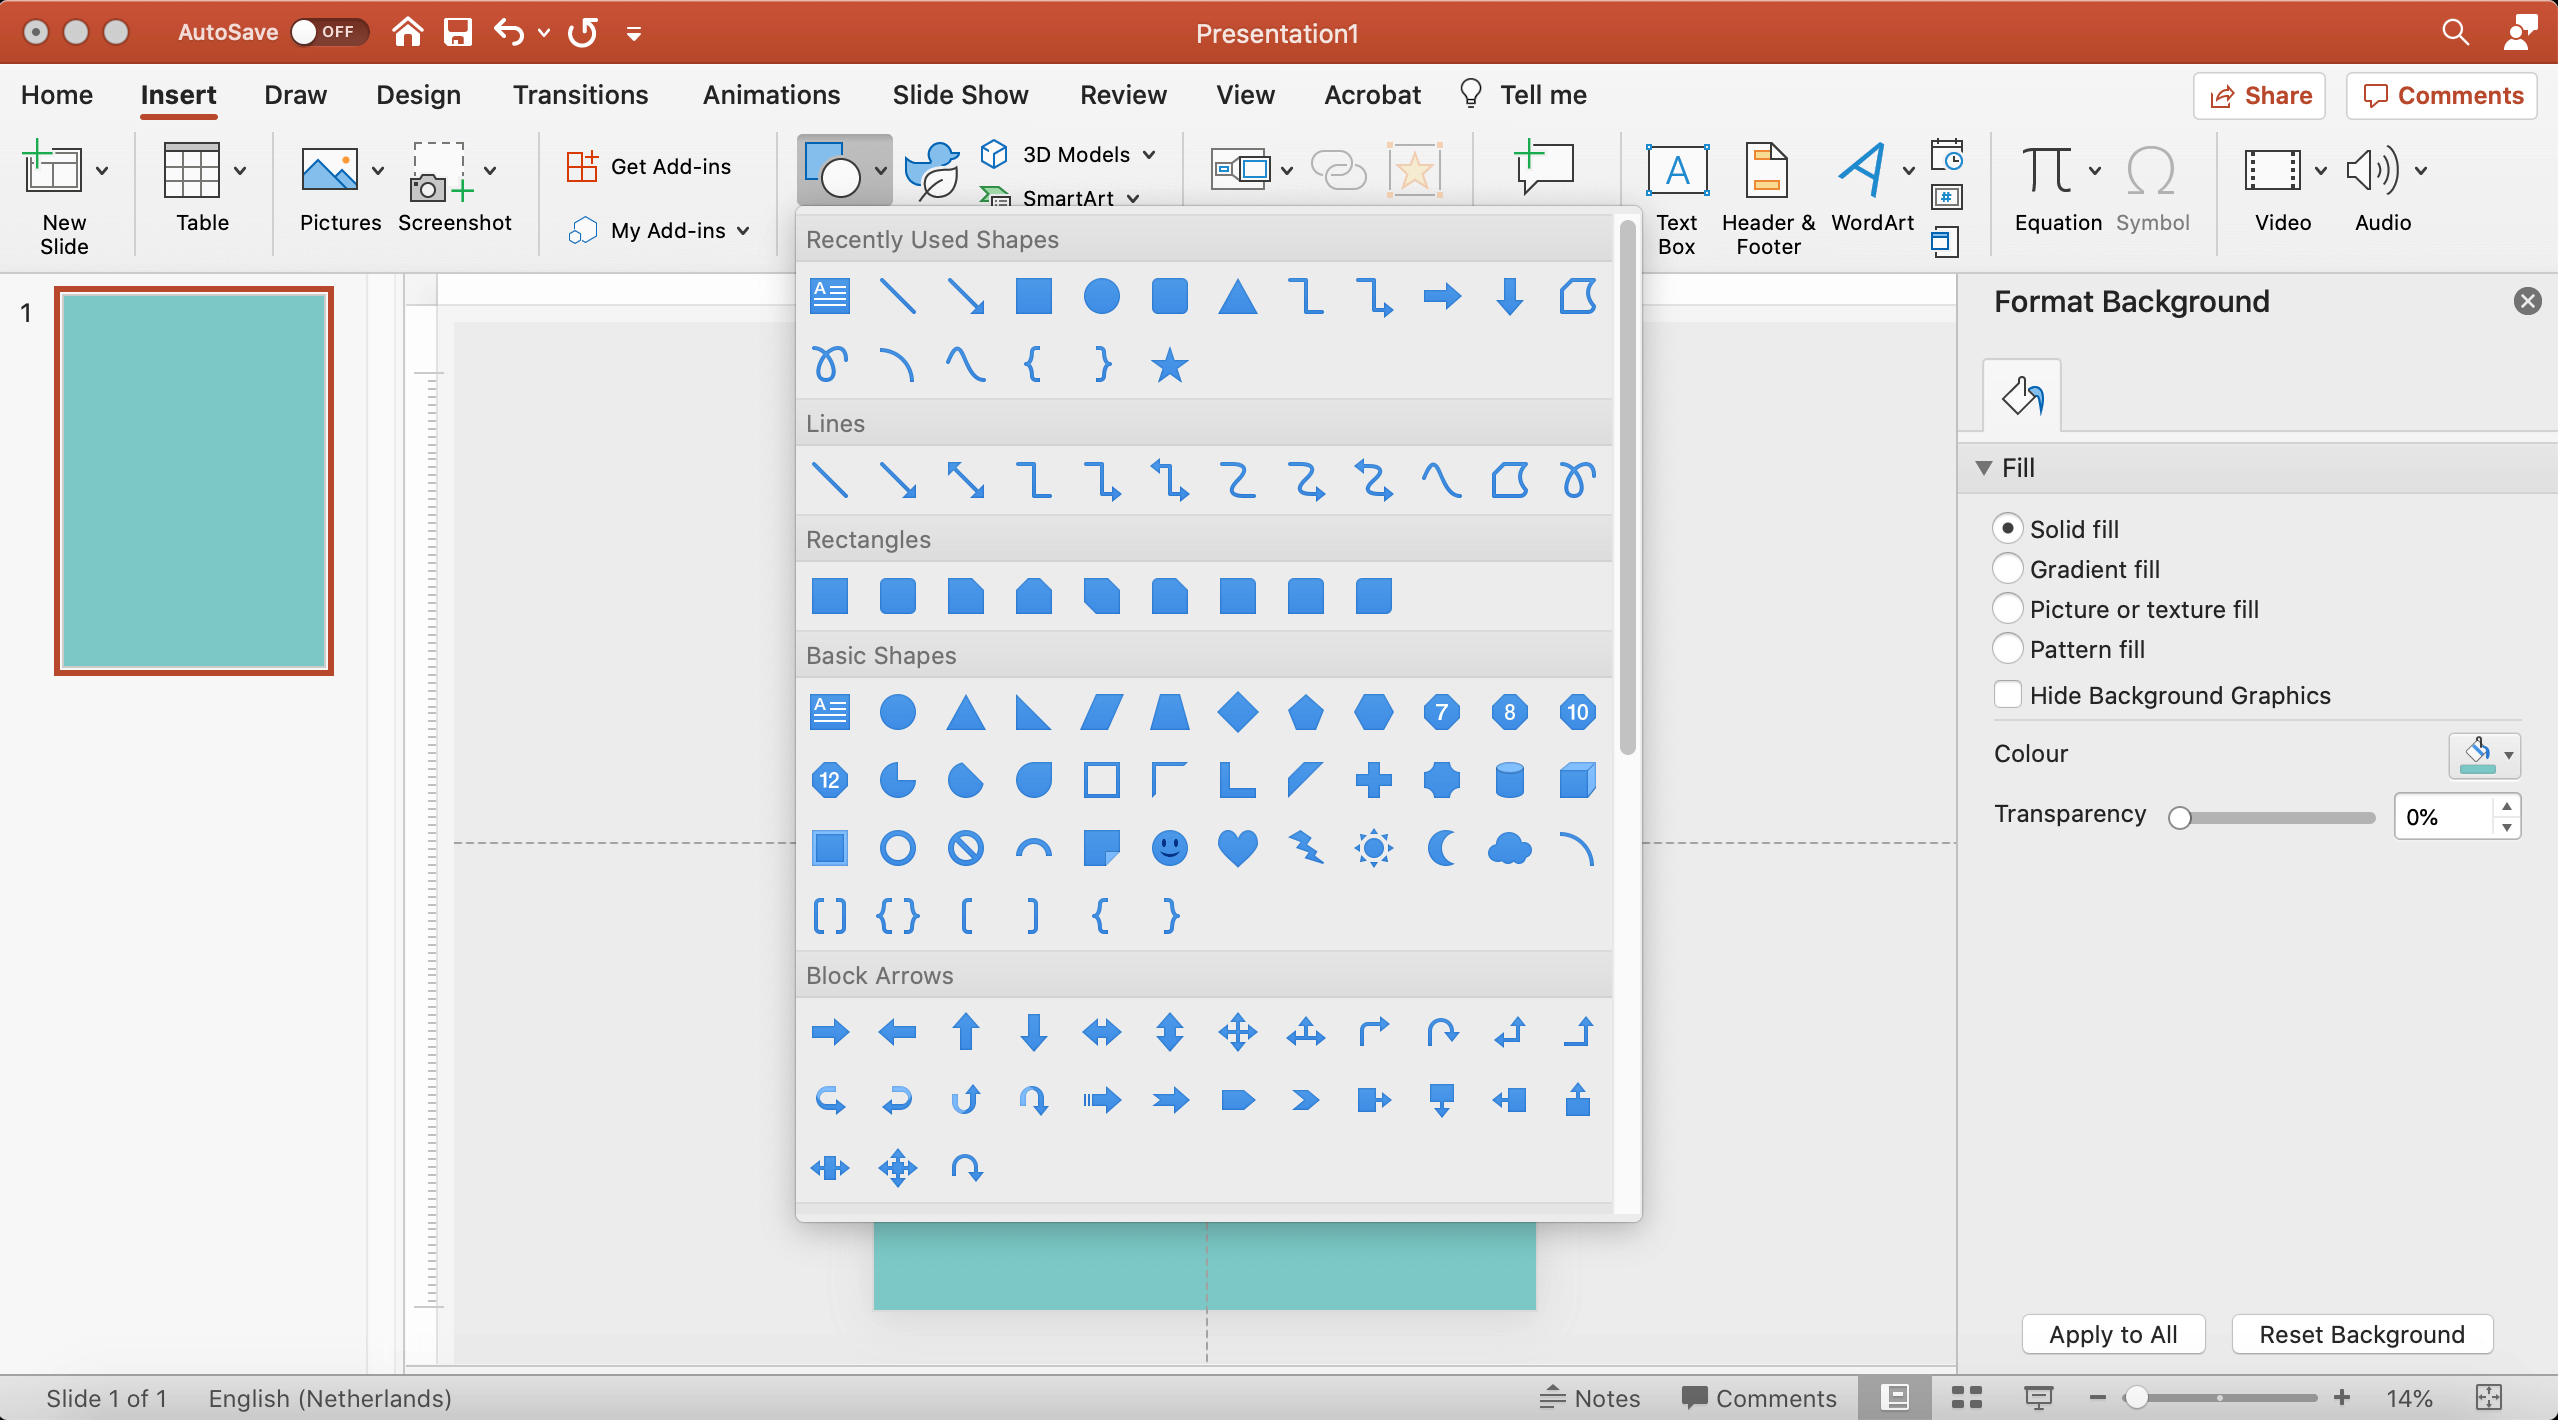
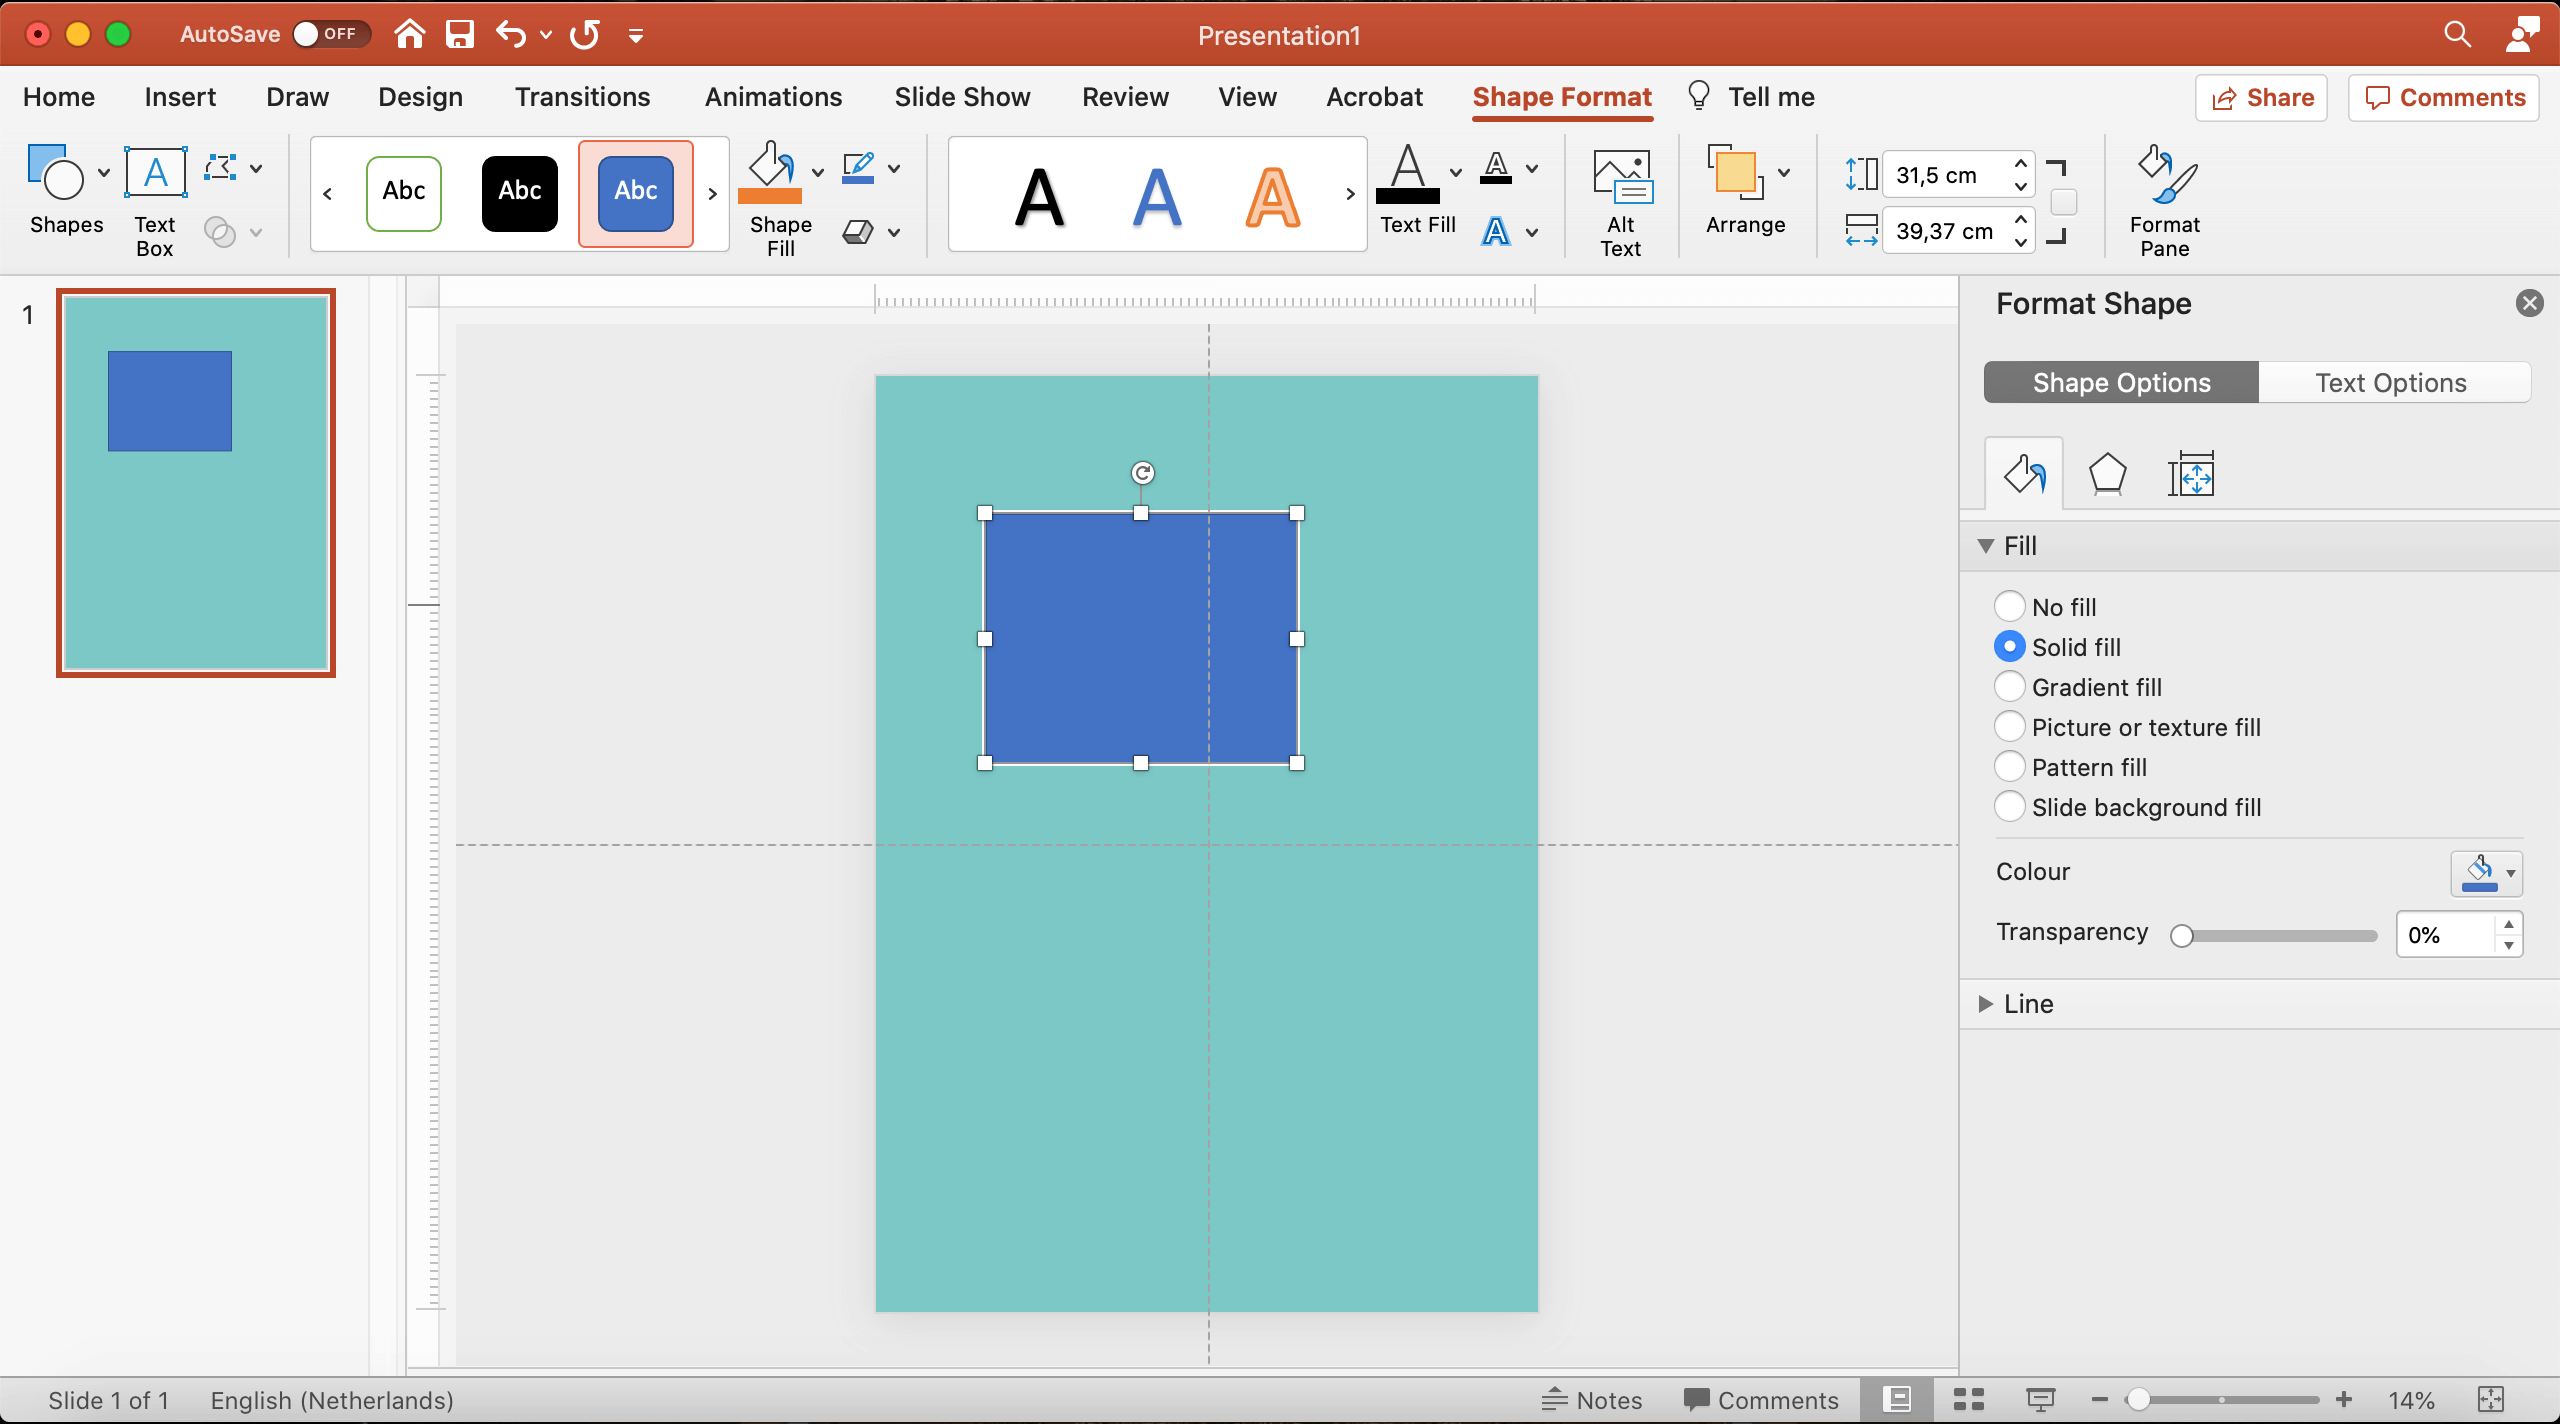
- If you also use shapes as a background (such as a top bar or a rectangle with text in it), go to top bar 2 > Insert.
- Click the Shapes icon.
- Select your shape from the popup menu.
- In the poster draw the shape (by clicking on the poster and dragging).
- Give the shape the right size (by scaling with your mouse).
- Give it the right color:
- Select the shape
- Go to top bar 2 > Shape Format
- Go to the Shape Fill icon and click on the dropdown button next to it.
- Select the colour.
- If you want to change the border colour (or don’t want to show a border), go to the icon next to Shape Fill, called Shape Outline.
- Click on the dropdown button next to it.
- Select No Outline or a colour.
- If you want to adjust the form of the shape:
- Select the shape.
- Go to top bar 2 > Shape Format.
- Go to the Edit Shape icon and click on it. Select Edit Points.
- Select the shape
6. Add your texts
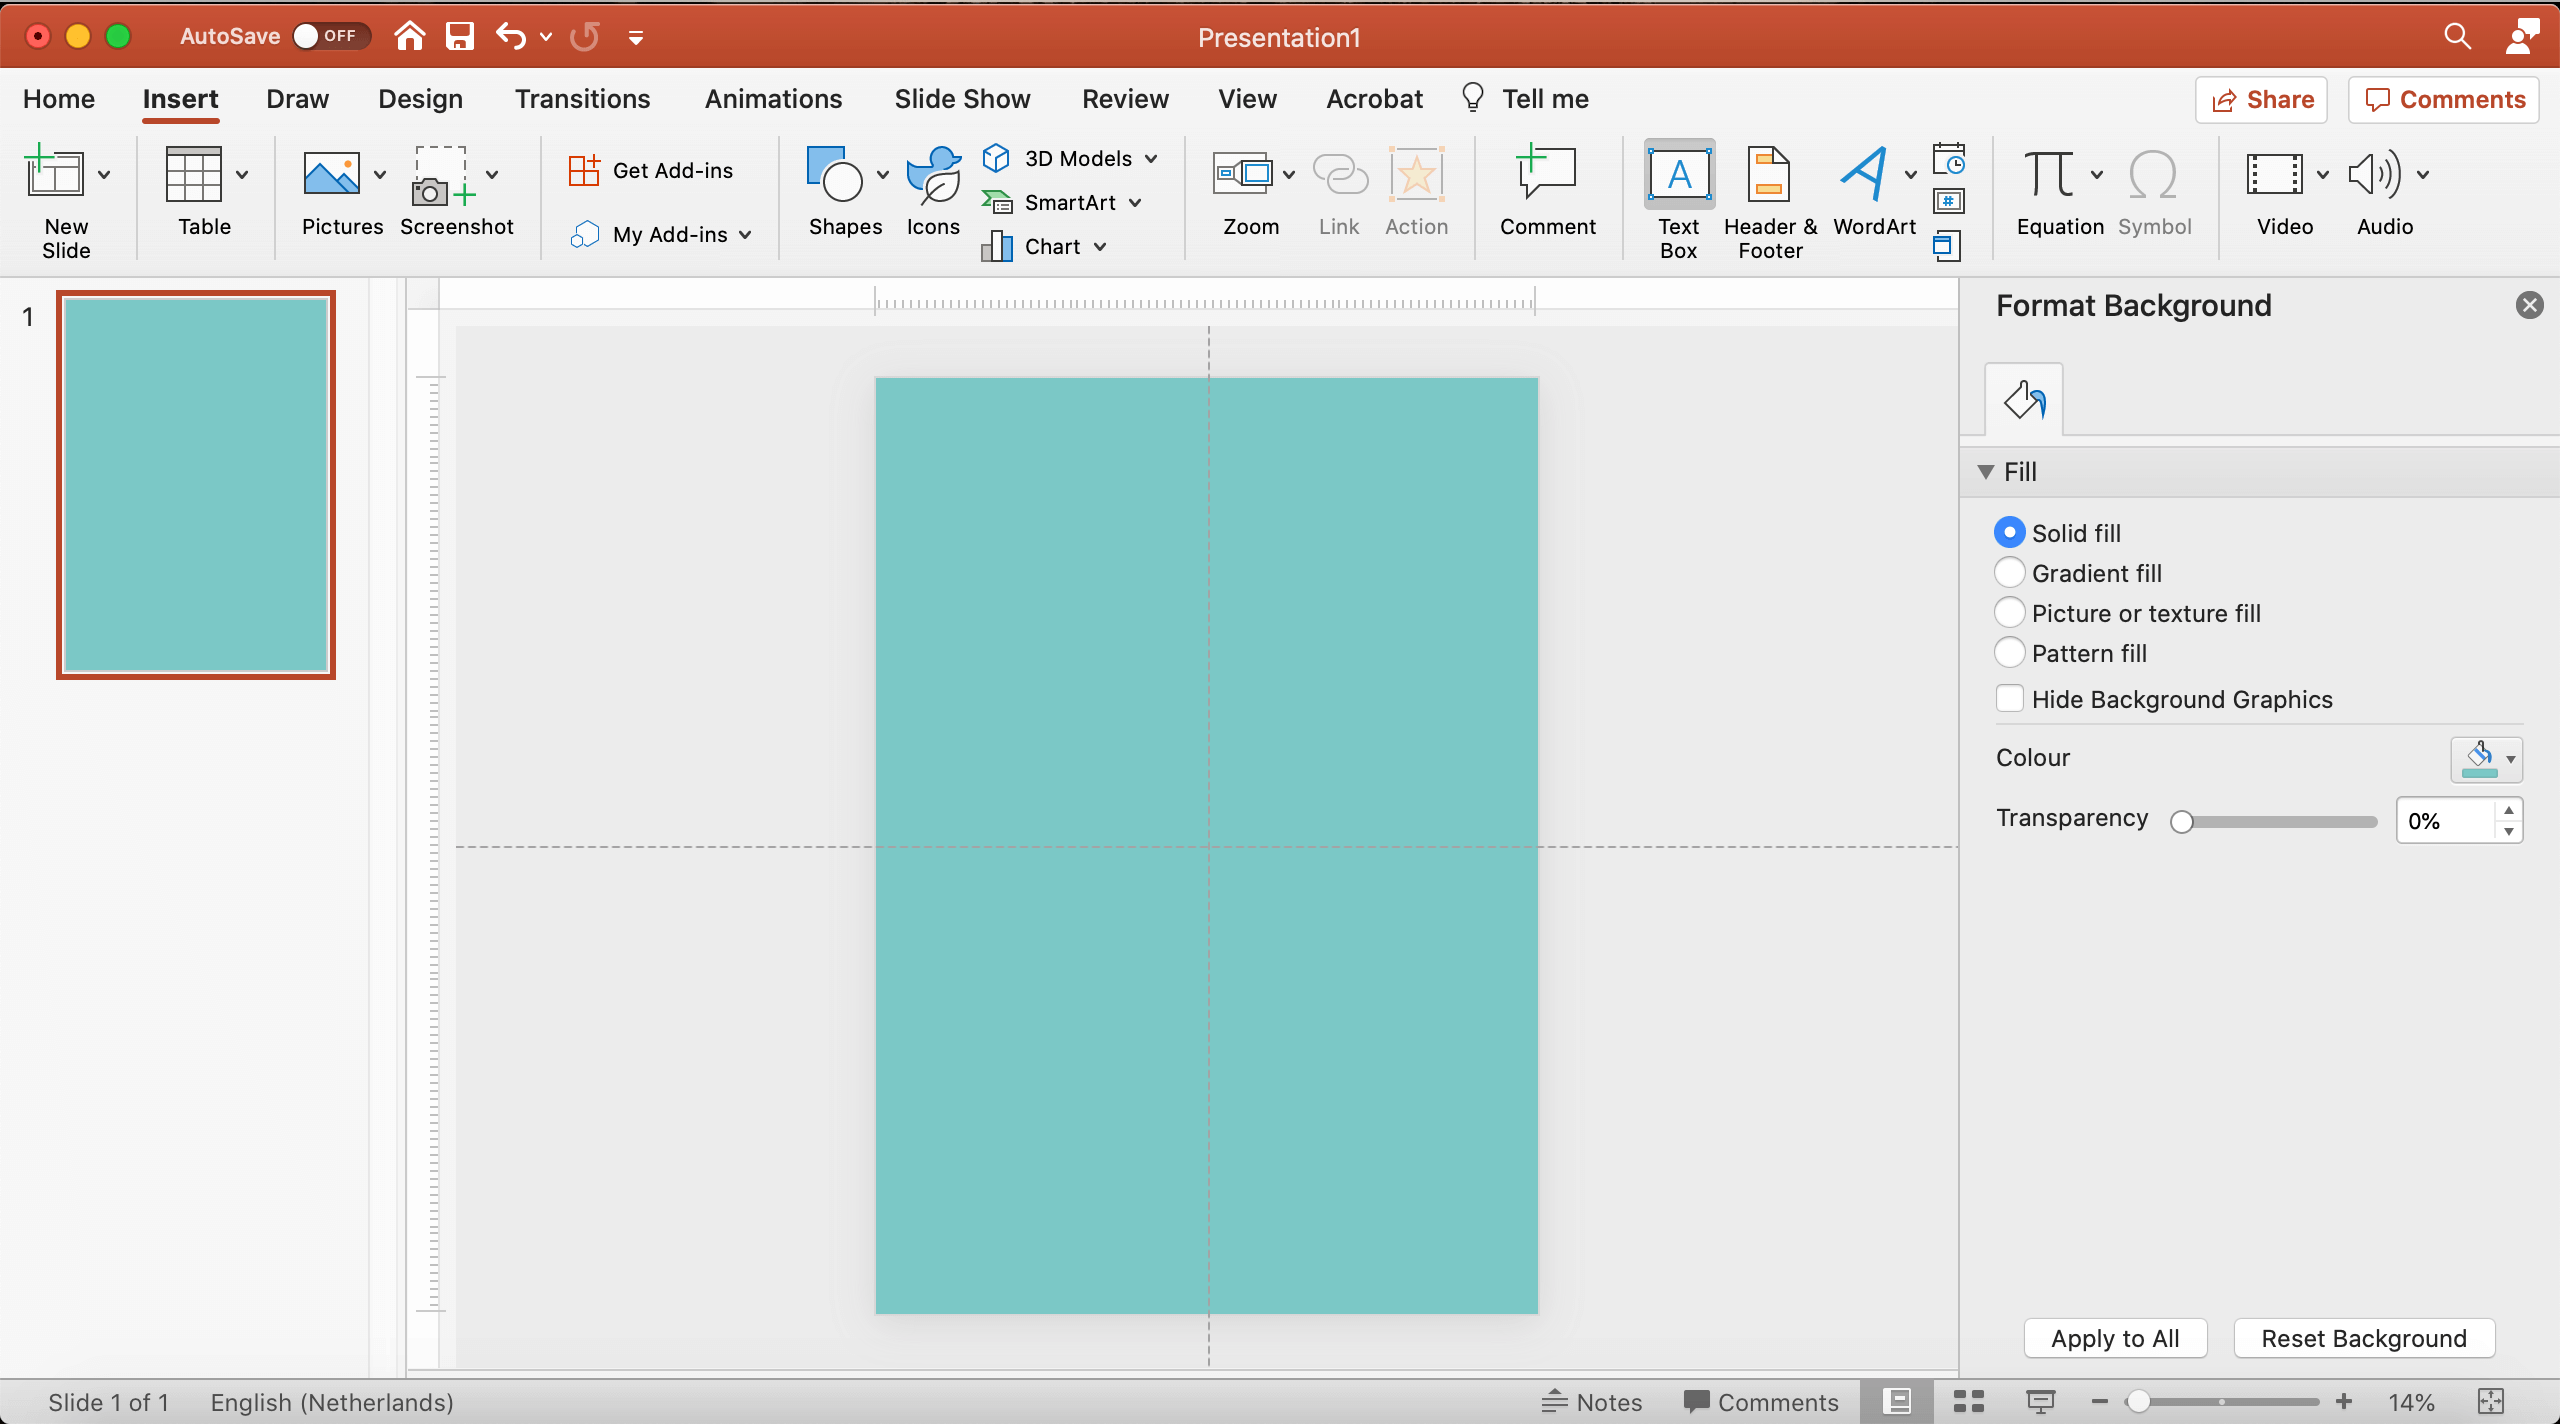
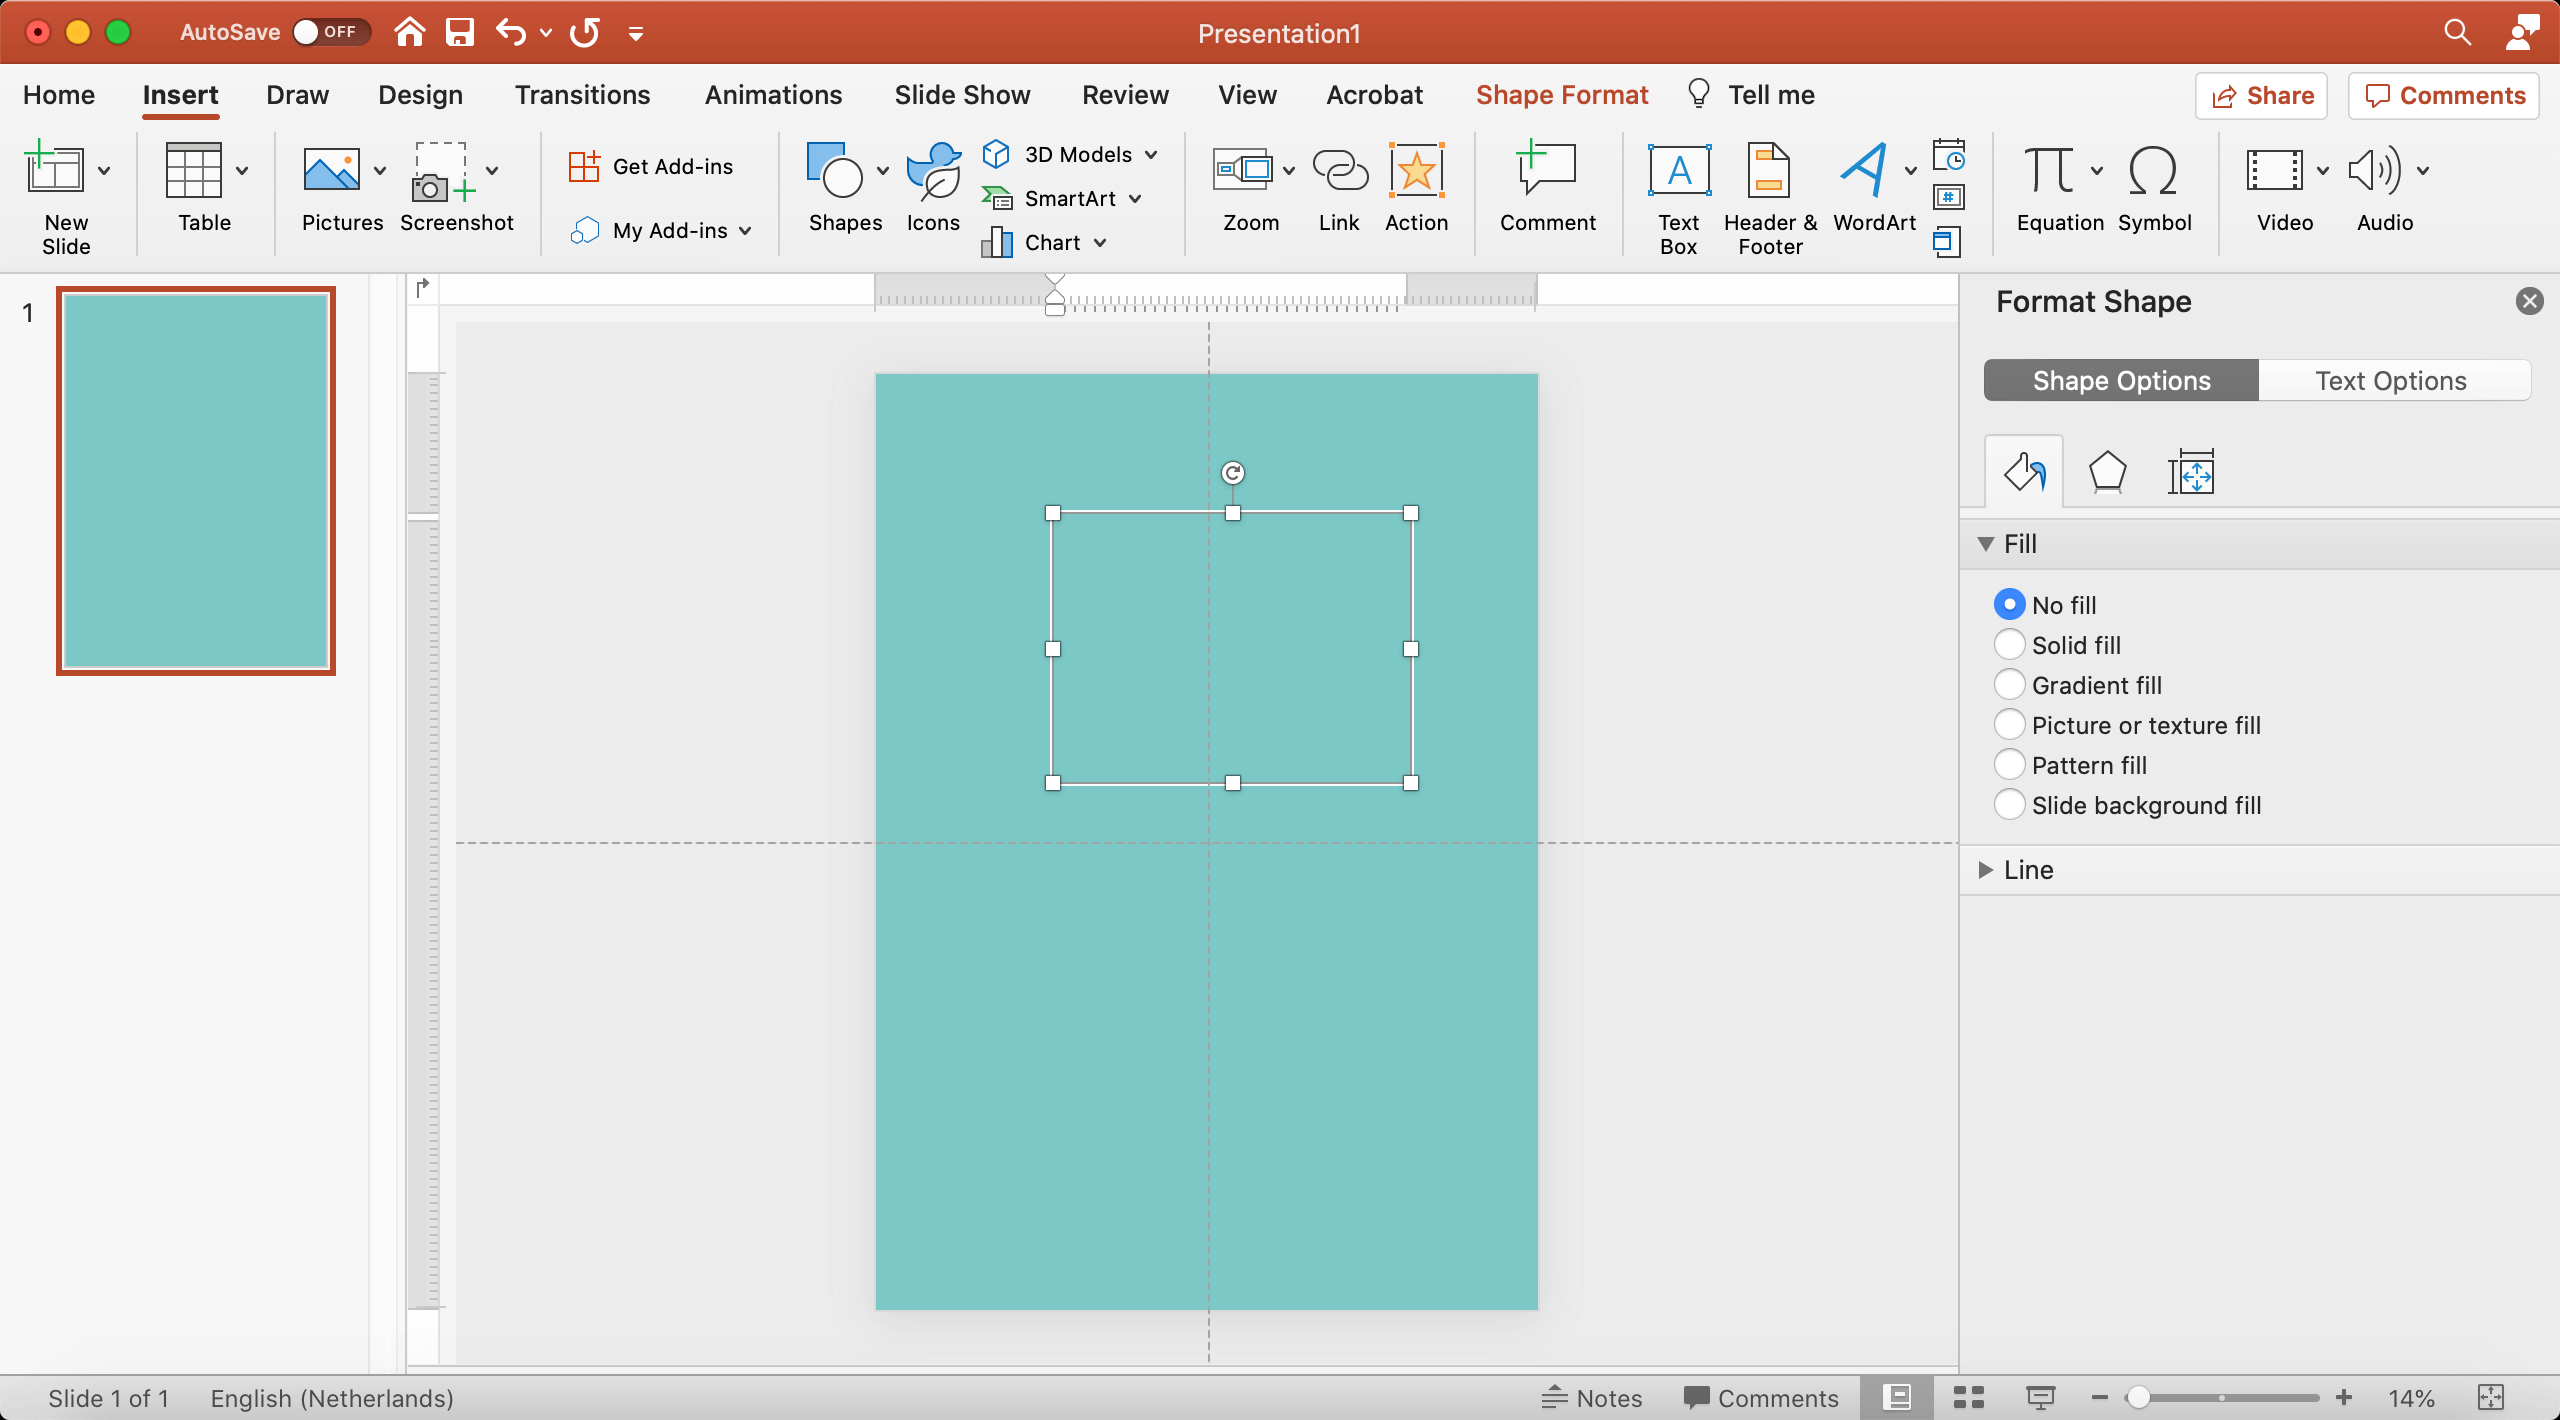
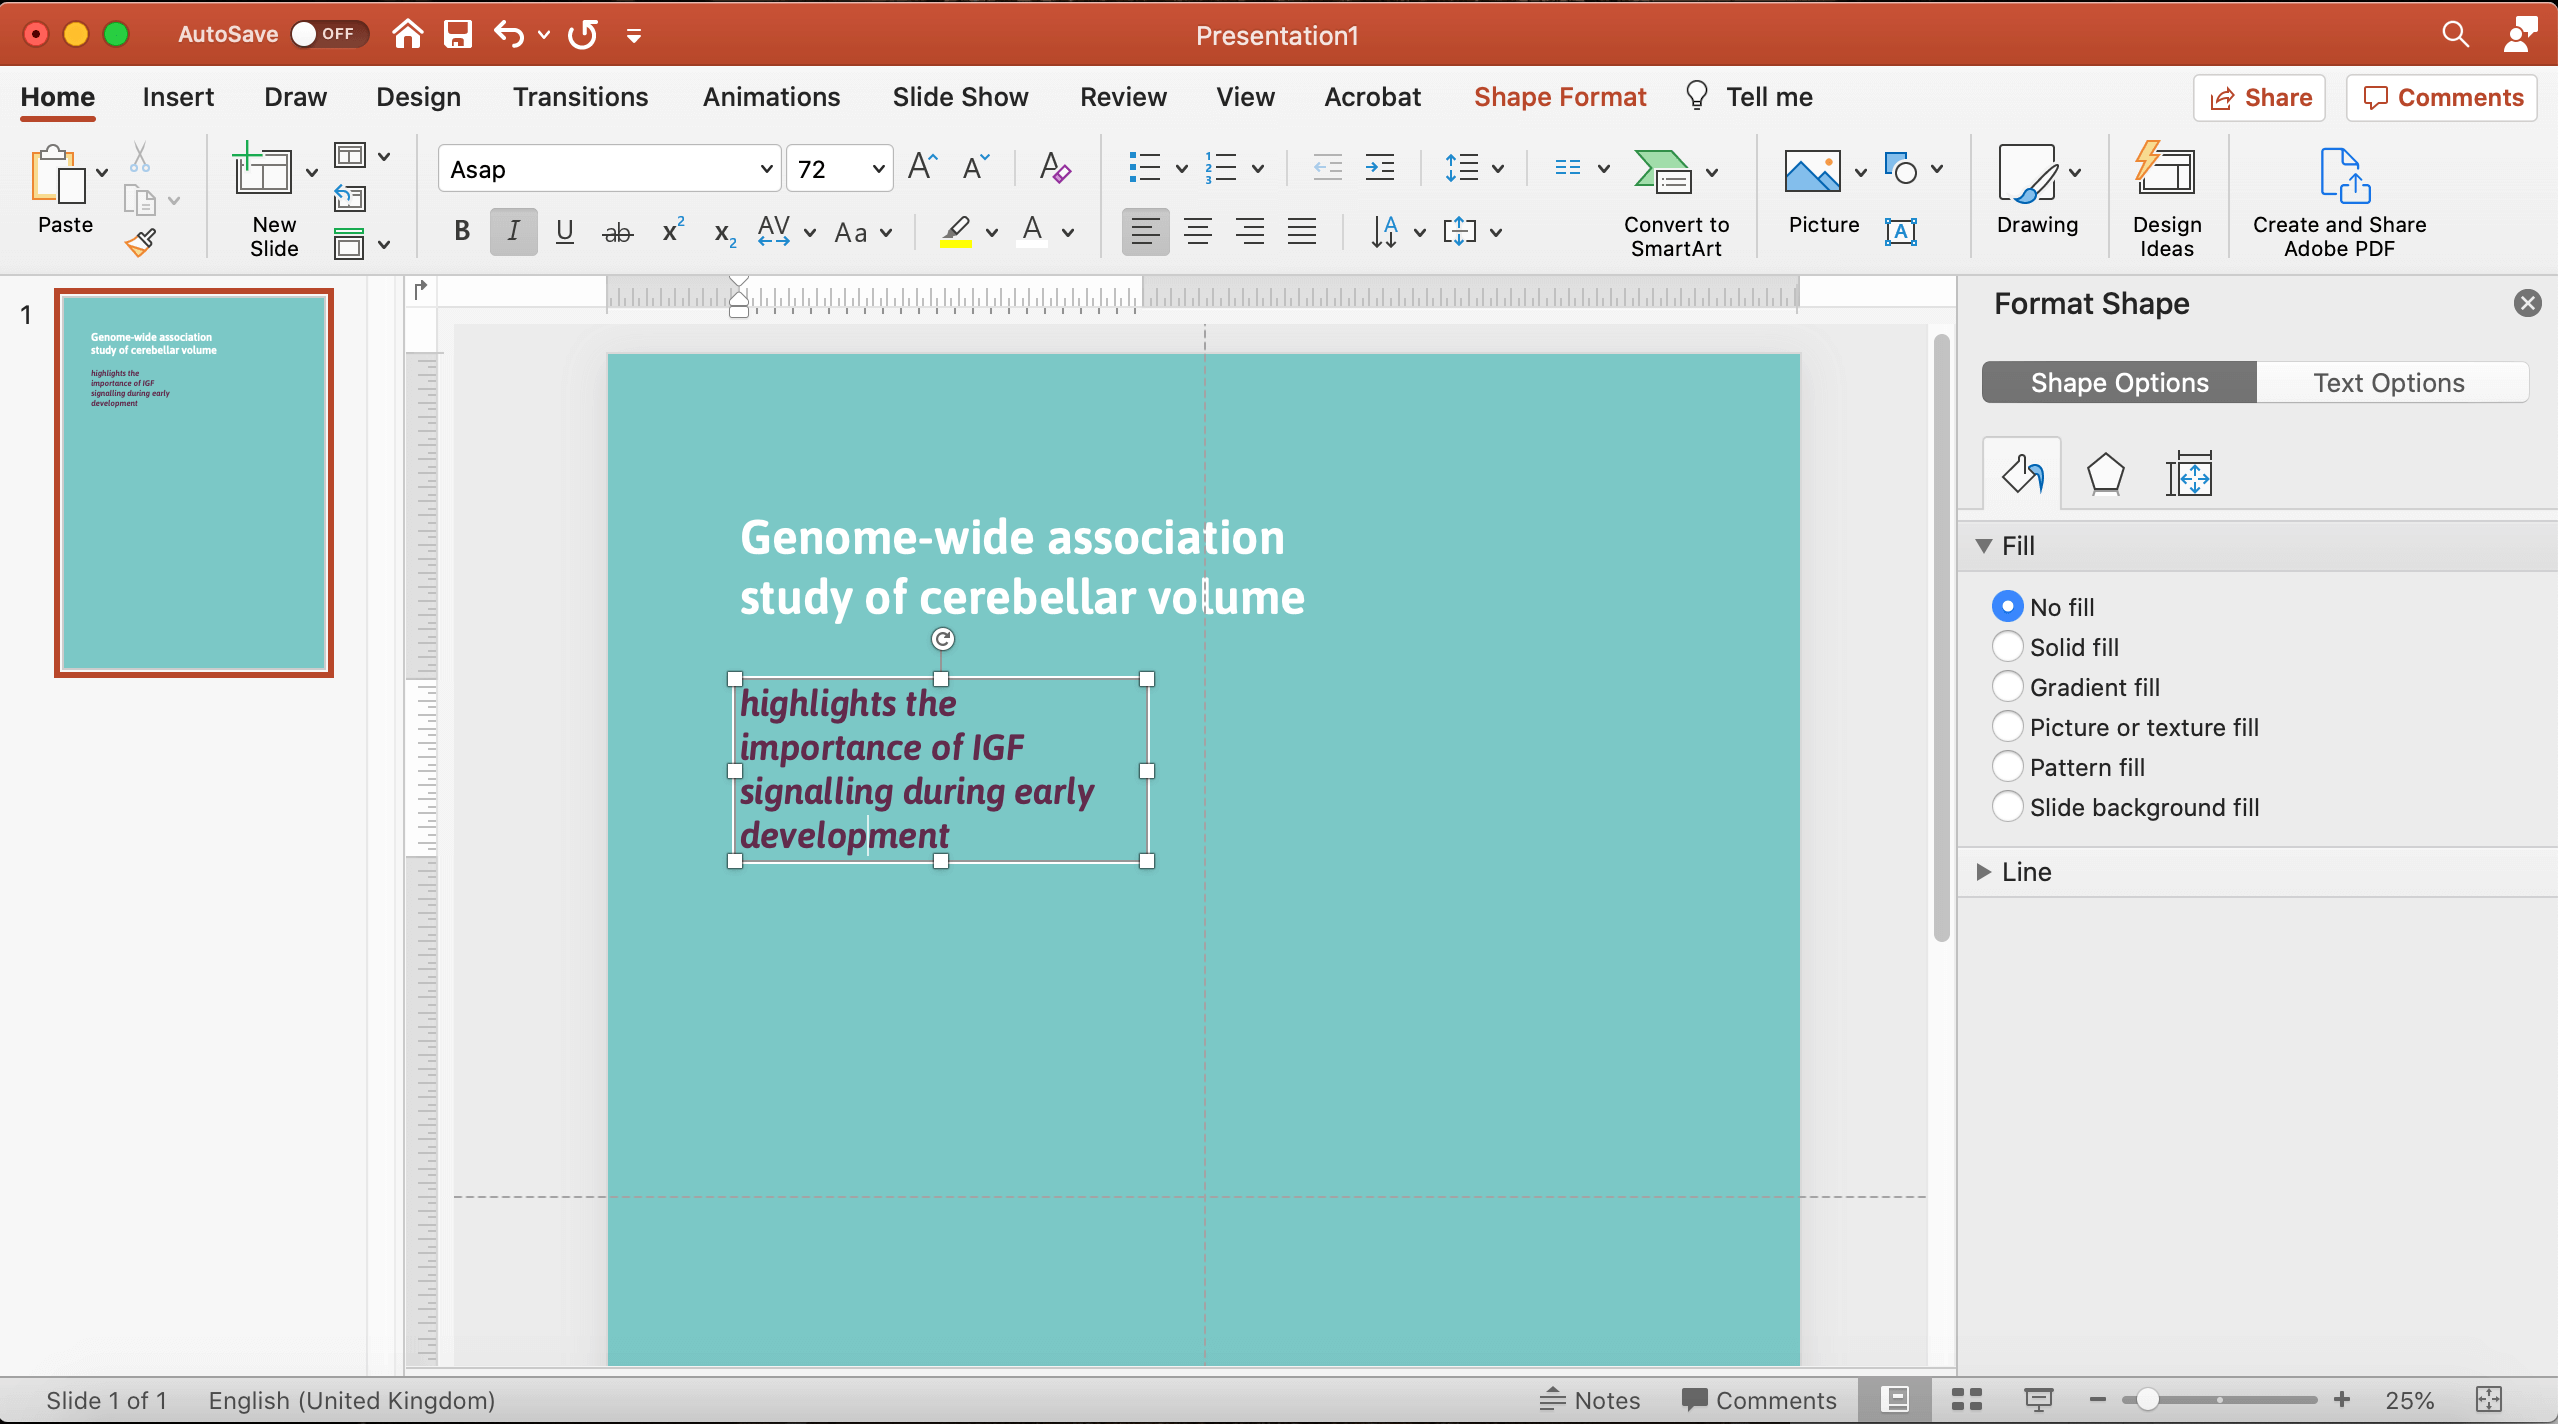
- Go to the top bar, select Insert > Text Box (image 1).
- Place the text box on the right place in the poster (image 2).
- Write or copy and paste your own text in it.
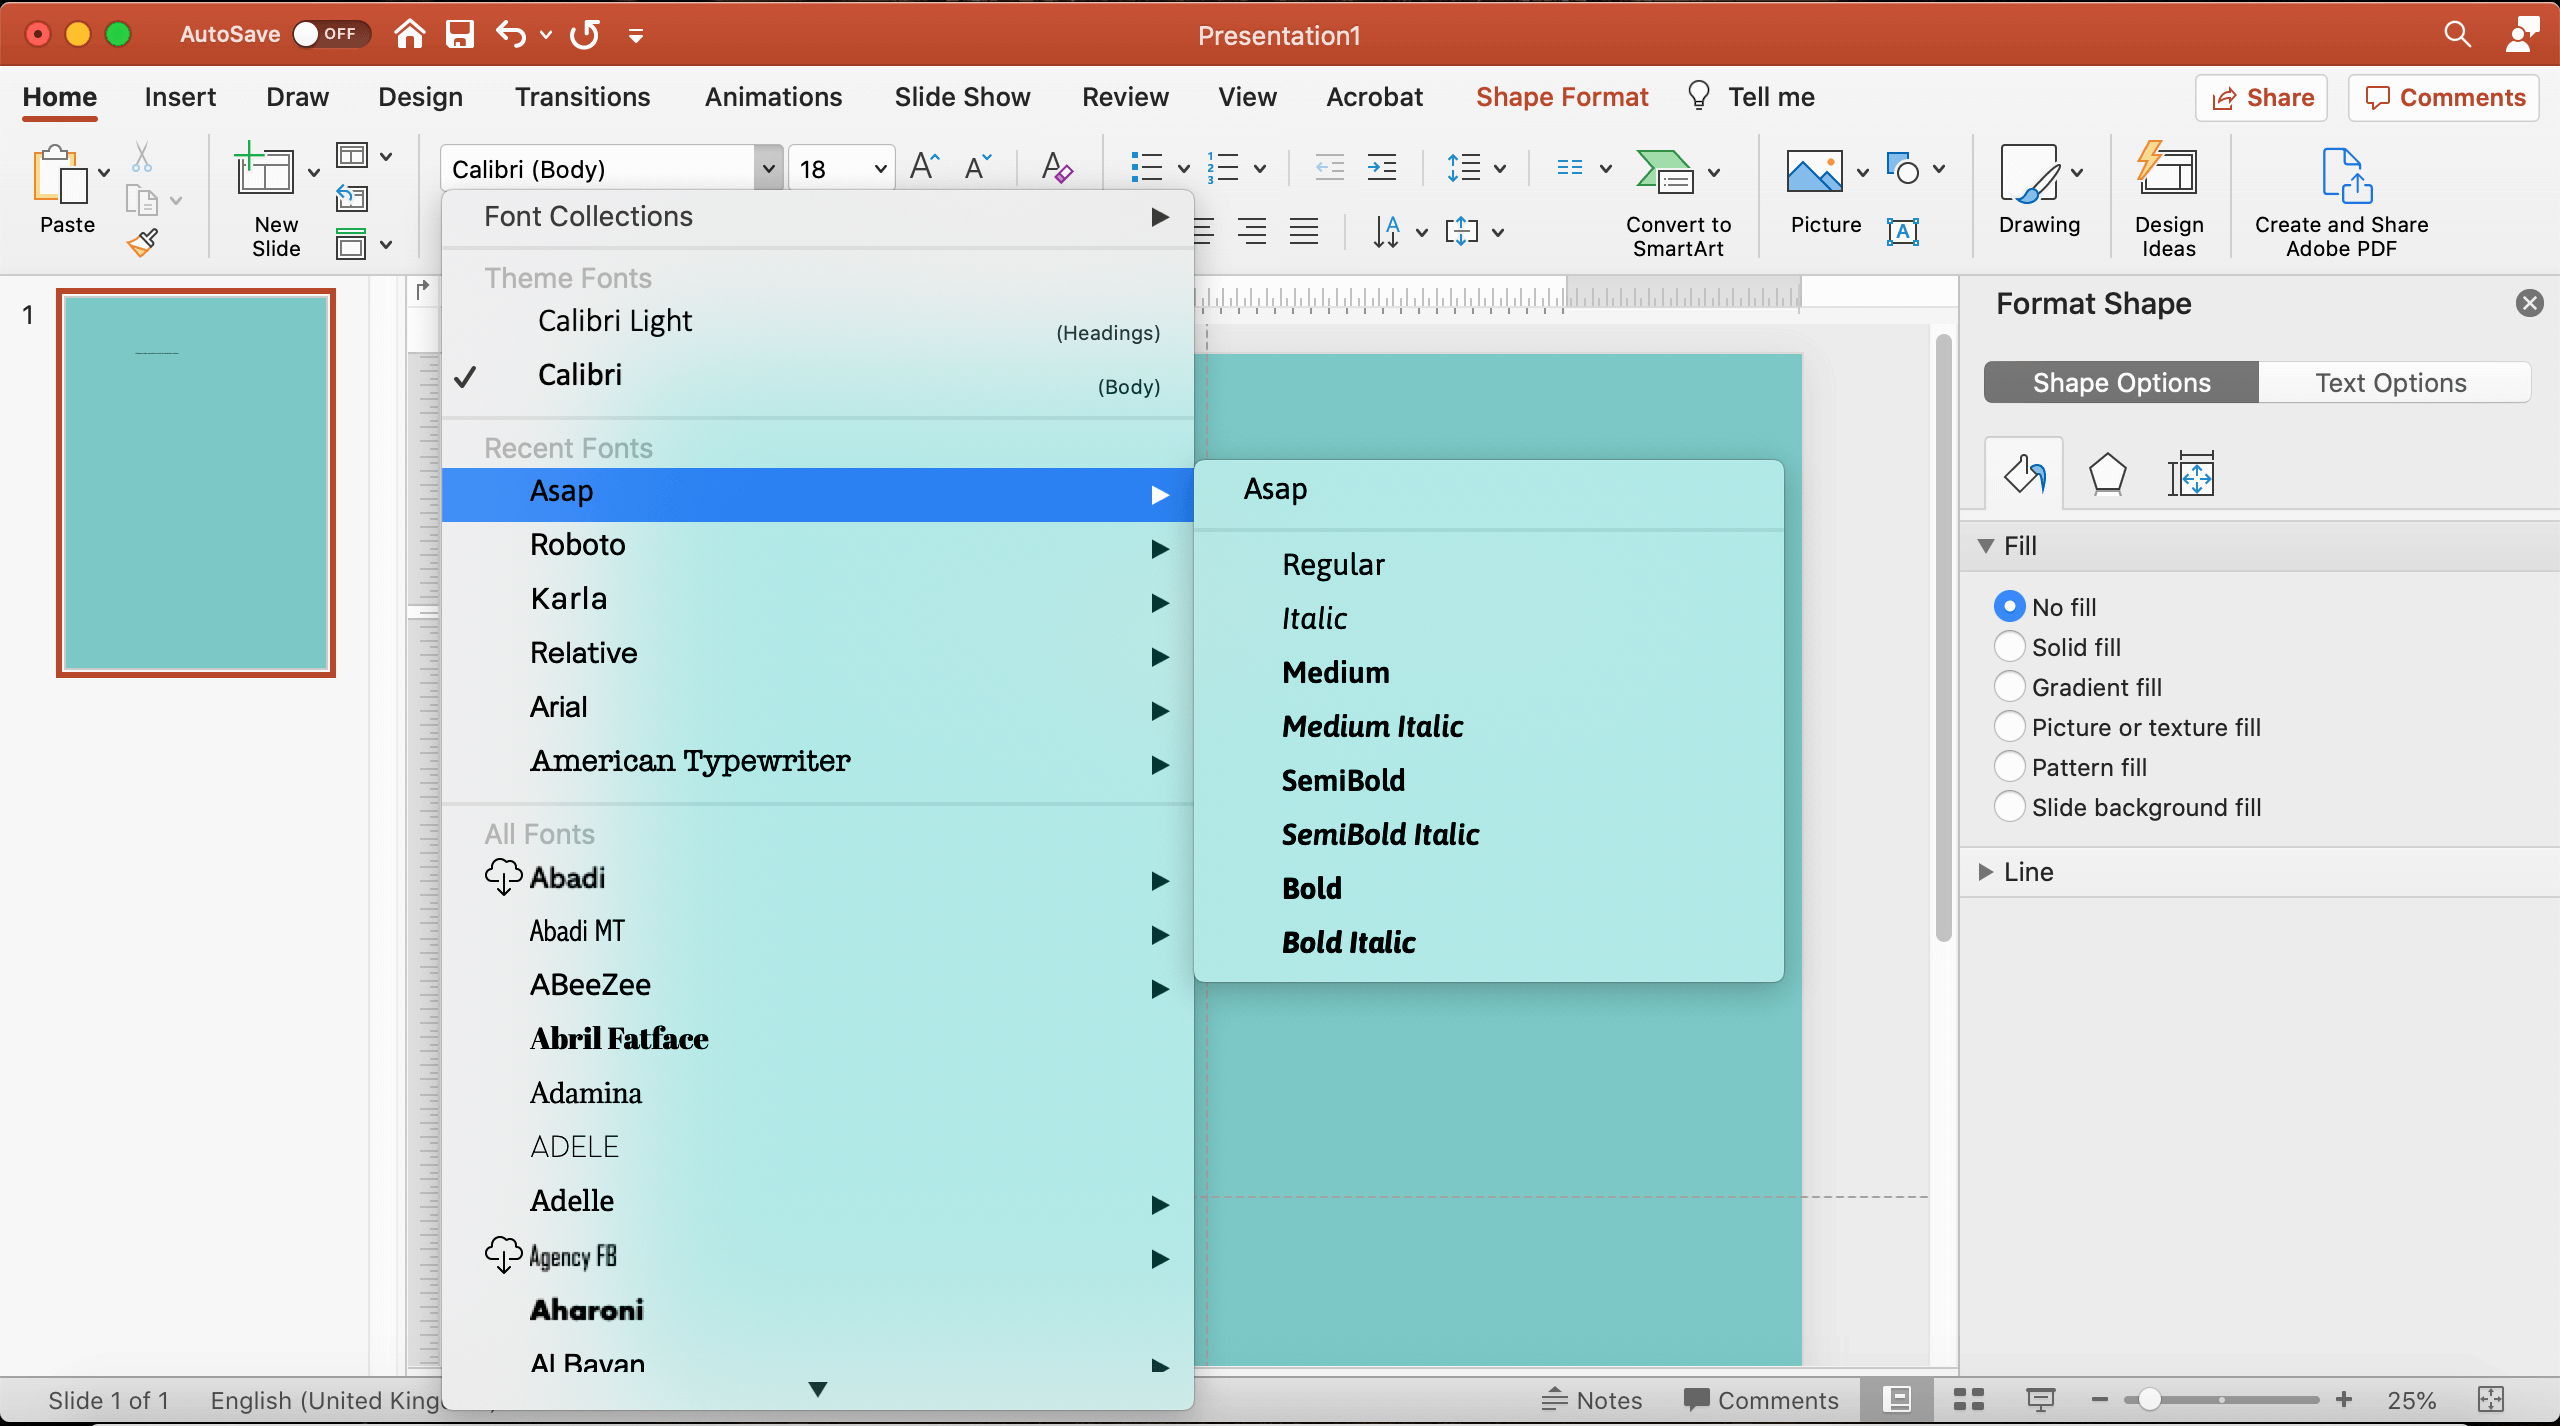
- Go to the lightgrey top bar (with font and font size, etc. in it).
- From the font dropdown box, select the font of your liking (image 3).
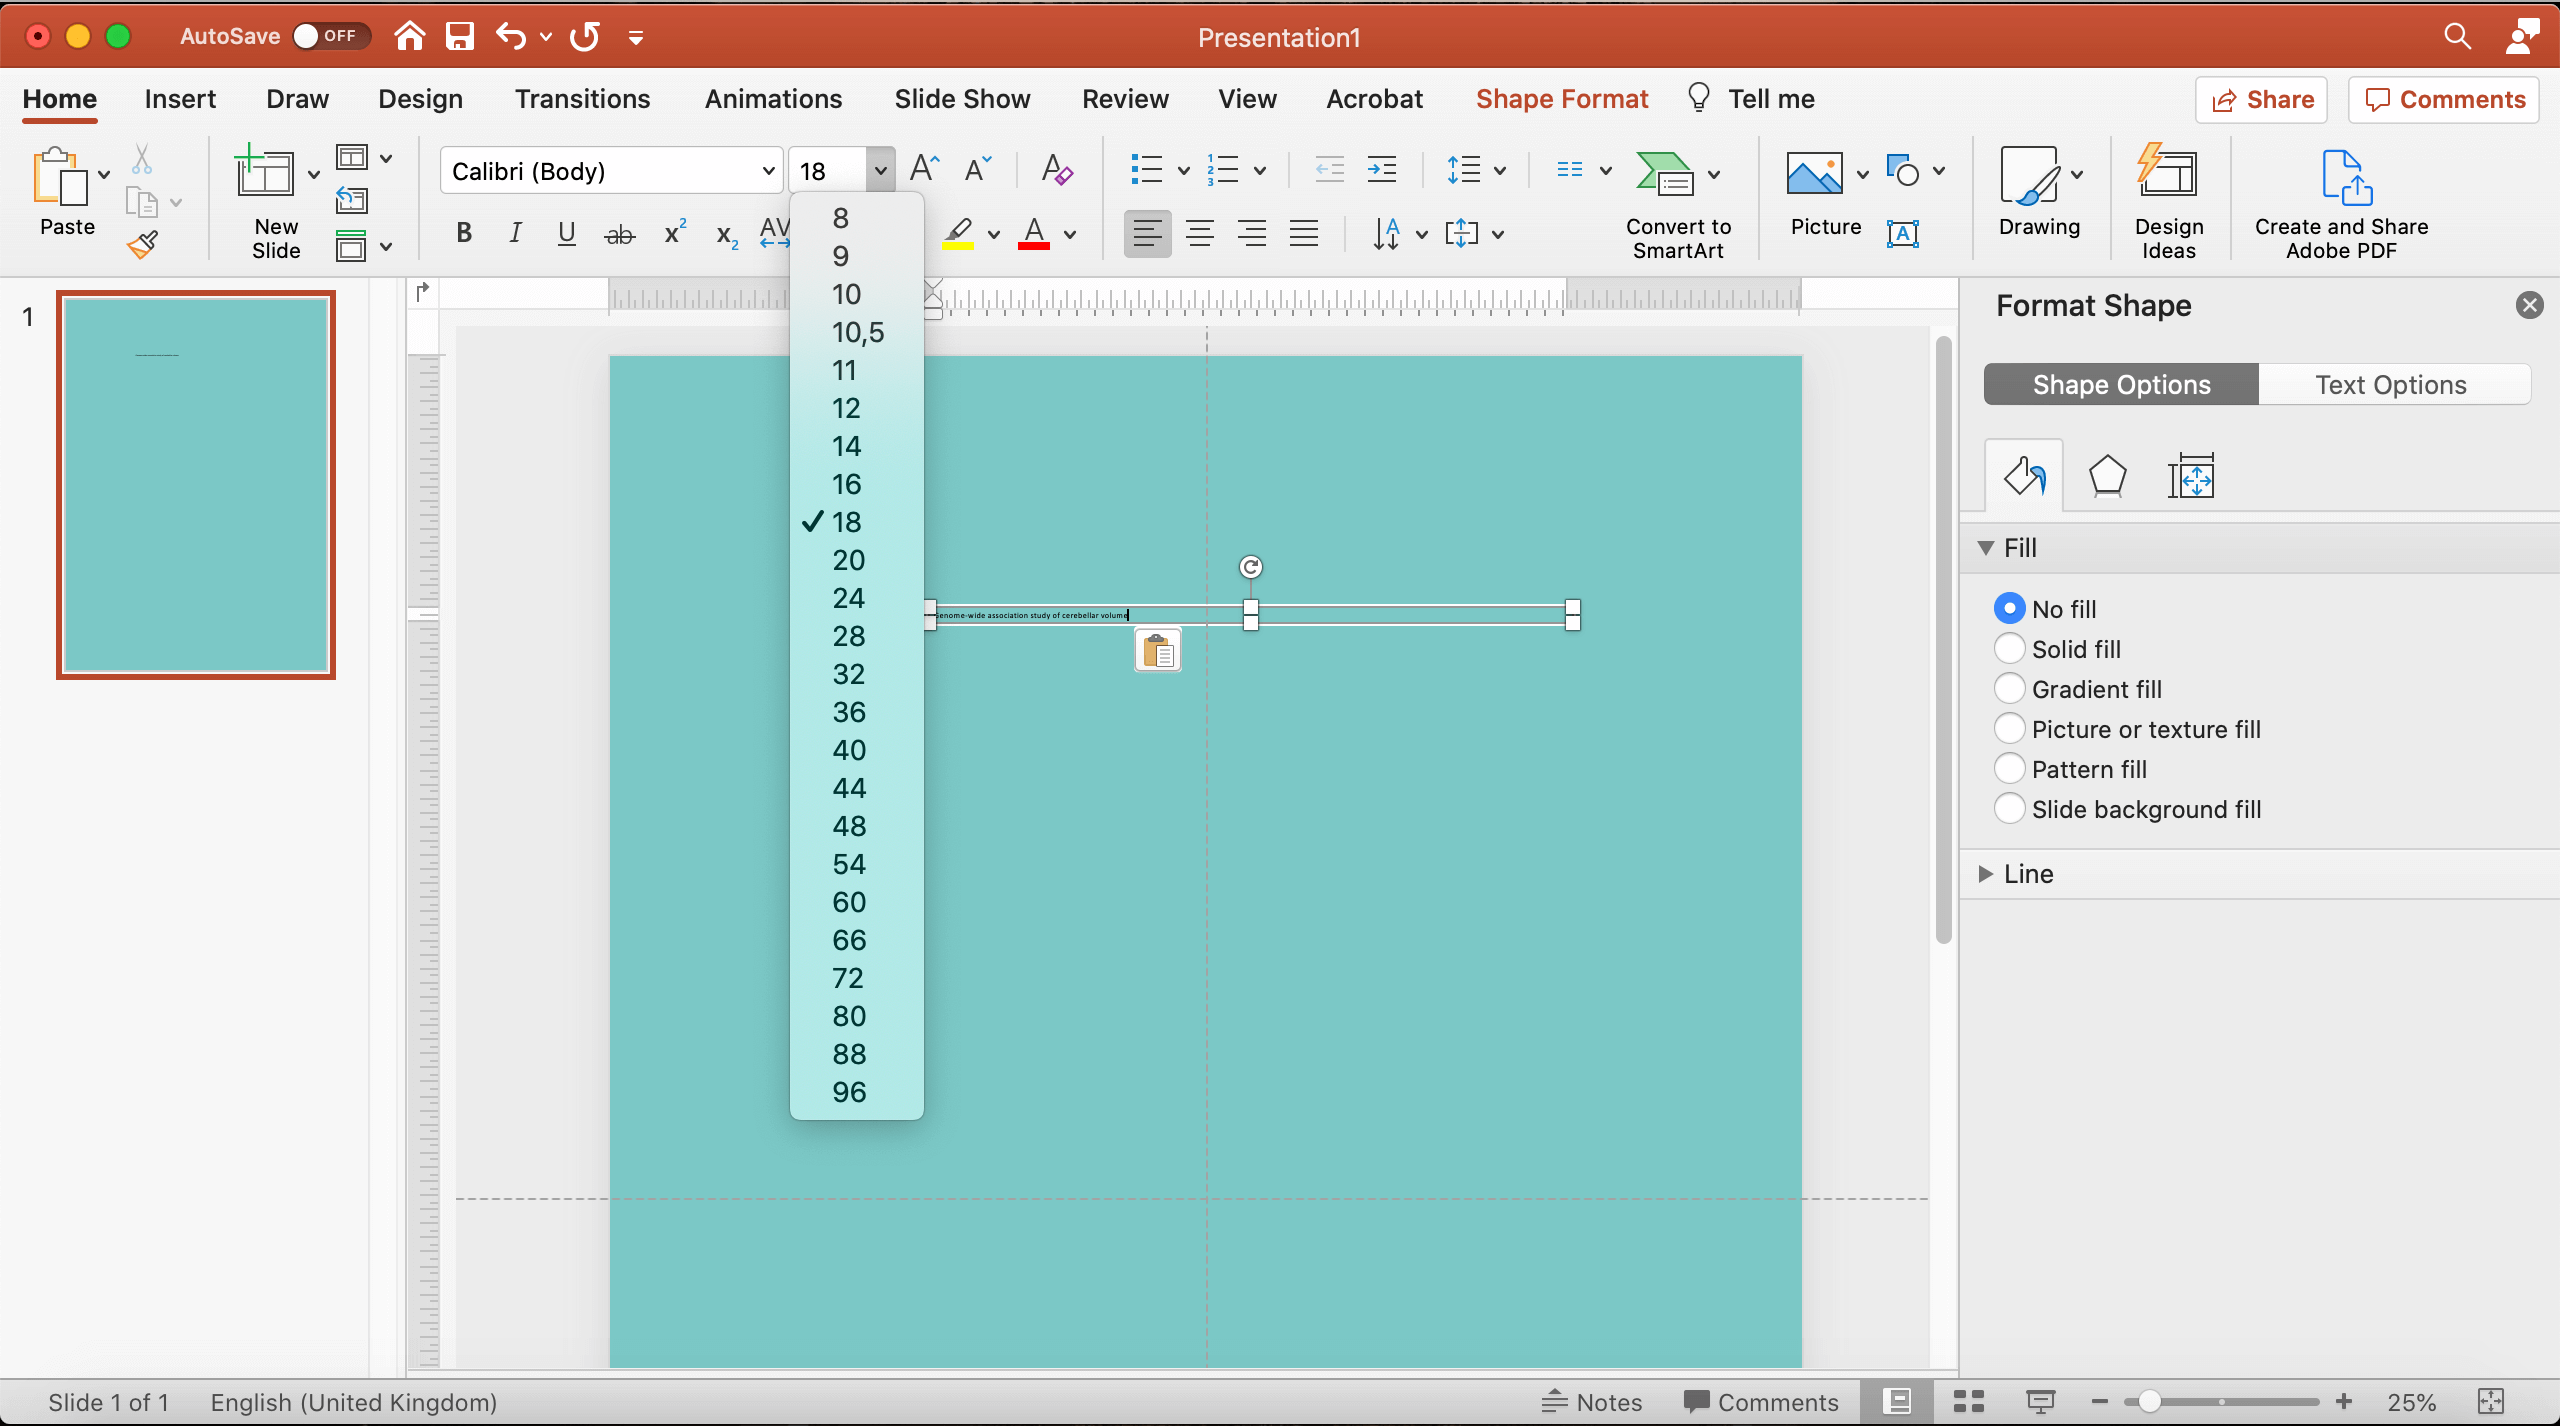
- From the font size dropdown box, select (or write) the font size of your liking (image 4).
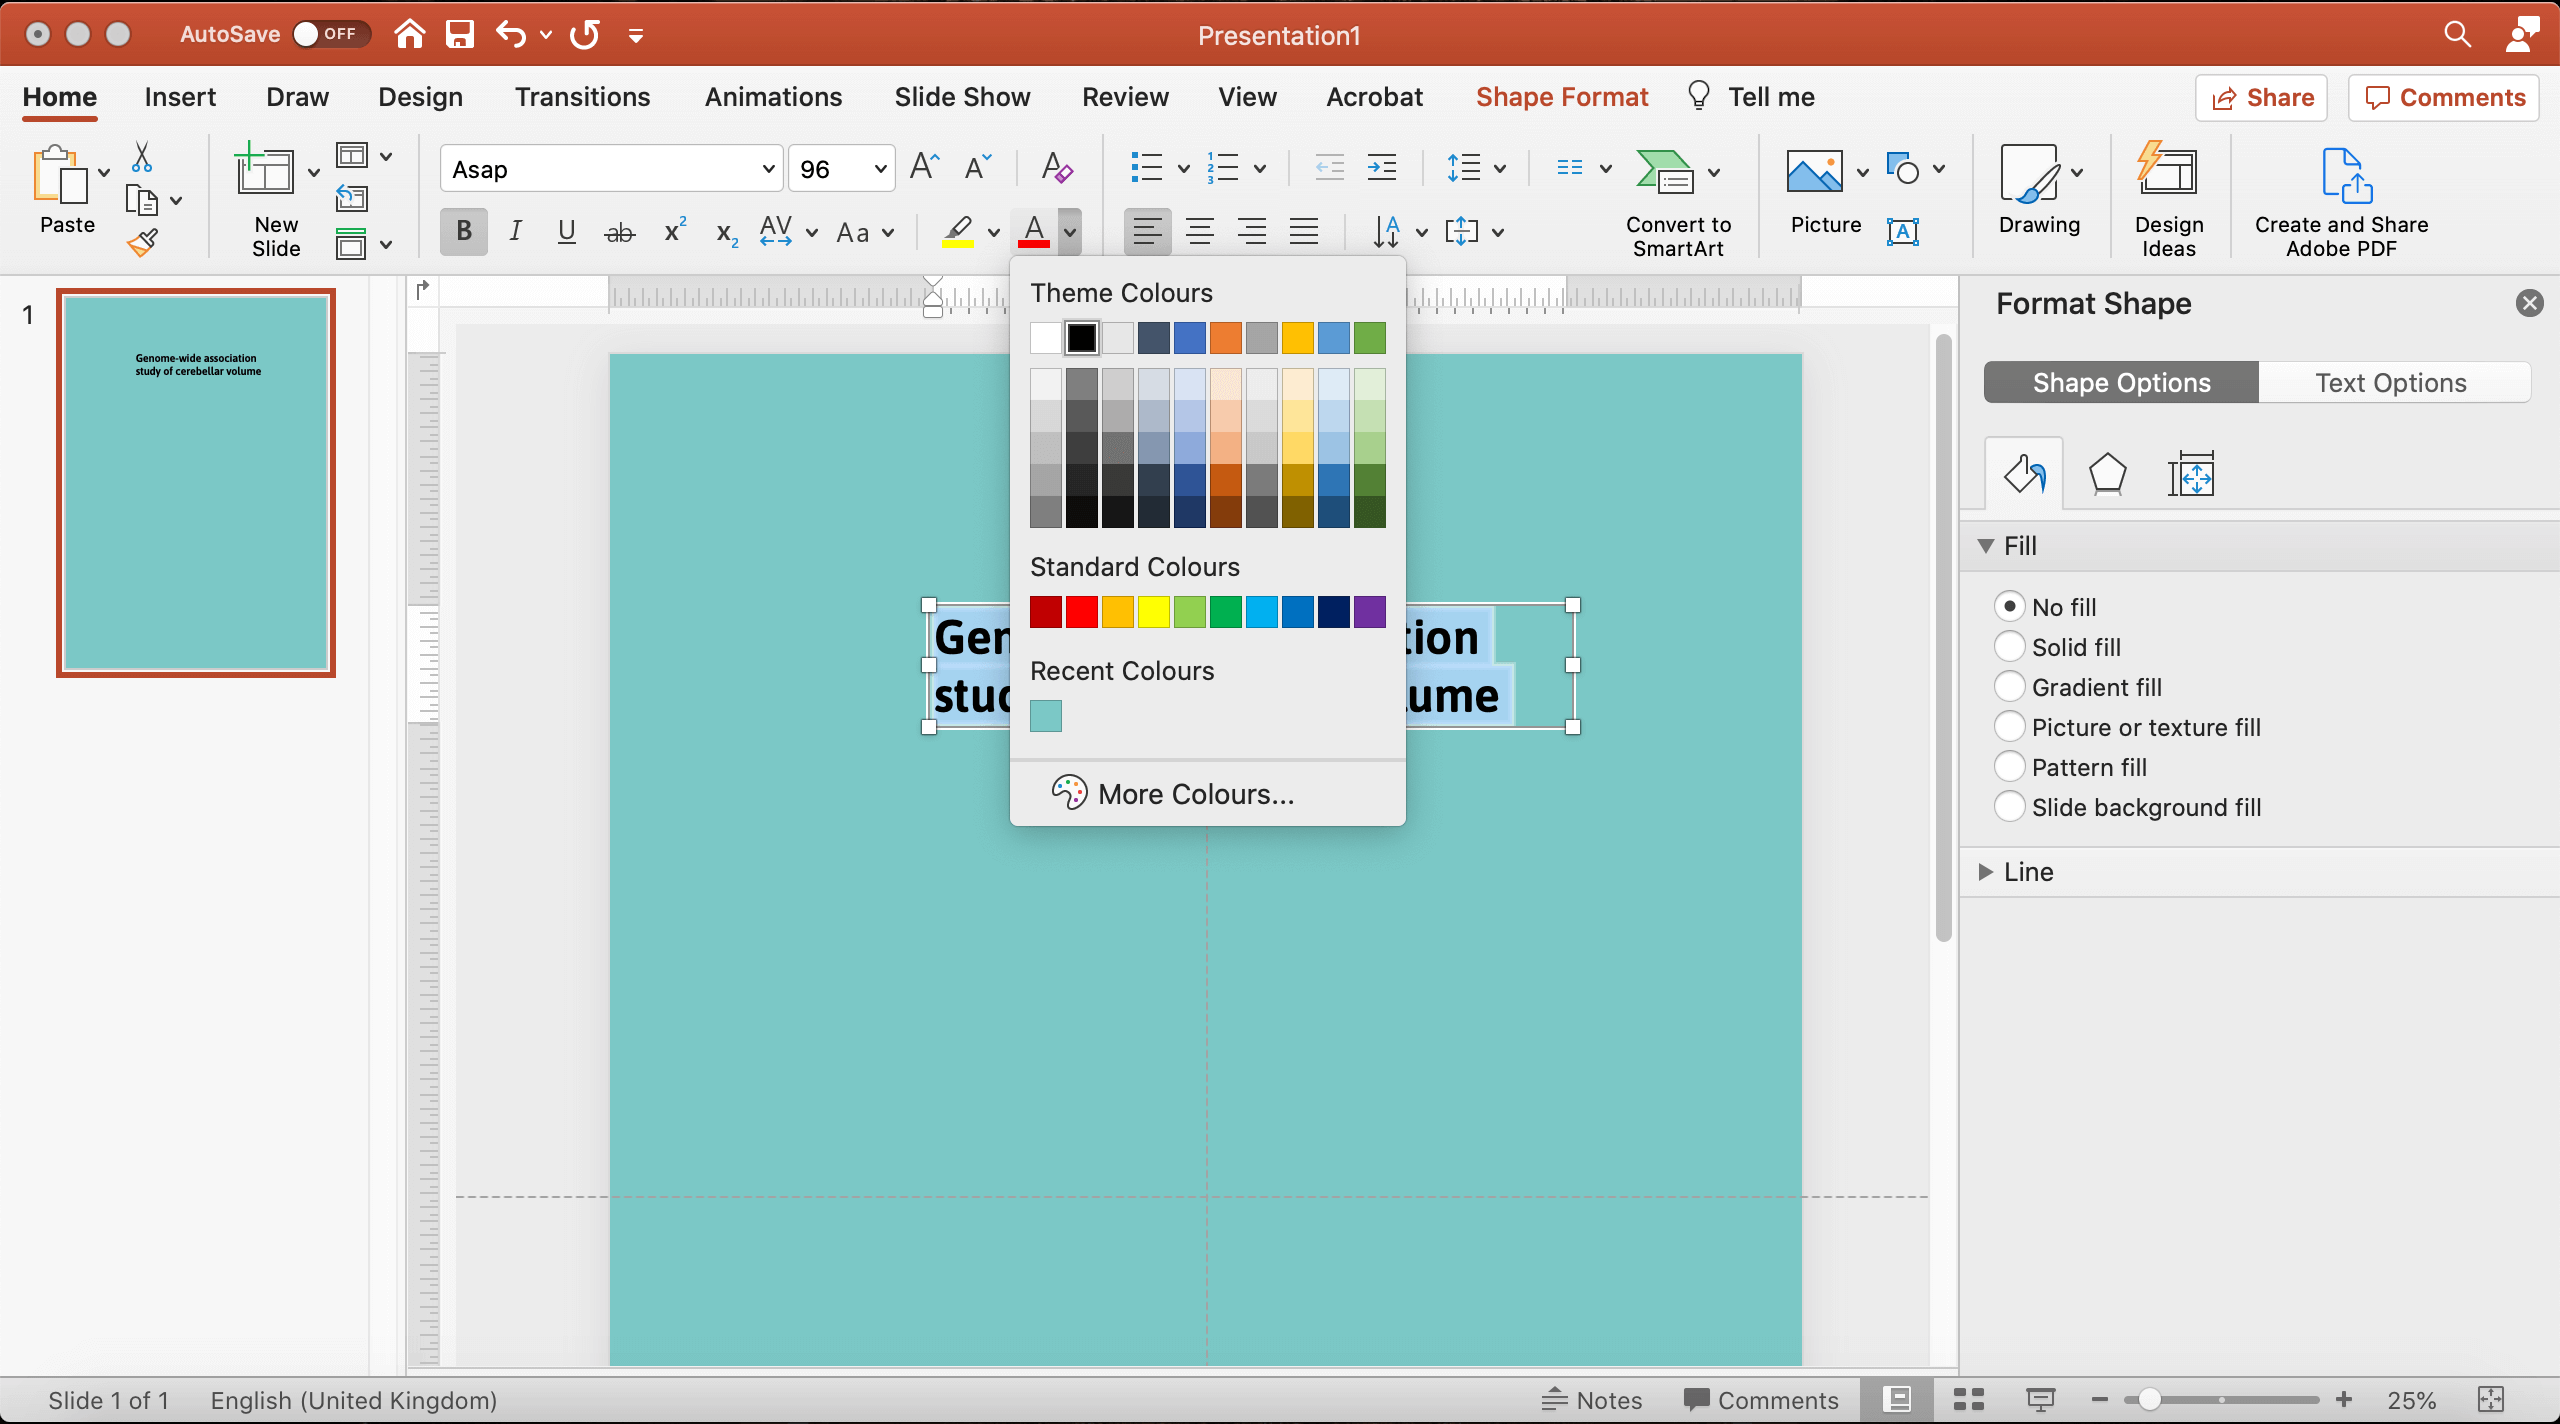
- In the Font Colour dropdown box, select the colour you want for your text (image 5).
- For other texts on your poster: Select the text box of the previous steps, and copy and paste it, to create a new text box.
- Repeat step 2-7 for this text box.
- Add all your text boxes in the same way to the poster. Don't forget to use the right line spacing (the distance between to lines). You can do this by:
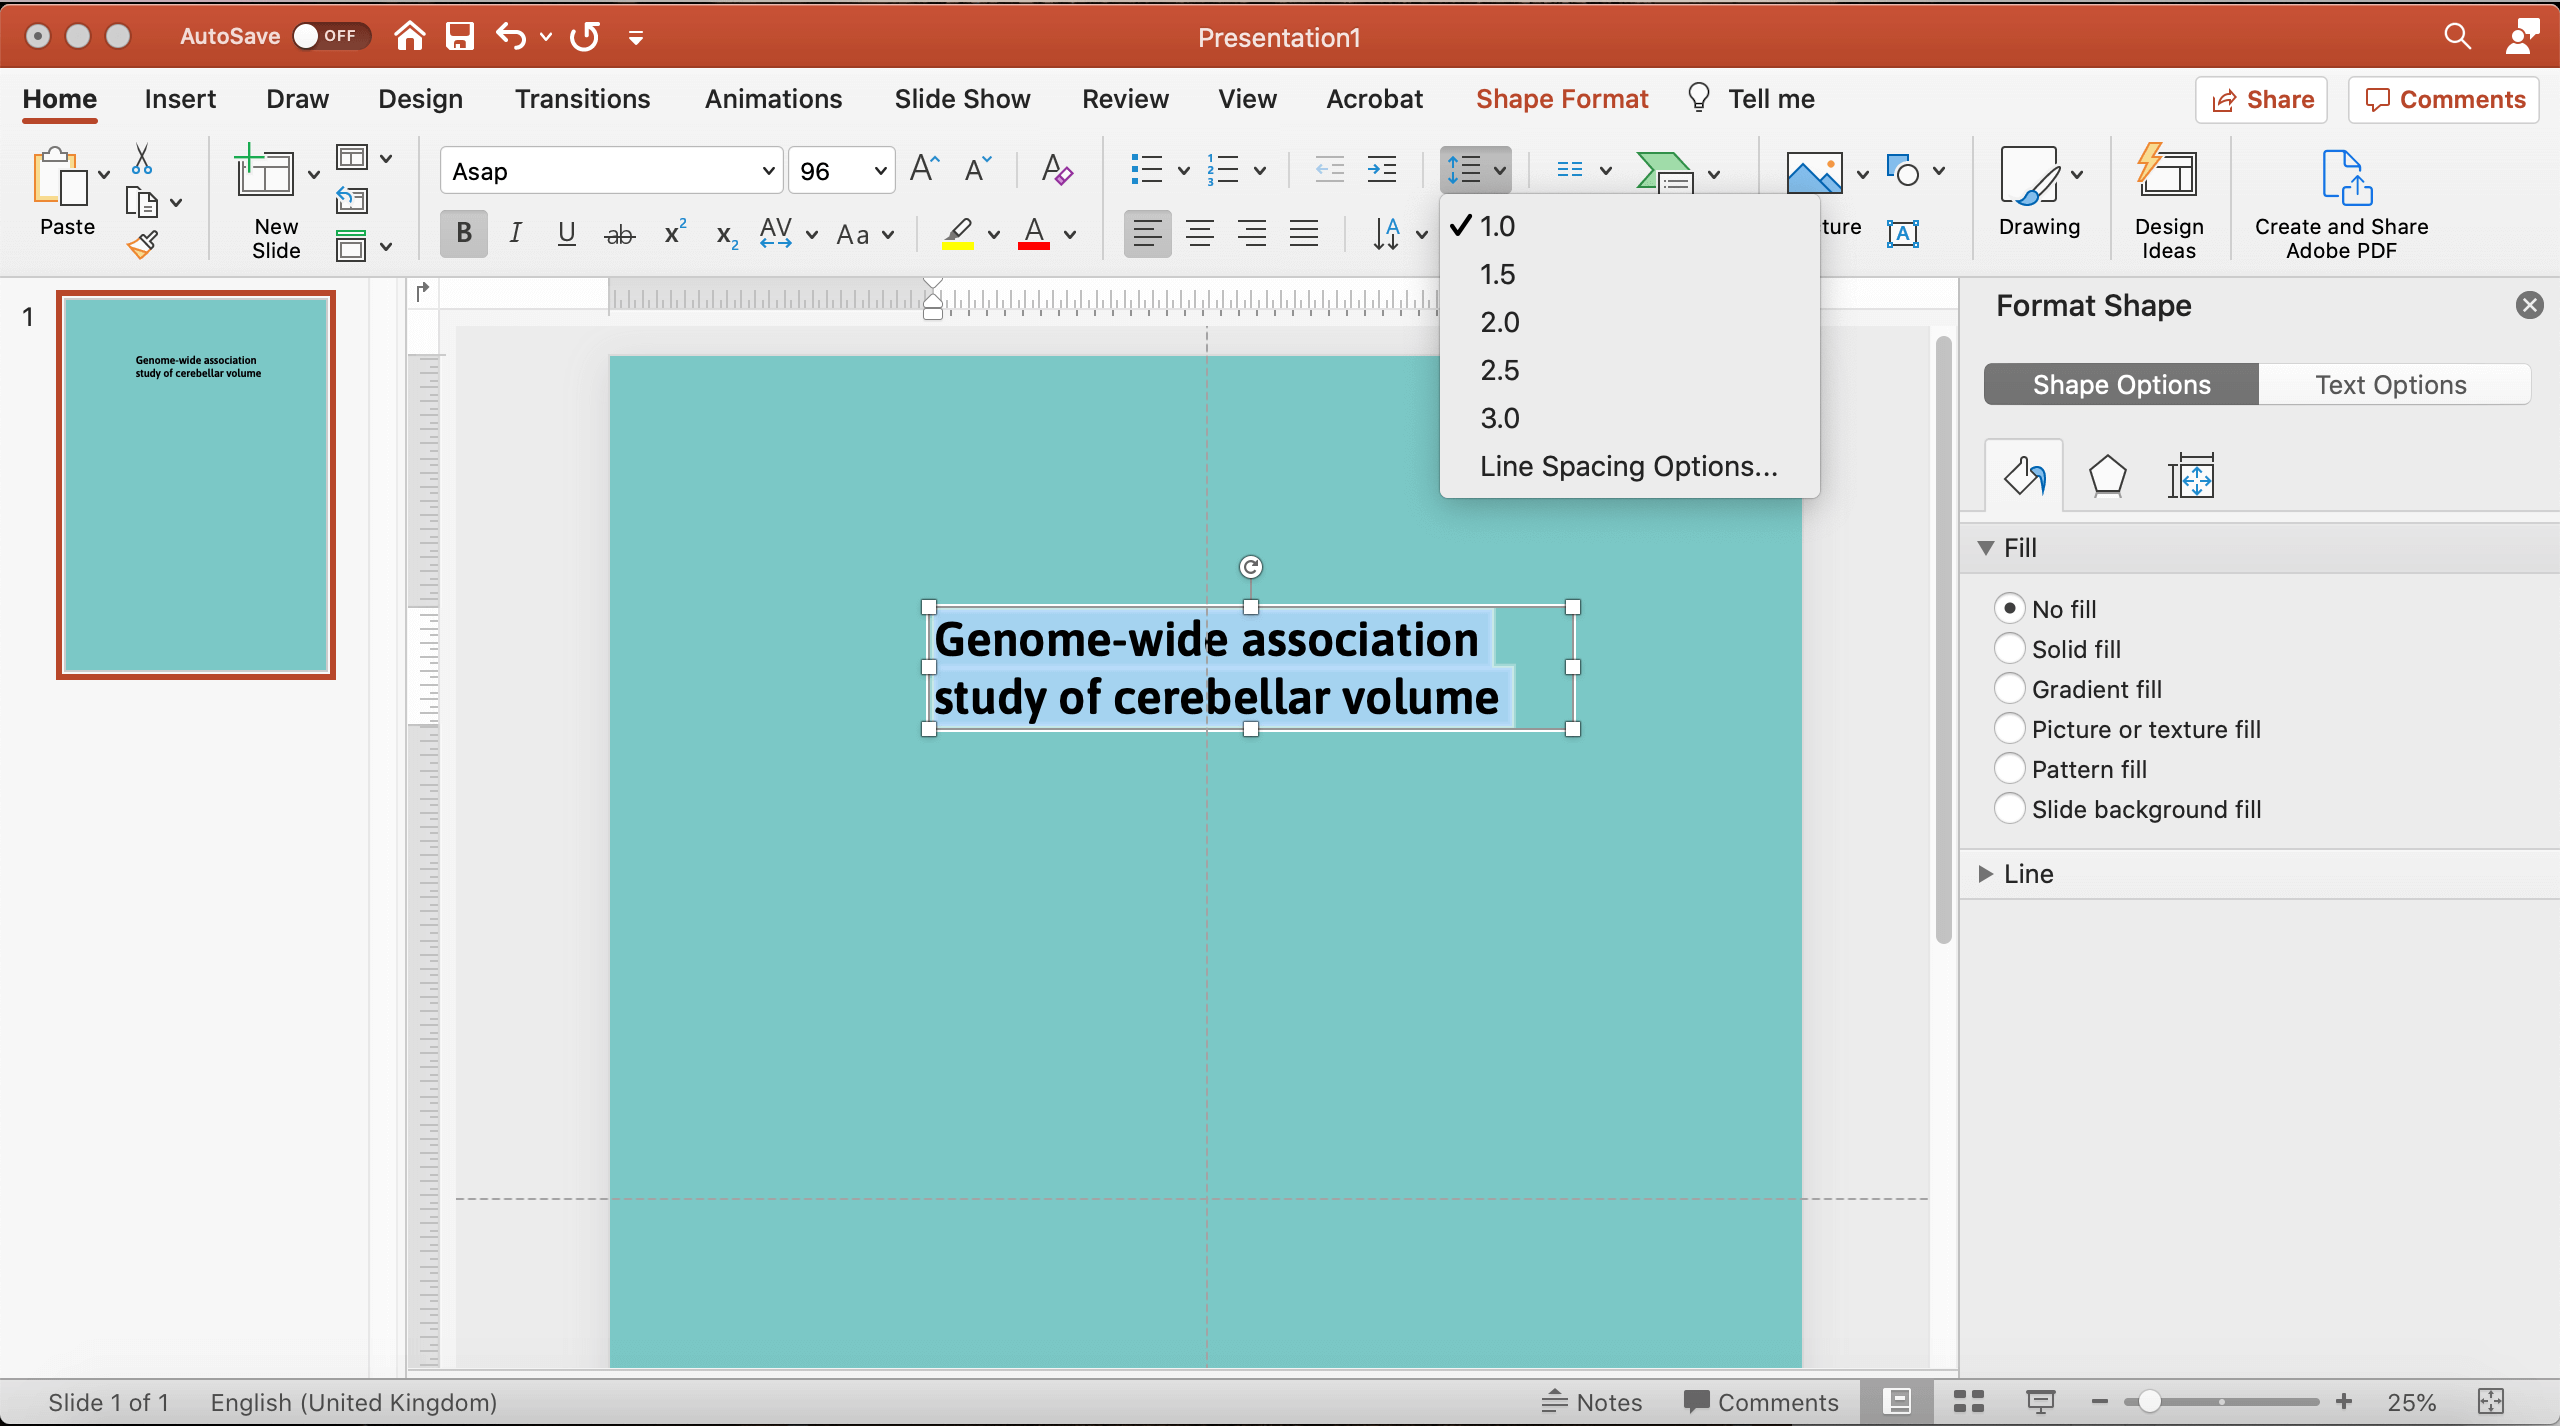
- Selecting your text box, go to the Line Space icon in top bar 2 (Home tab) (image 6).
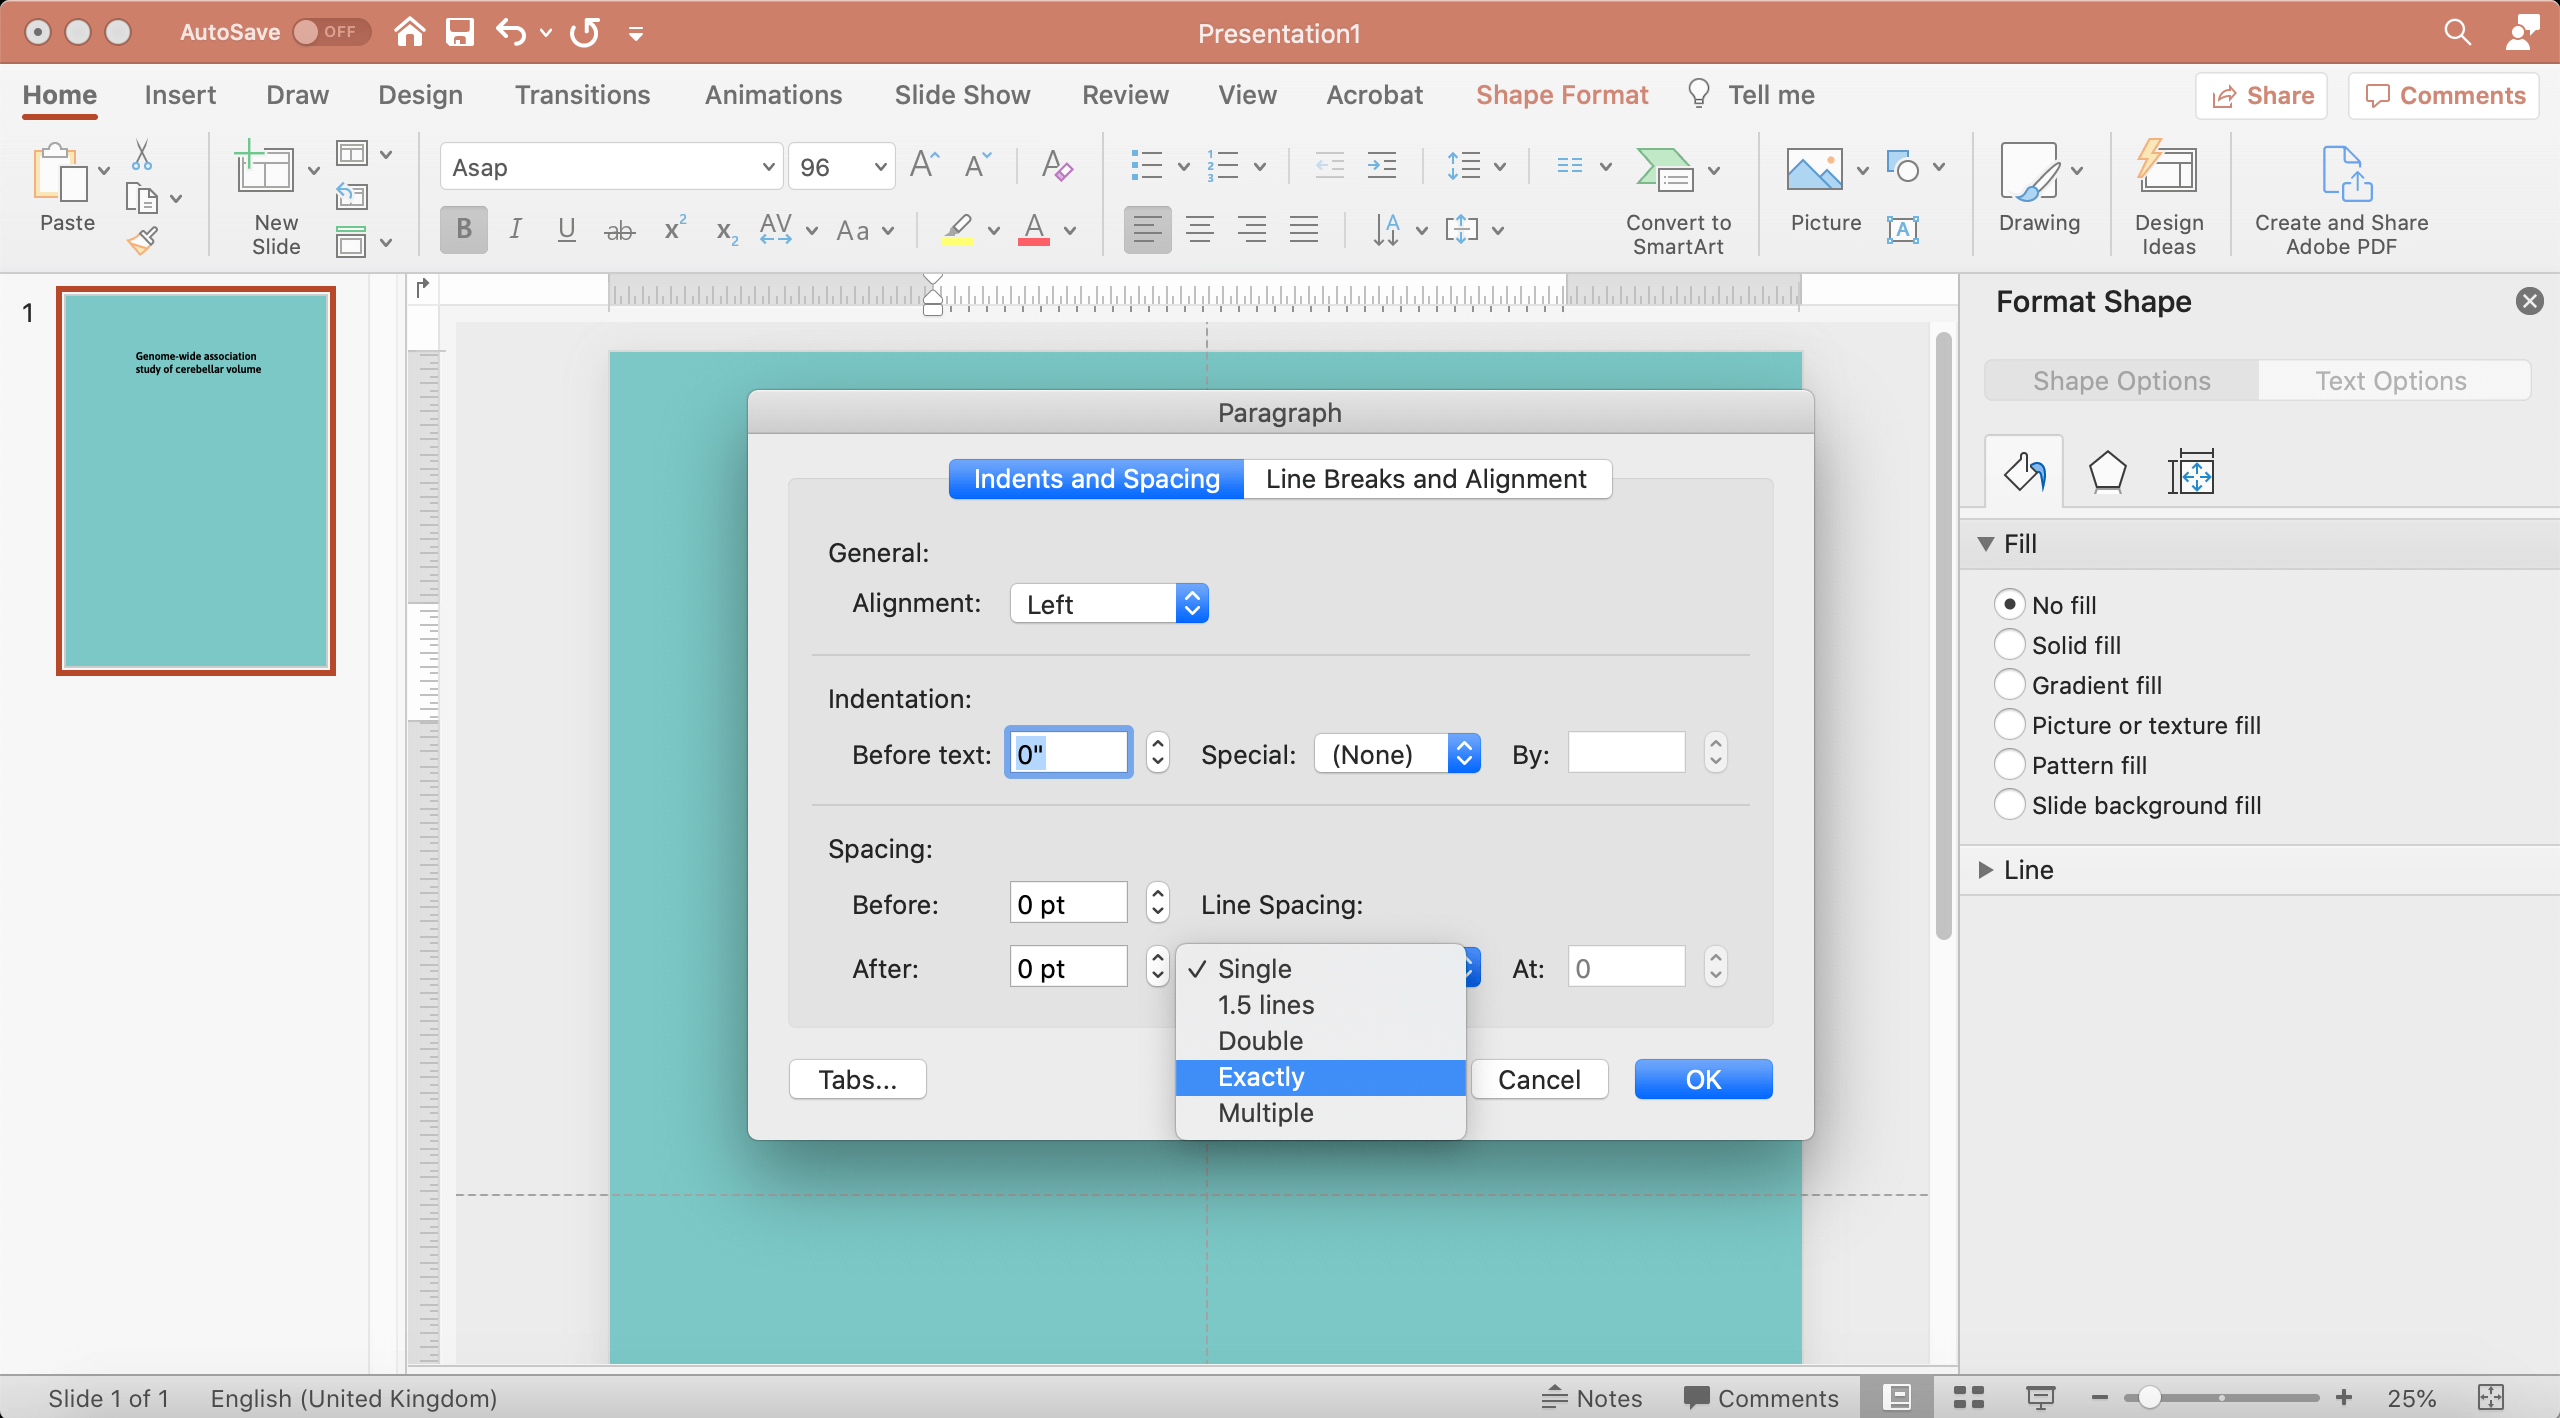
- Click on Line Spacing Options
In the popup menu. - At Line Spacing, select Exactly (image 7).
- Next to ‘At:’, fill in the spacing. Experiment with different values. It always has to be a value that is larger then the font size used in the text box.
- Align all the text the right way, you can do this by:
- Select text box.
- Go to top bar 2 > Home.
- Click on one of the text alignment icons: you can choose ‘Align to left’, ‘Centre text’, Align to right’ and ‘Justify text' (image 8).
7. Add and make your images
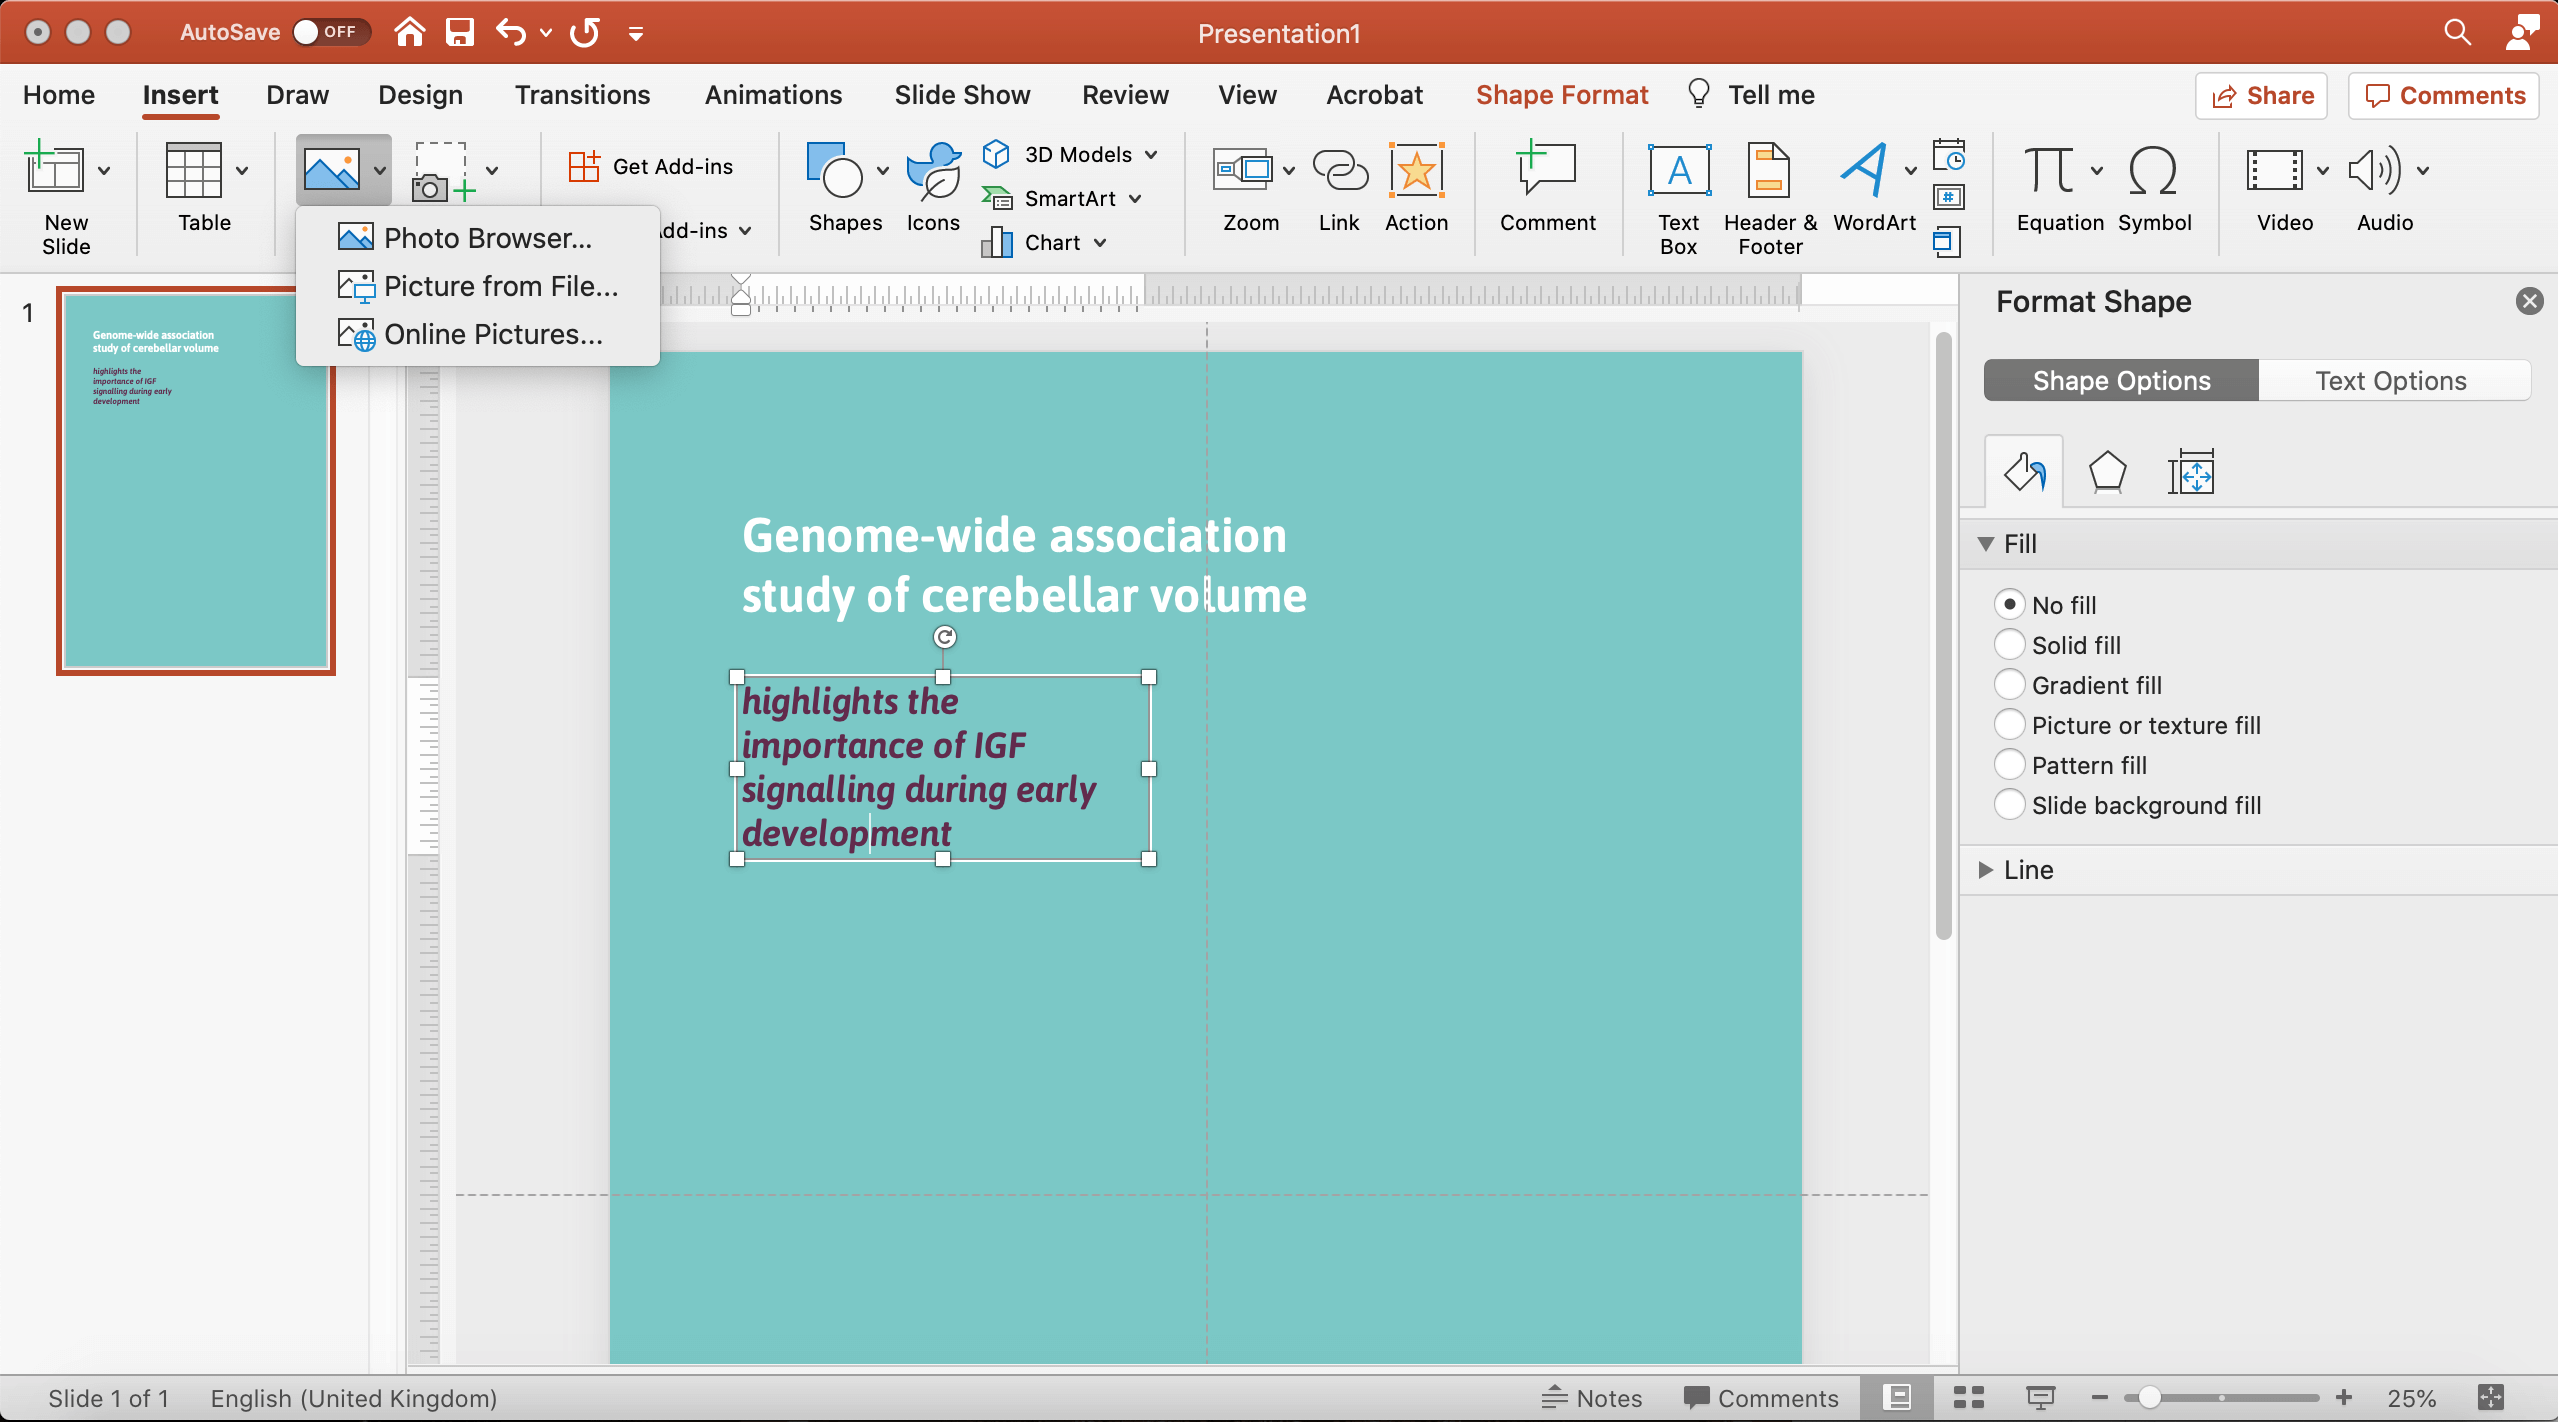
- Go to top bar 2 > Insert.
- Select the Insert Picture icon (image 1).
- Select your choice, mostly it will be ‘Picture from File'.
- Select your picture in the popup menu and click 'Insert'.
- If your images are vector images, you can adjust the color of it.
- If you want to add shapes, icons or illustrations (from PowerPoint):
- Go to top bar 2 > Insert.
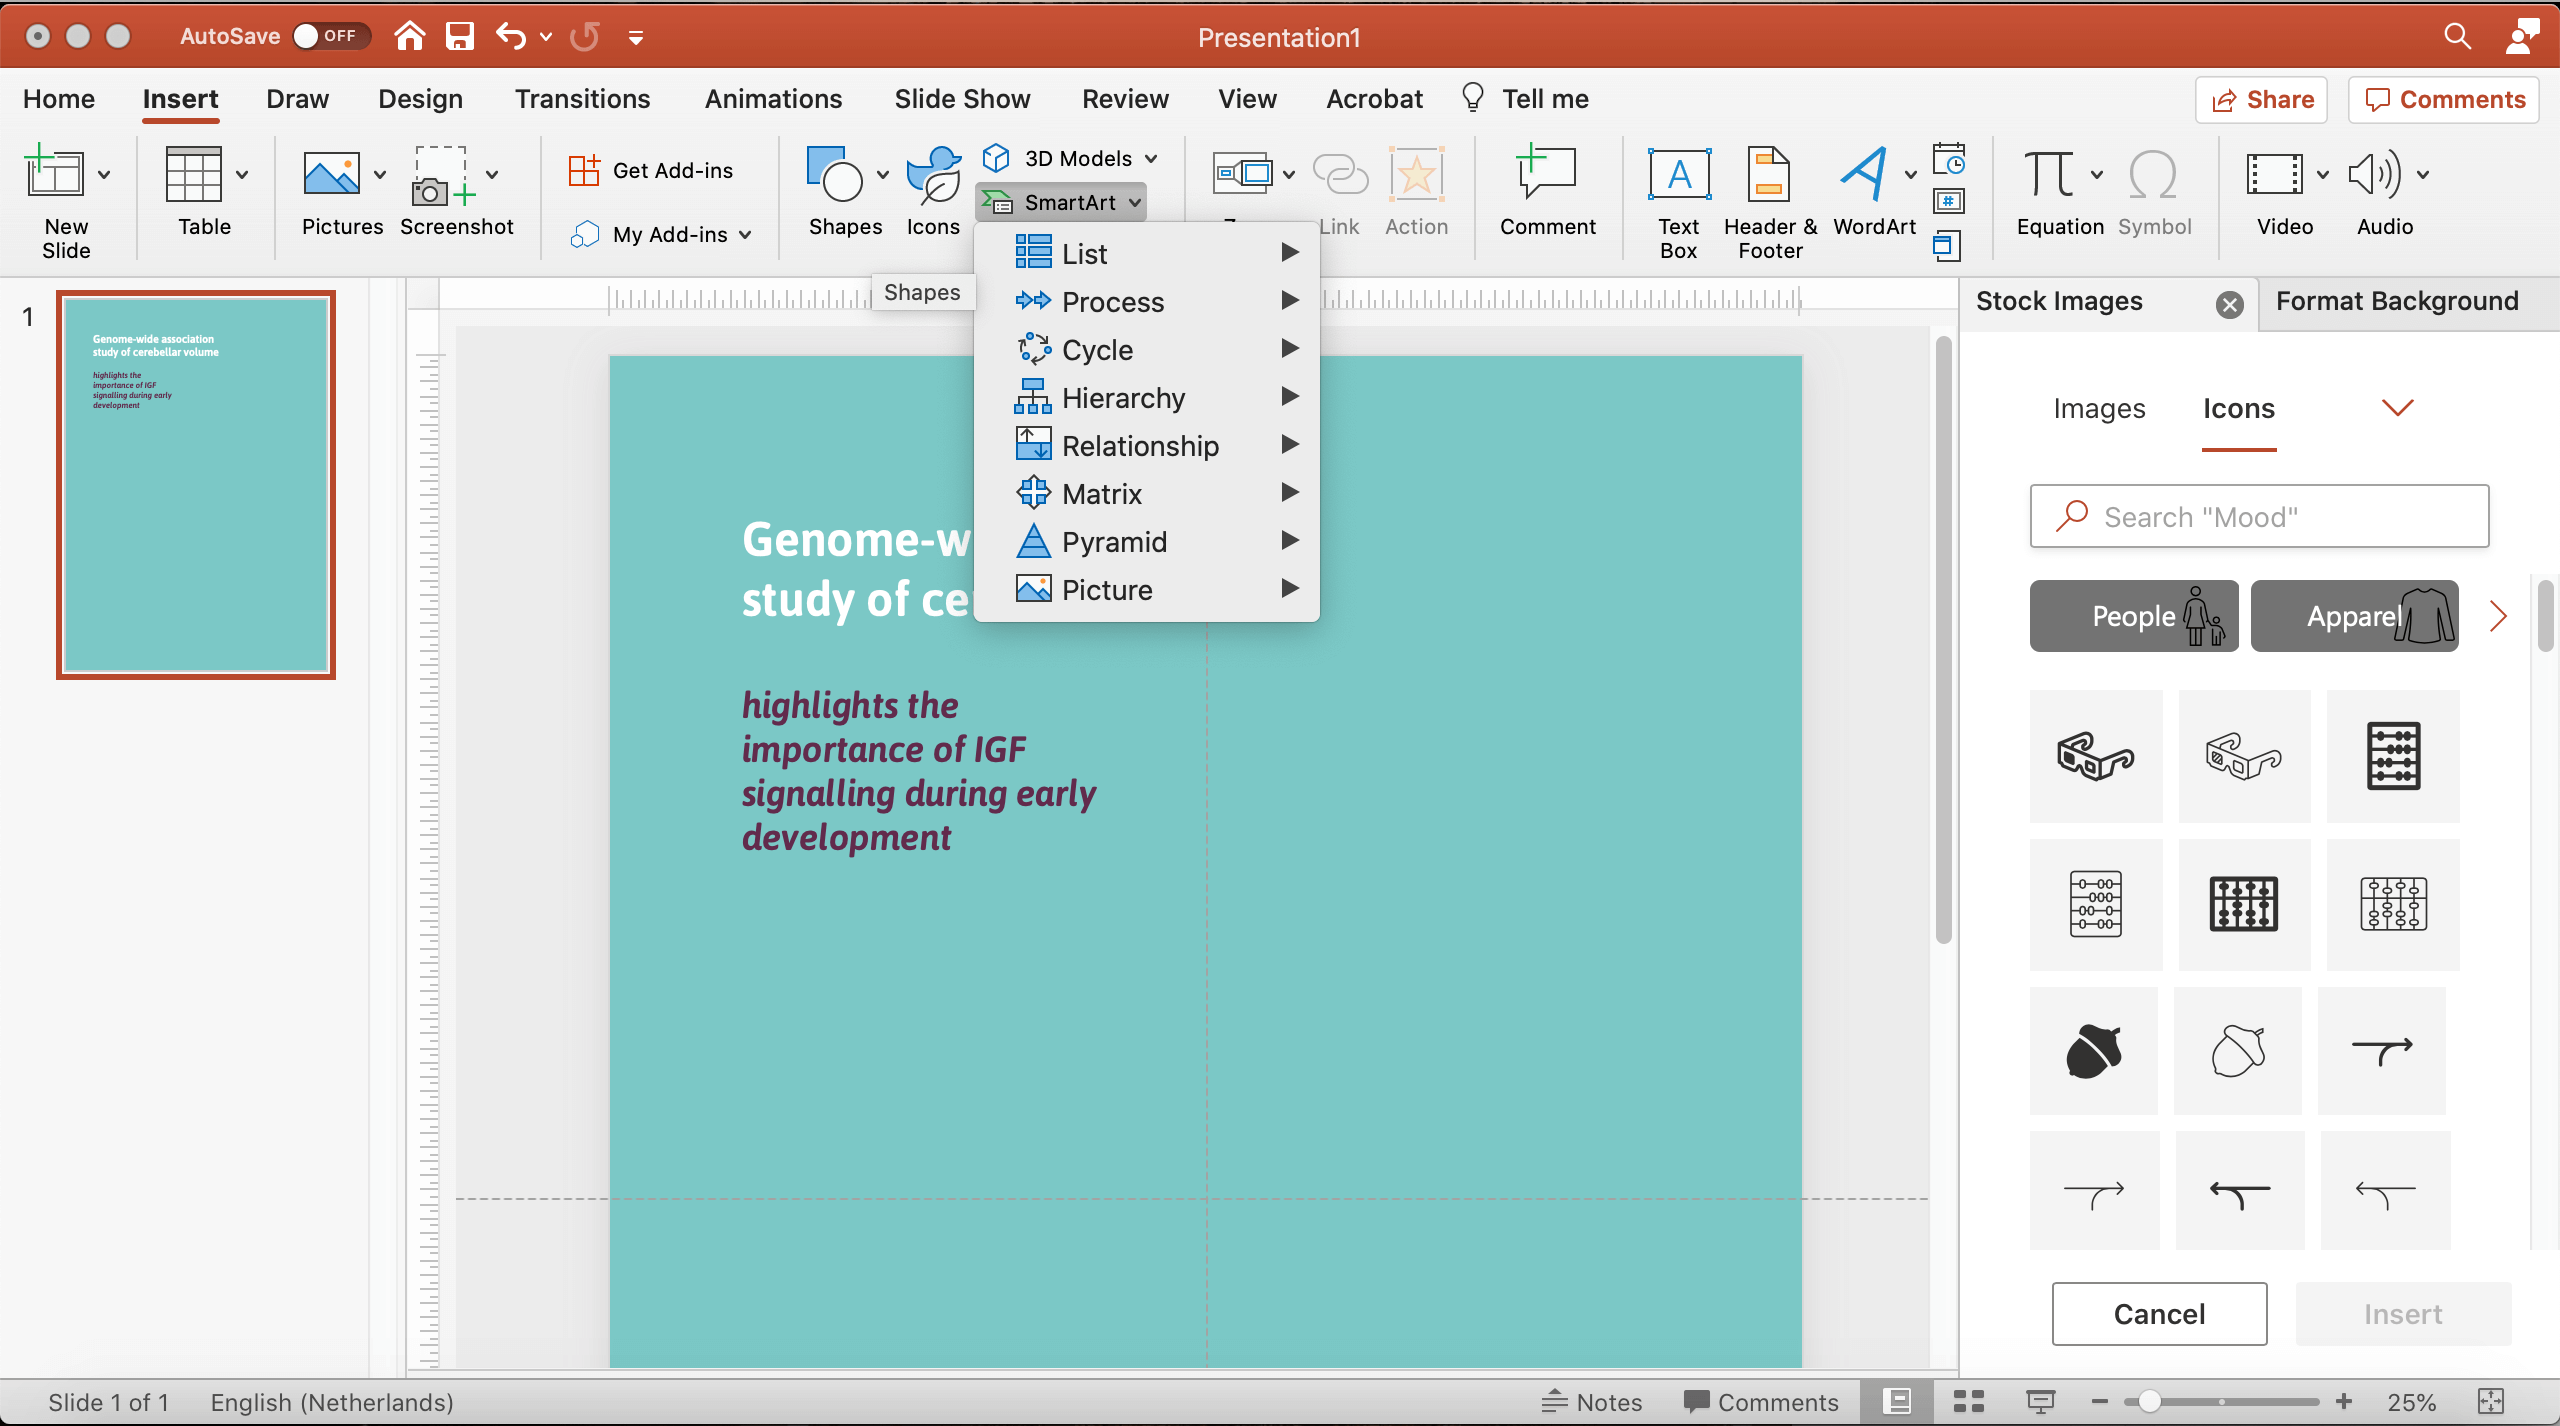
- Choose one of the following icons: Shapes, Icons, SmartArt (image 2).
- Choose your shape, icon or illustration and insert it in your poster. The colours are adjustable.
8. Draw your images (optional)
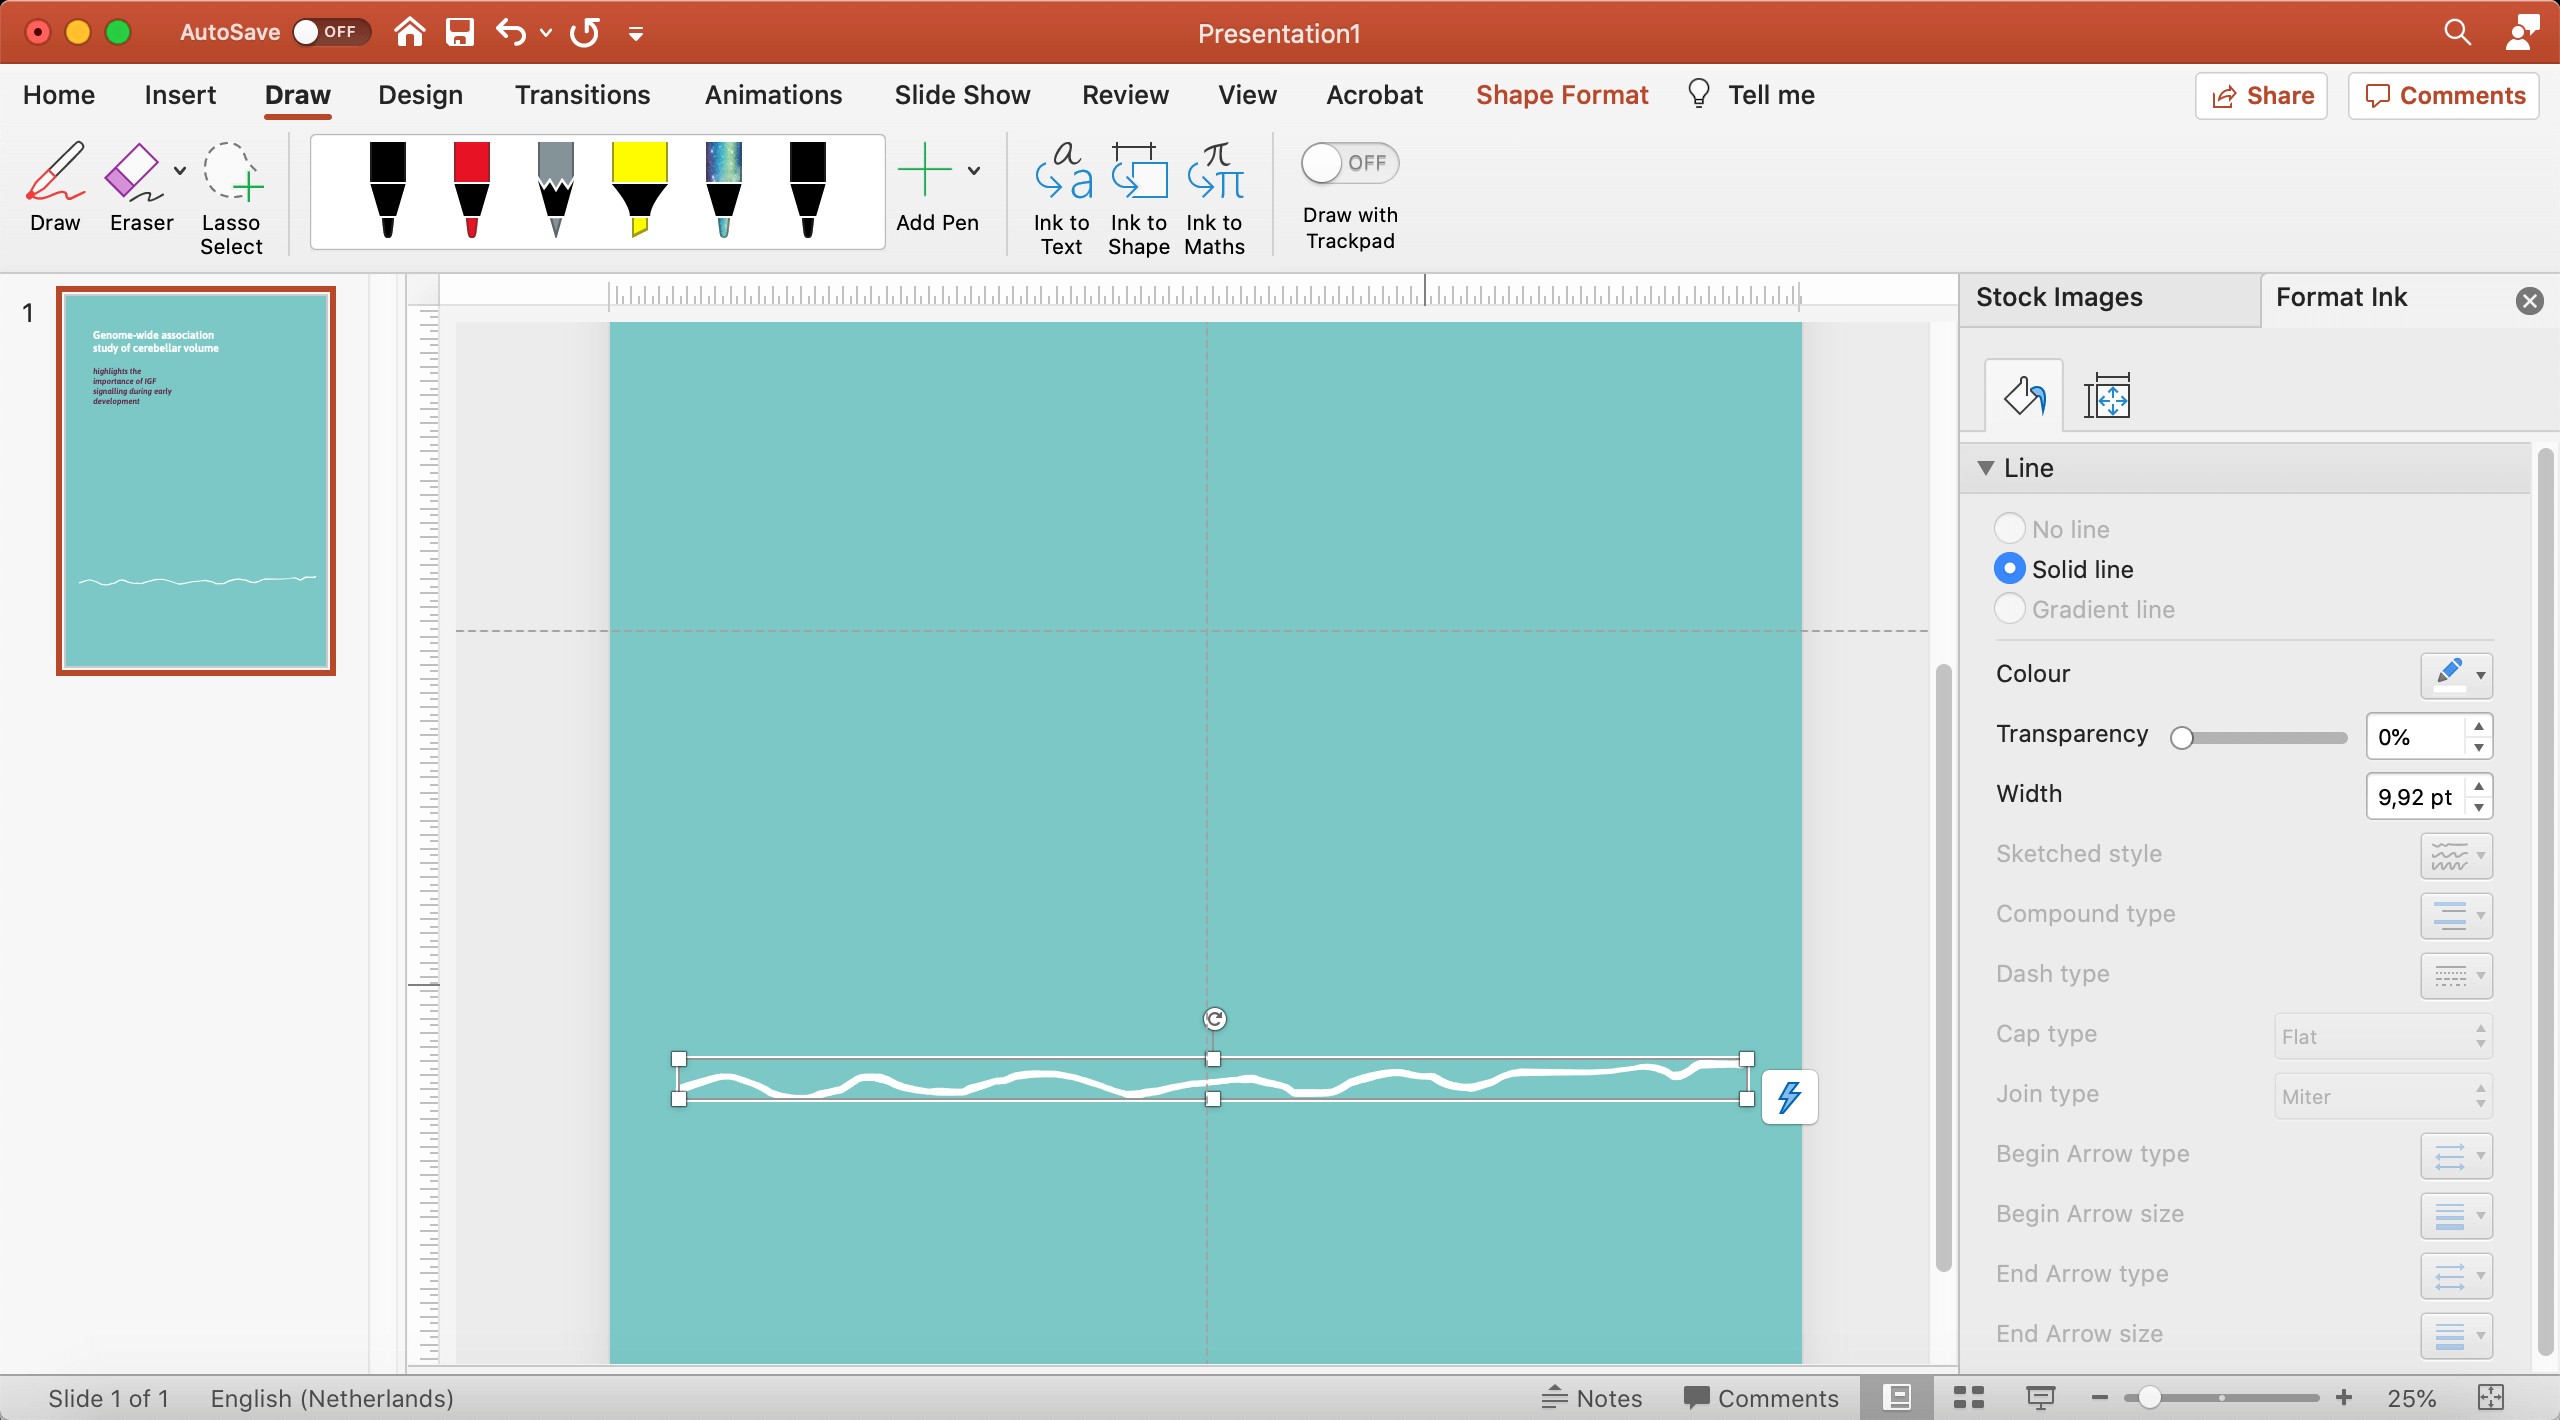
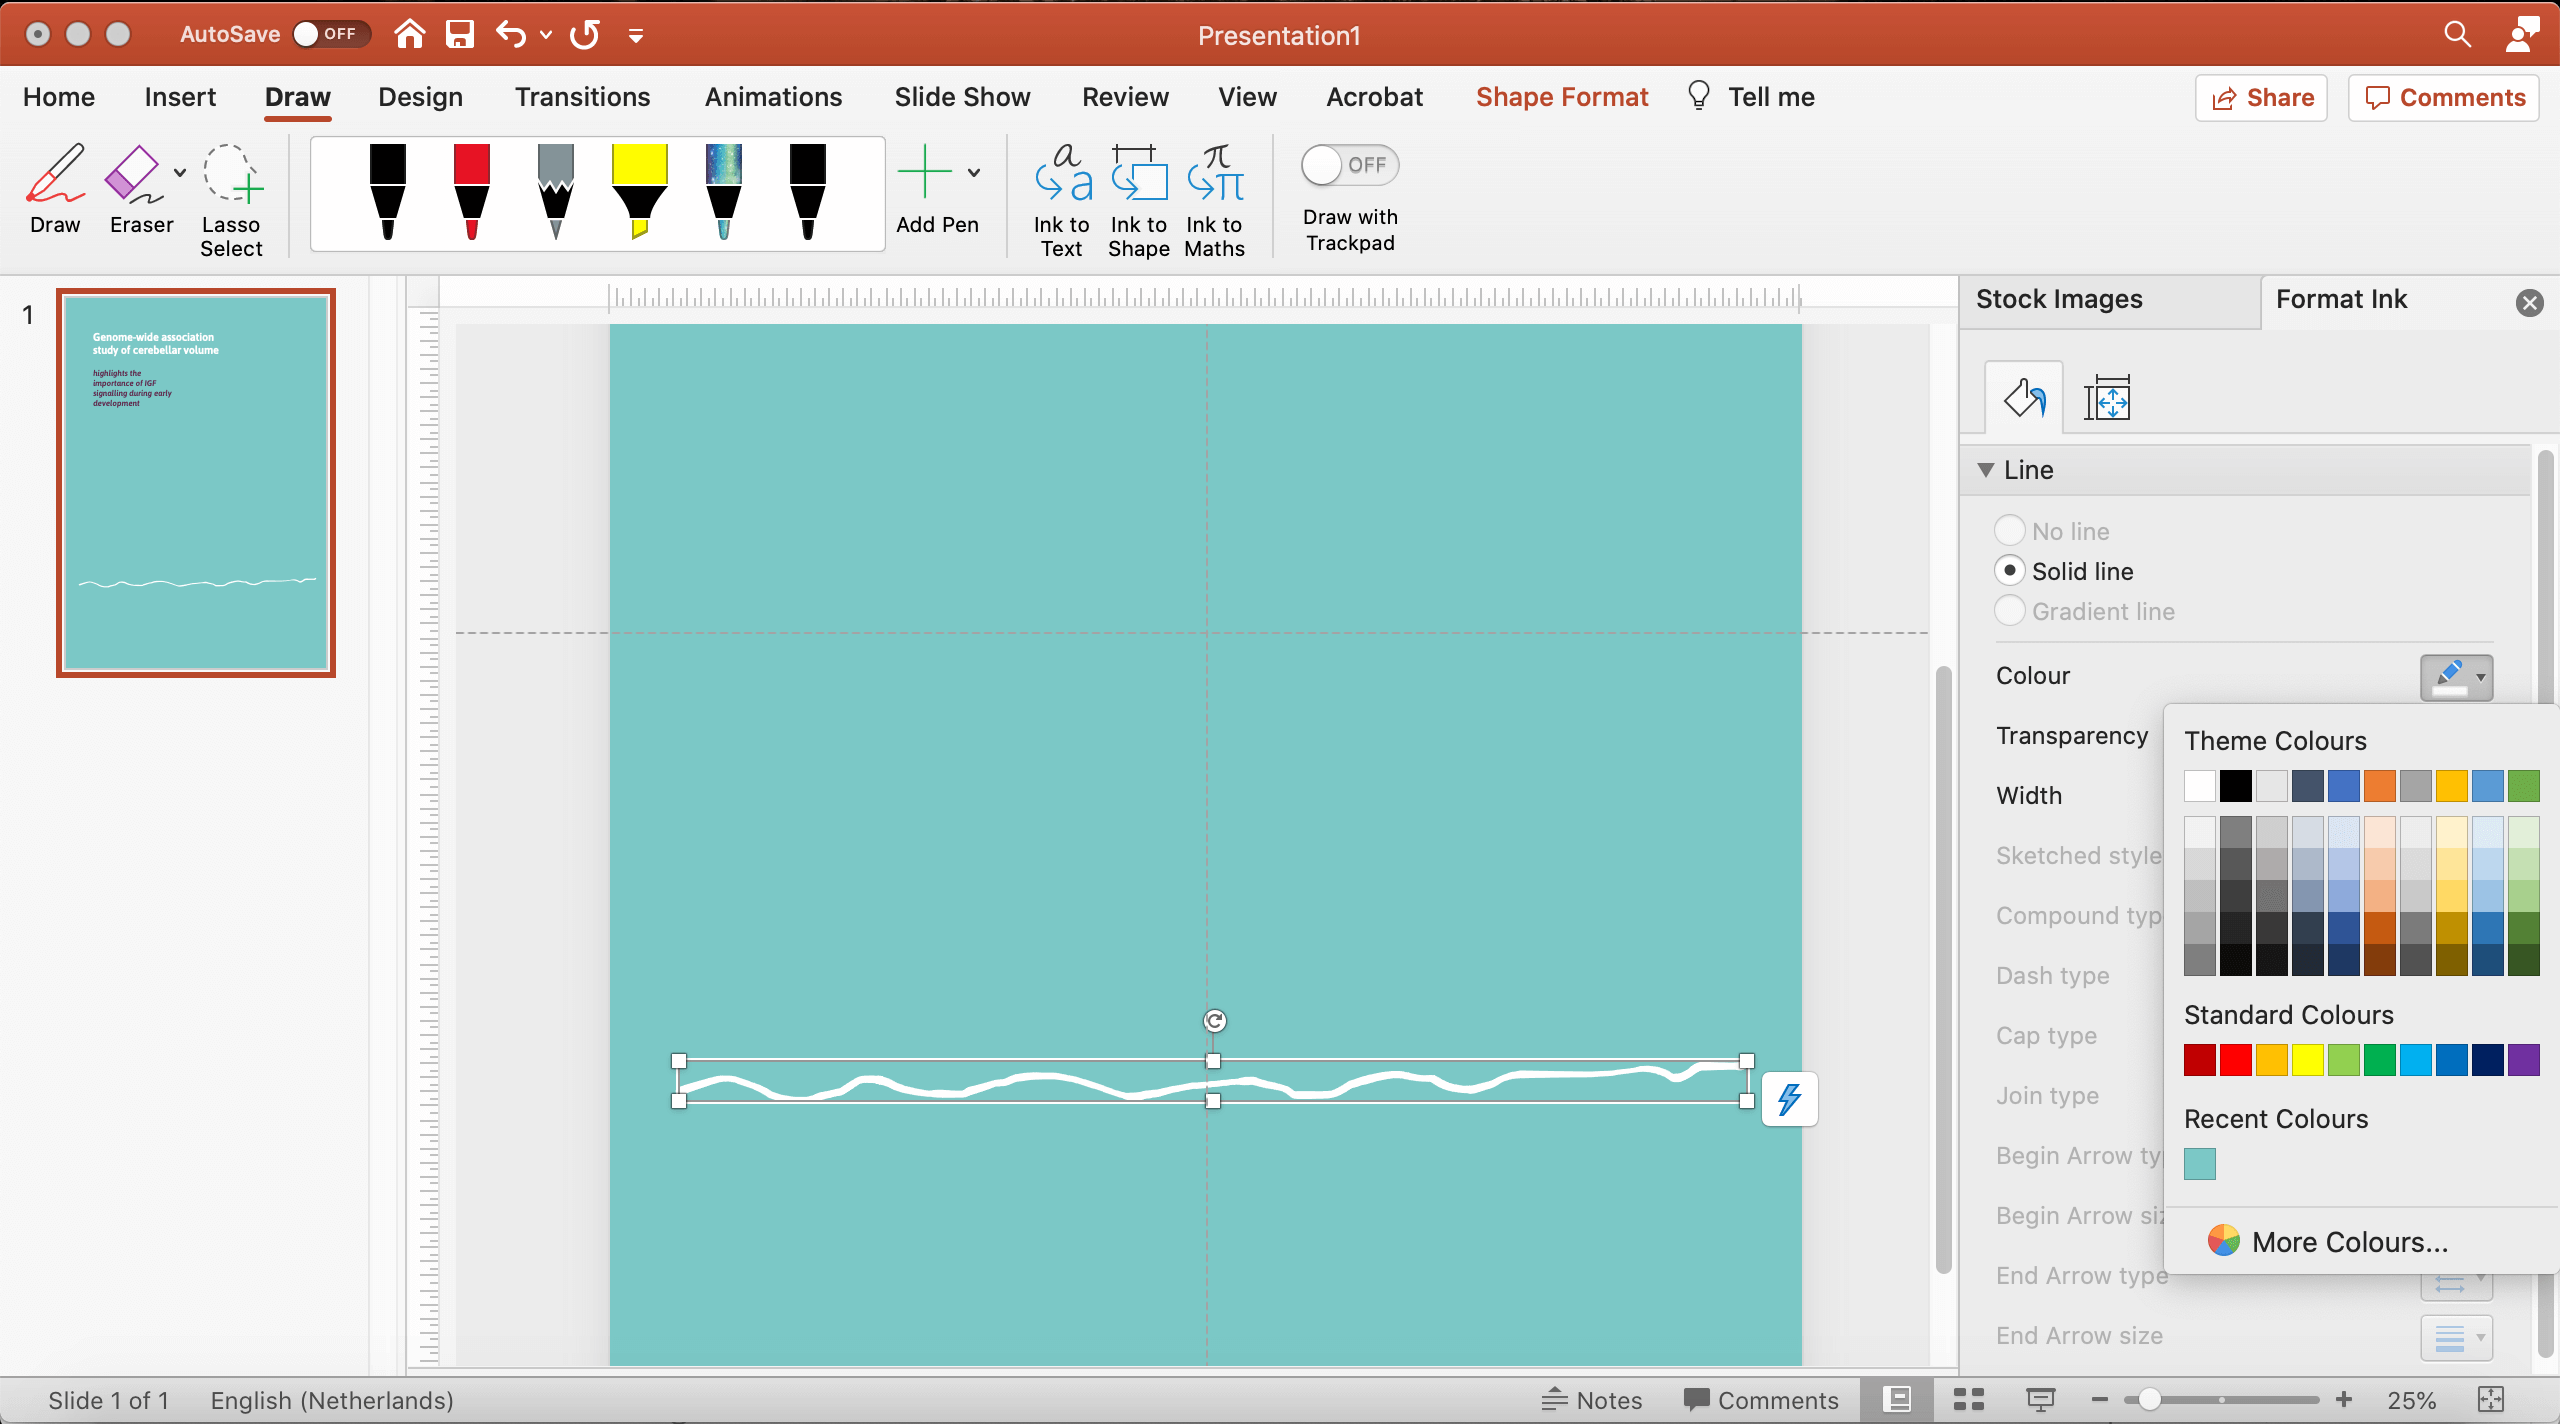
- If you want to draw your own images in PowerPoint, go to top bar 2 > Draw.
- Select one of the drawing pencils and start drawing (image 1).
- When you have drawn a shape or a line, you can go to top bar 2 > Shape Format, and adjust the colour (image 2).
9. Insert your charts
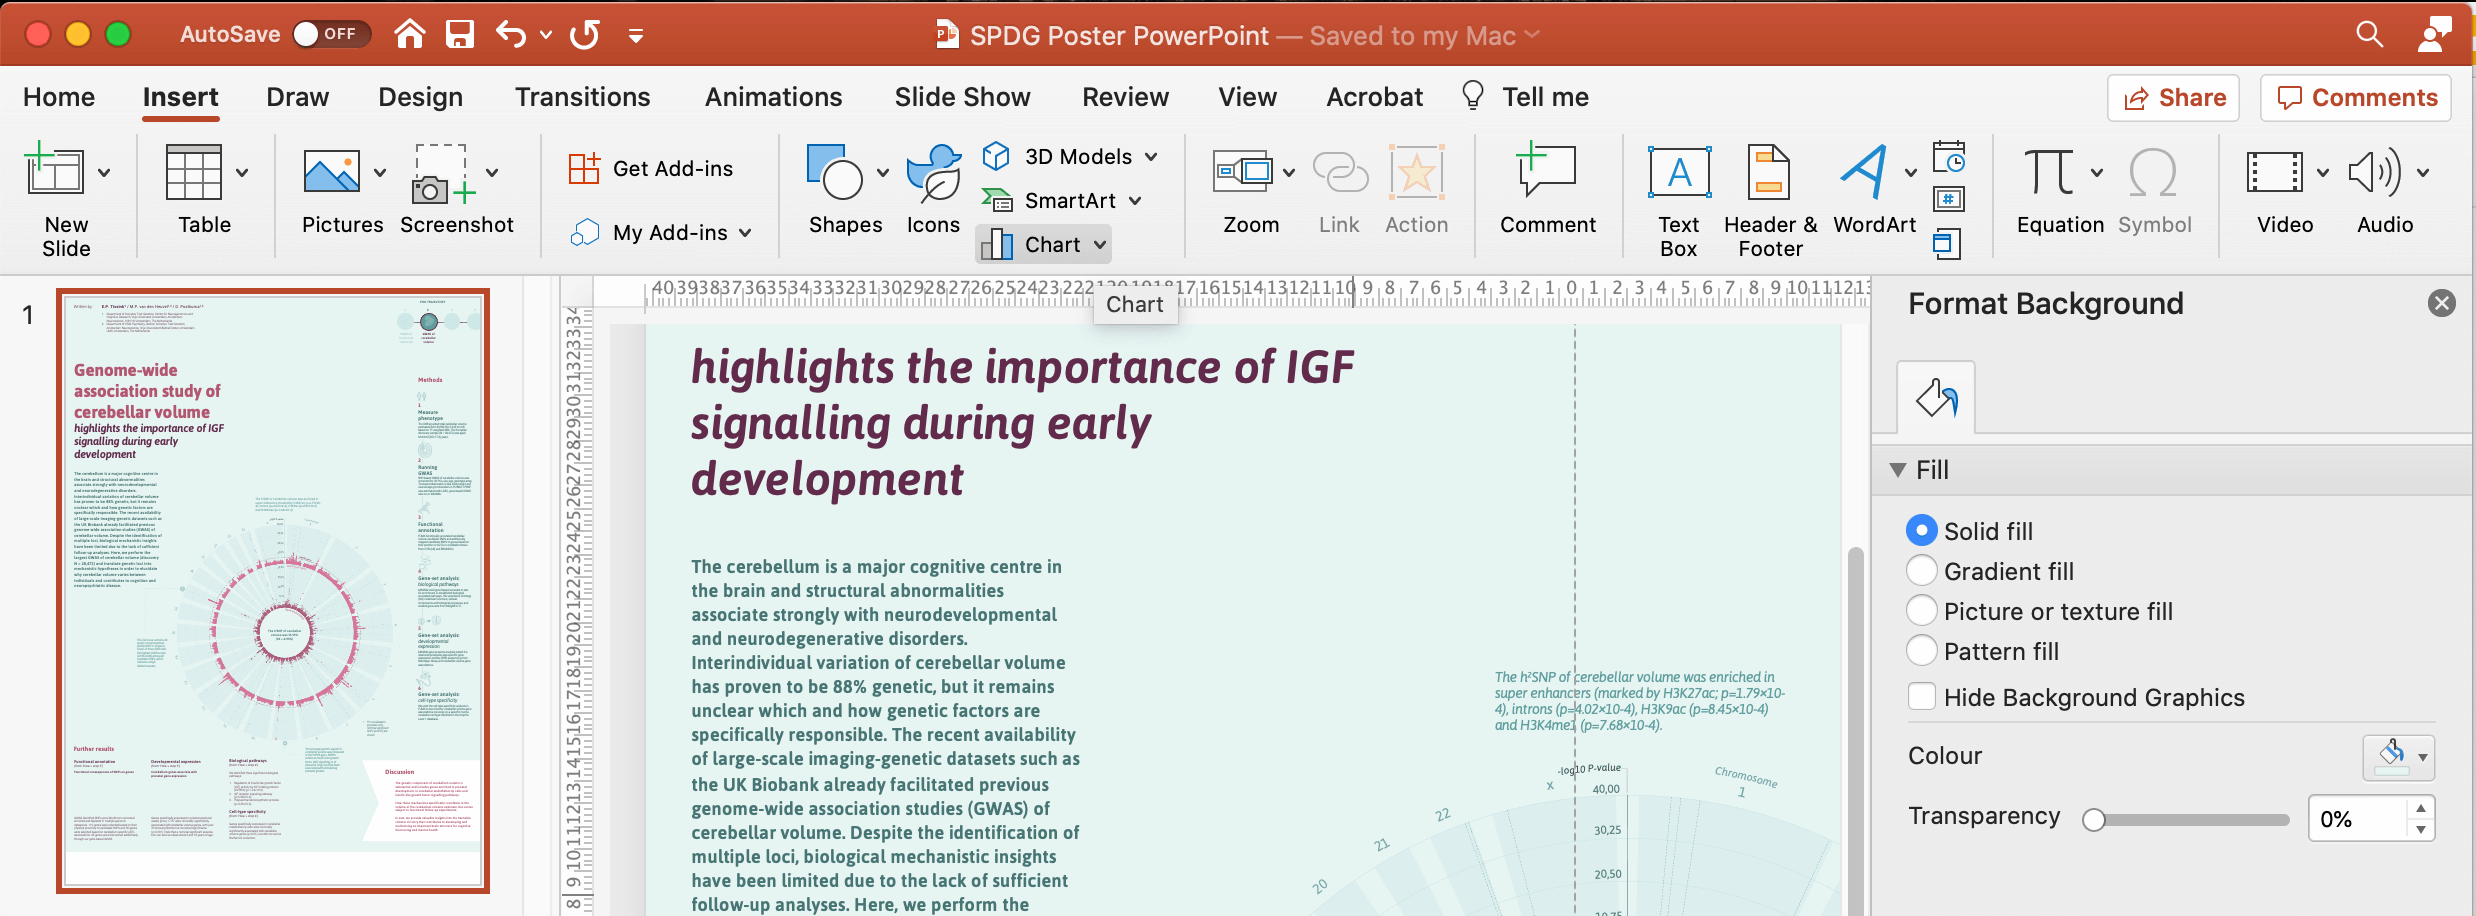
- If you use charts on your poster, go to top bar 2 > Insert.
- Select the Chart icon and choose a suitable chart design from the drop down menu (image 1).
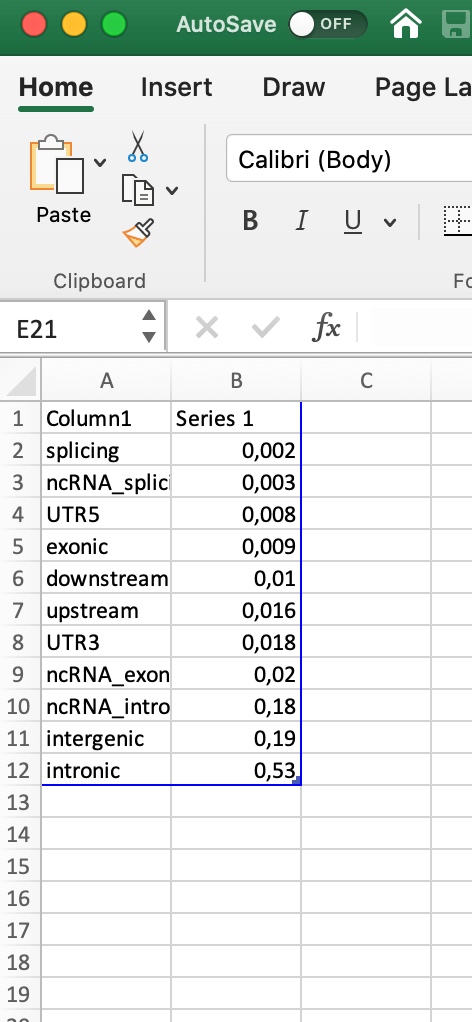
- When selecting a chart, Excel automatically opens.
- Fill in the right values in Excel (image 2).
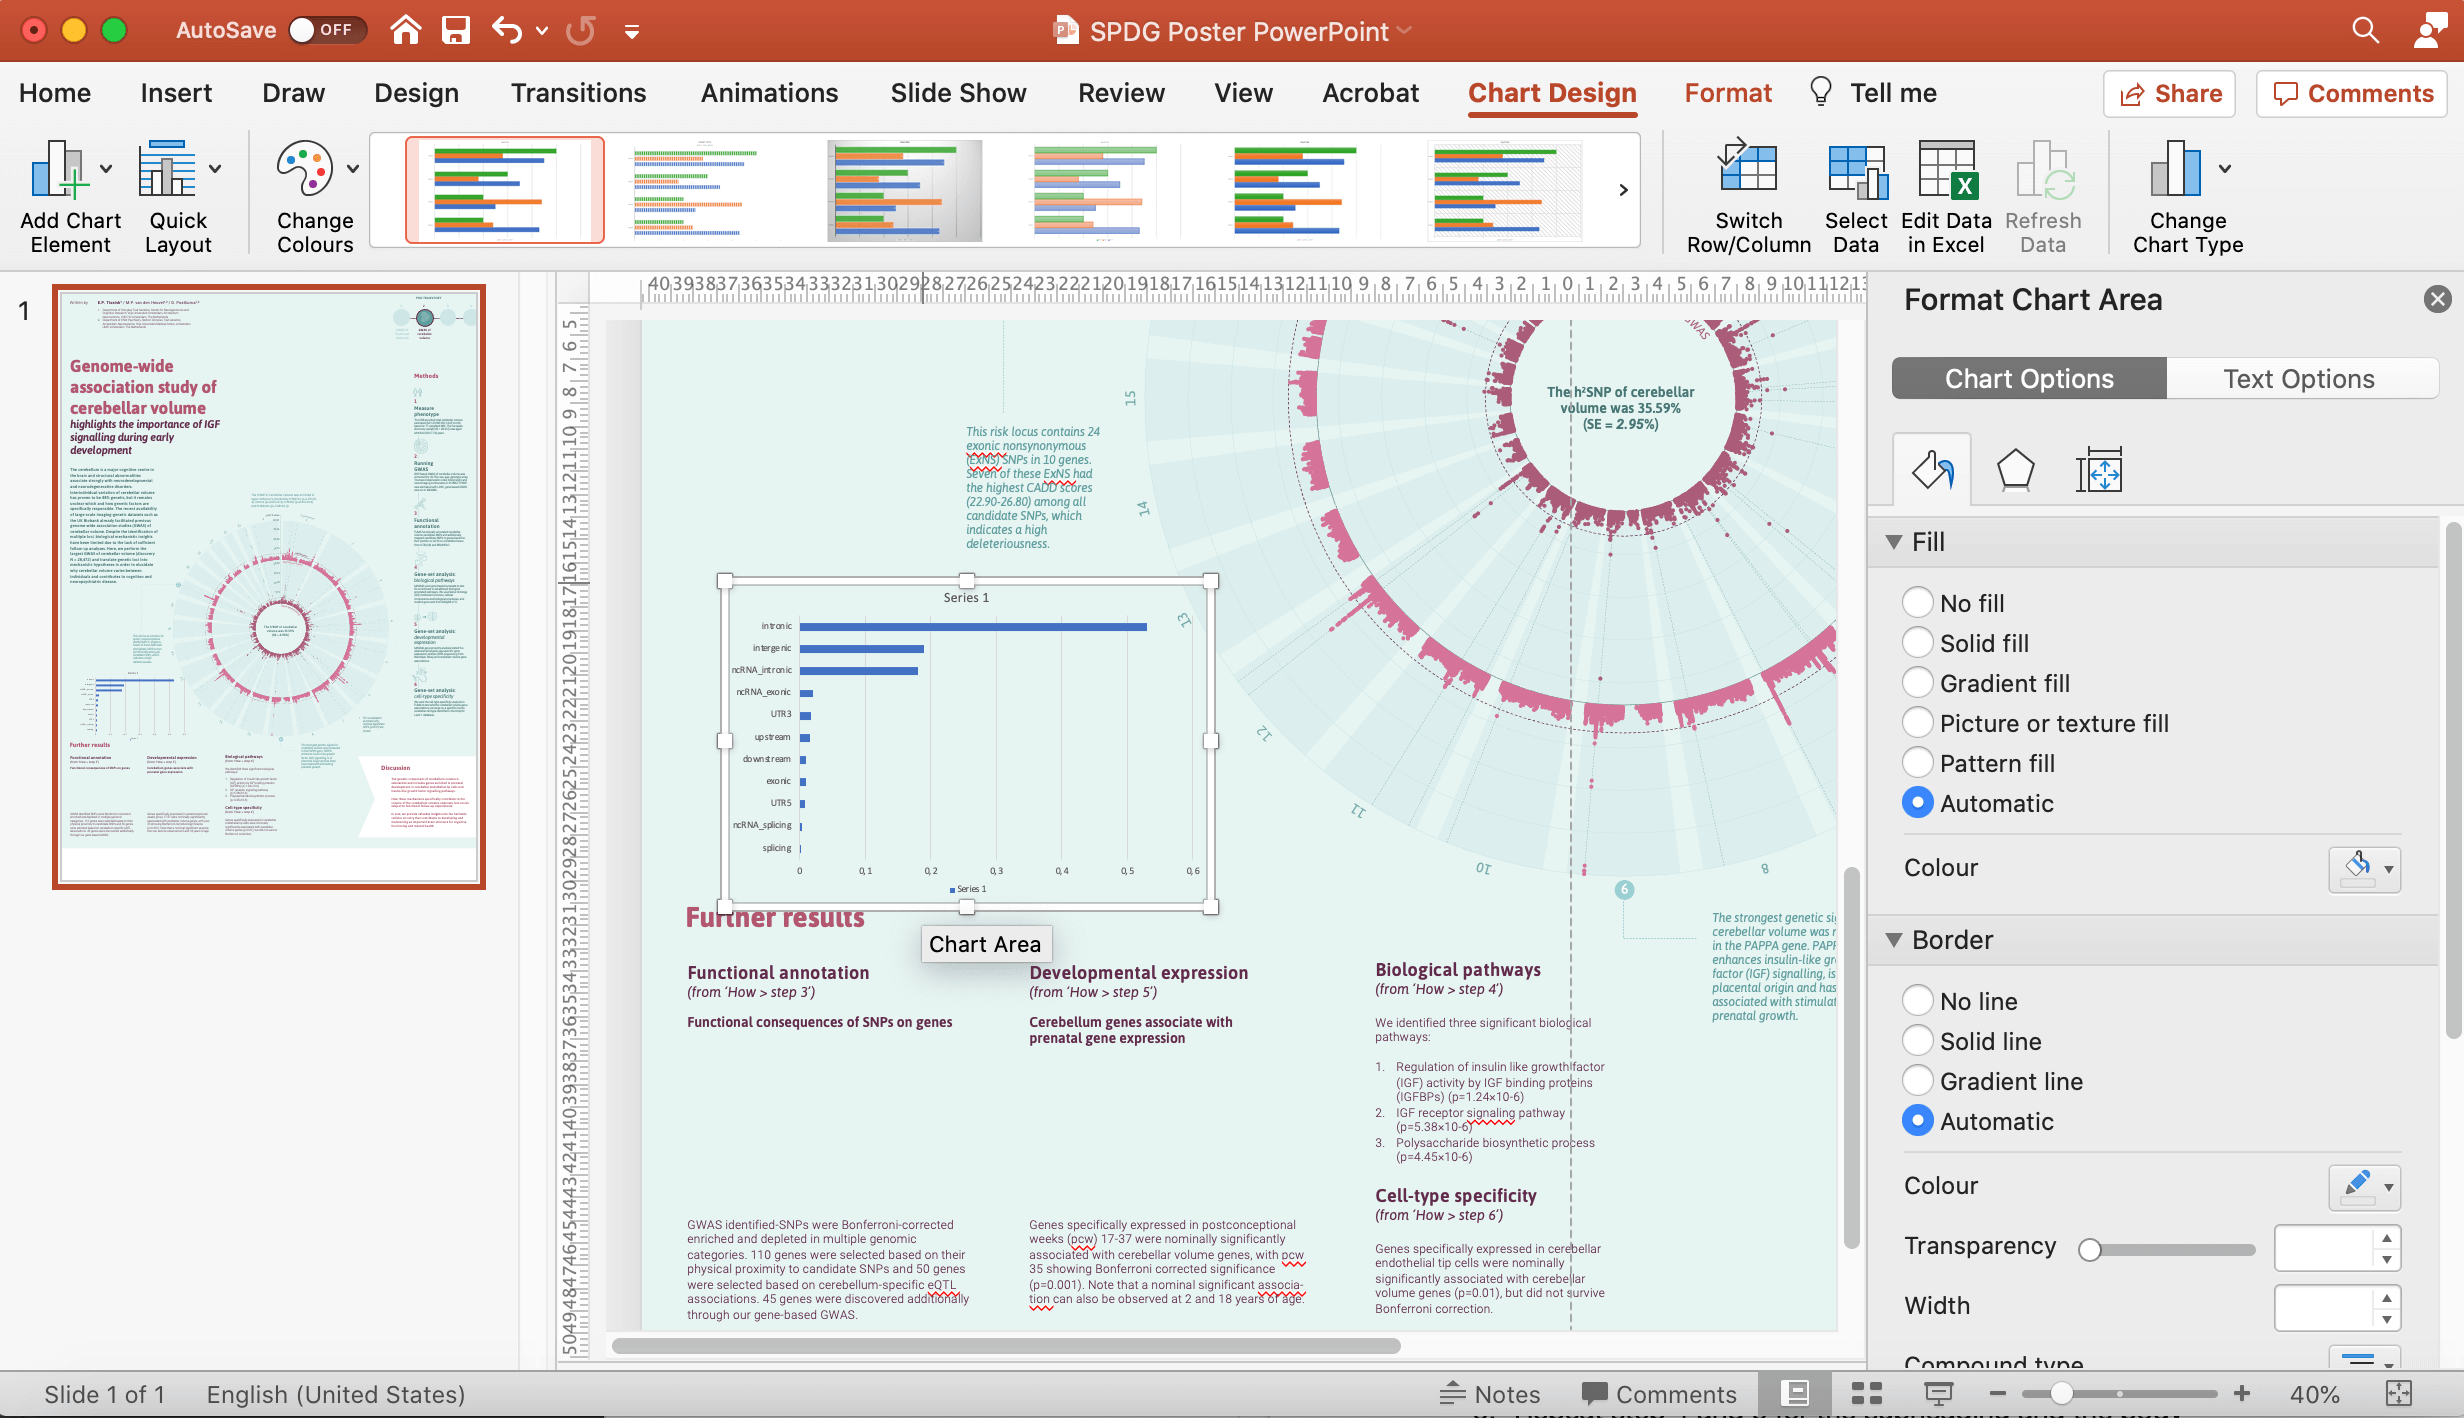
- Now it’s time to adjust the design of the chart. Go back to PowerPoint.
By clicking on elements in the chart, you can adjust the design of it (image 3). - Repeat the previous steps for all your charts.
10. Export to PDF (including bleed)
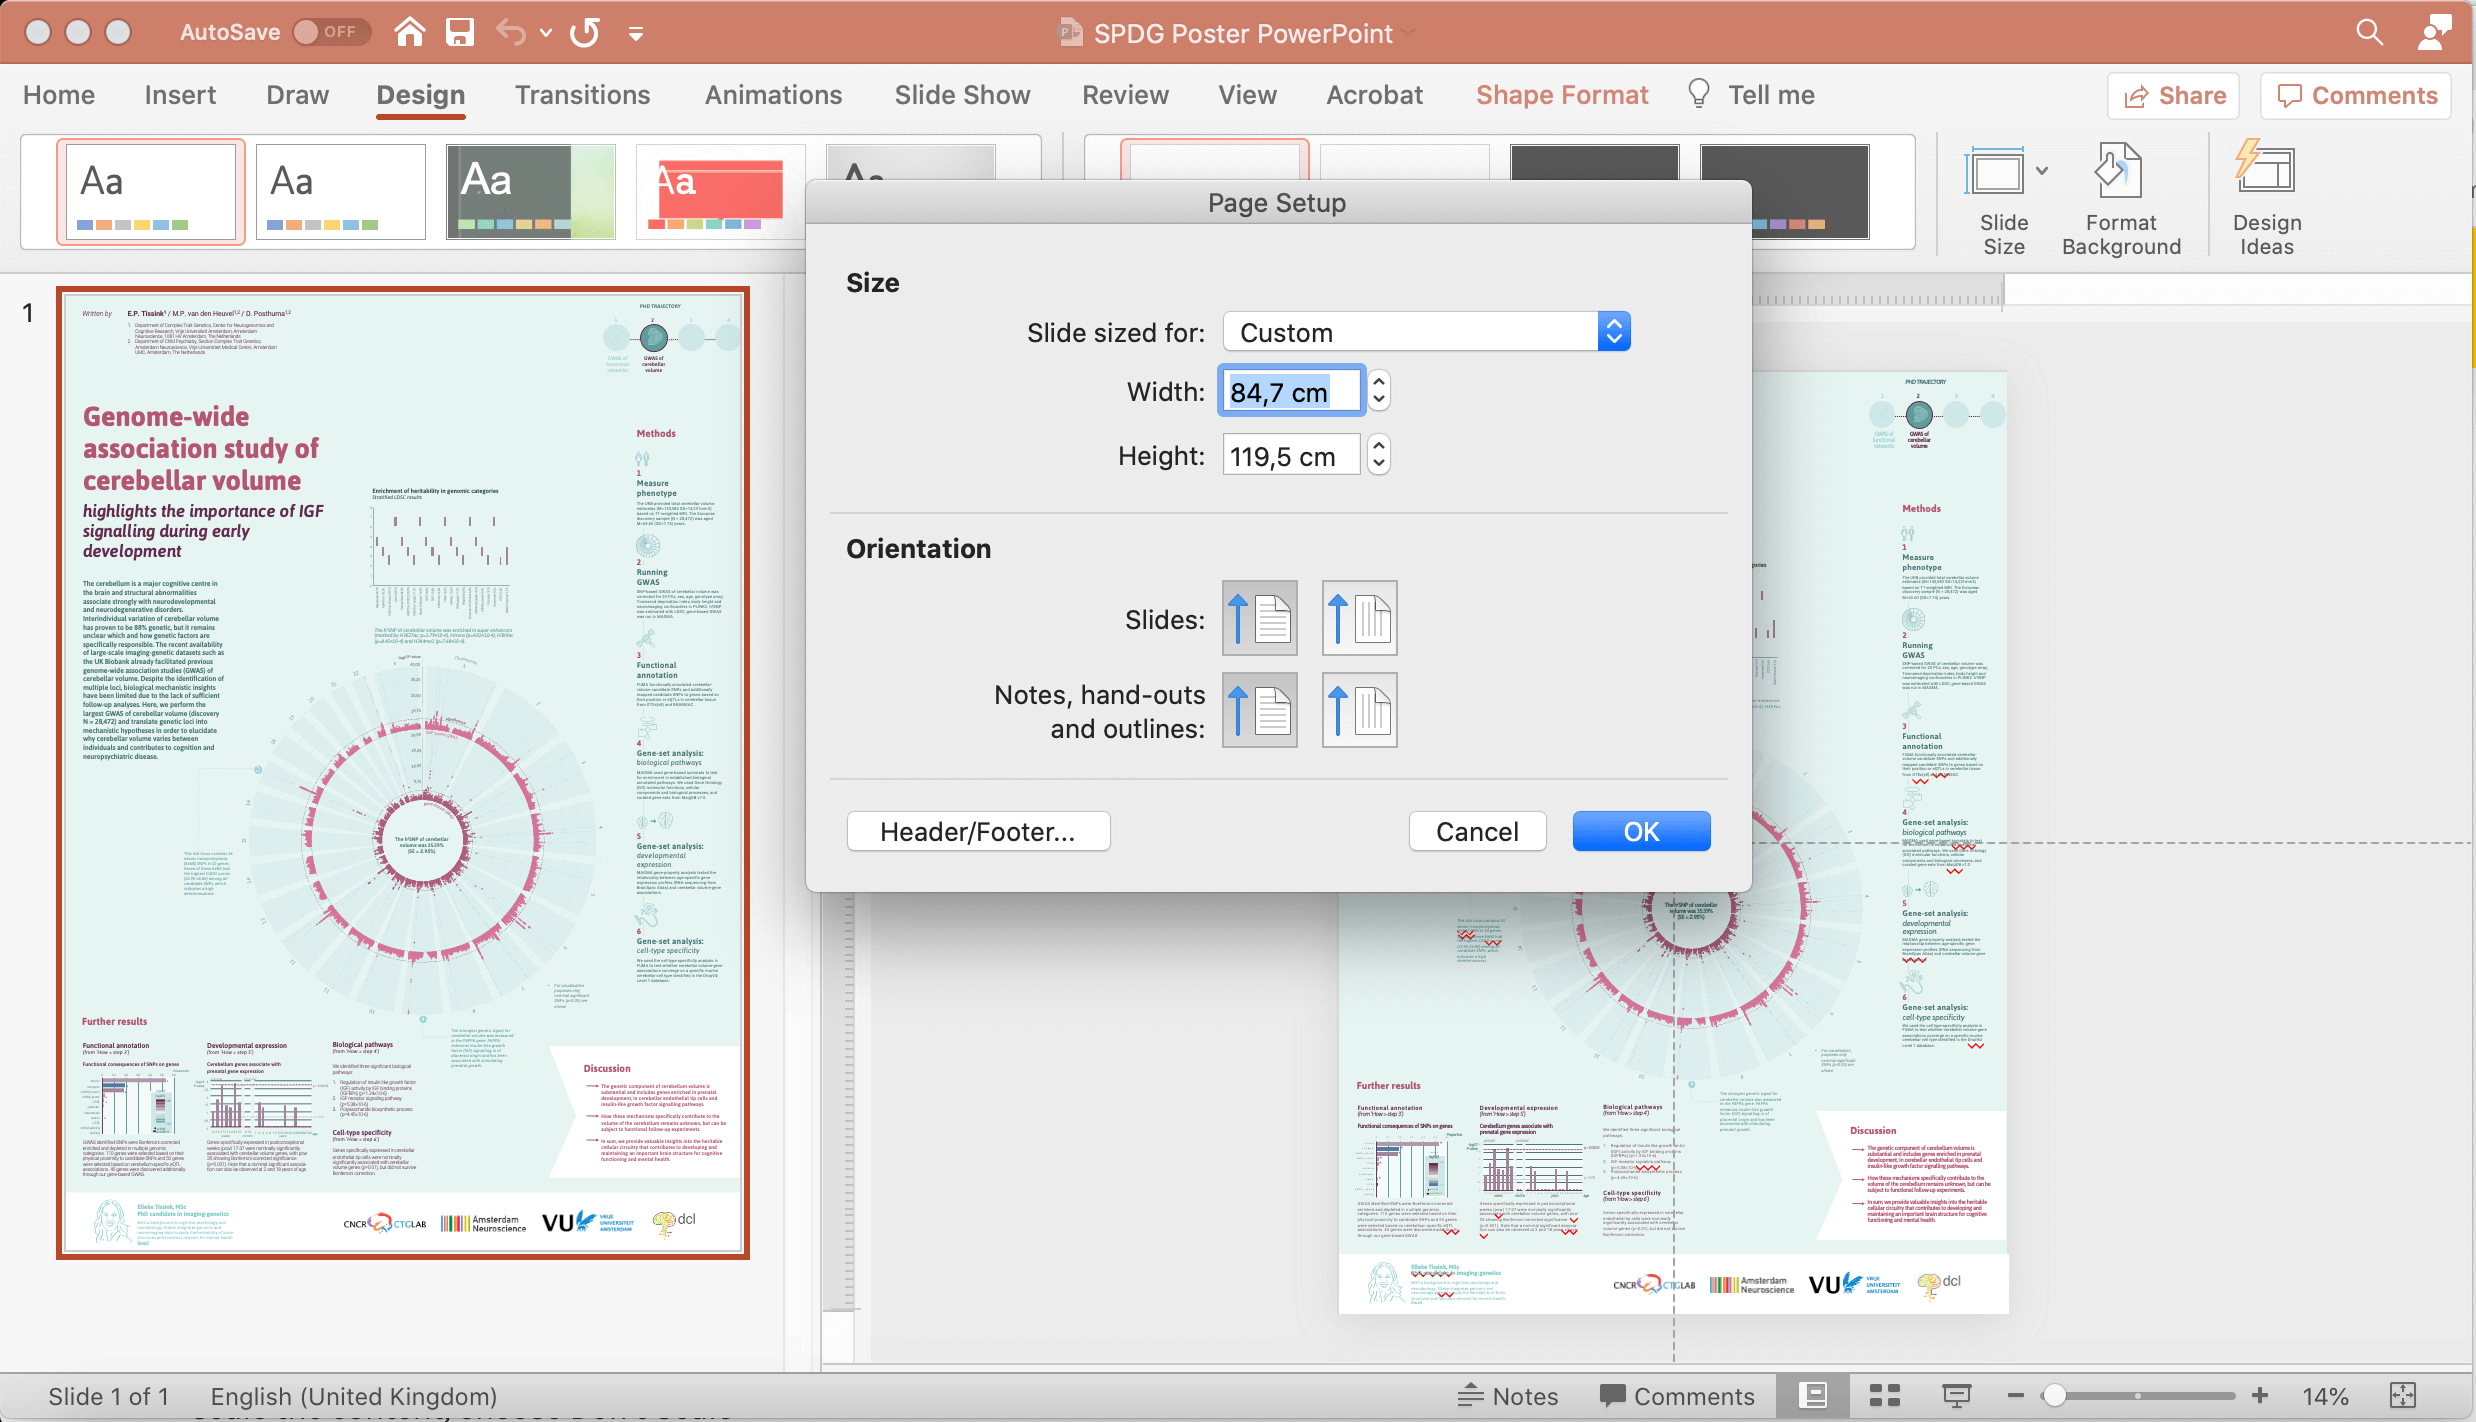
- PowerPoint does not have the bleed ability, so you have to integrate the bleed (most of the time 3 mm at each side) into the custom size. In top bar 2, go to Design.
- Select the icon Slide Size.
- Add 6 mm to both width and height (image 1).
- Click OK.
- The popup window asks you if you want to scale the content, choose 'Don’t Scale'.
- Check if there are elements on the poster that you need to make larger (because they don’t cover the bleed area). If applicable: make them larger
- Go in the top bar to File > Export.
- Choose PDF.
- Click 'Save'.
You are done, congratulations with your science poster!