How to's
How to design a great science
poster in Canva
On this page I'll explain how to use Canva to get a great science poster design. Good to mention beforehand: this is a tutorial about using Canva for your design. If you want to learn how to create a concept/idea for a science poster or visual, you can find this knowhow in the Science Poster Design Guide. After that, you can for example use a tool such as Canva to create the final design.
1. Create a poster file

- Go to canva.com and (when logged in) select 'Poster' in the visual menu (image 1)
- In the Canva top bar (with 'Home, File, Resize..'), give your file a name. The file saves automatically during designing.
2. Resize to A0: 841 x 1189 mm
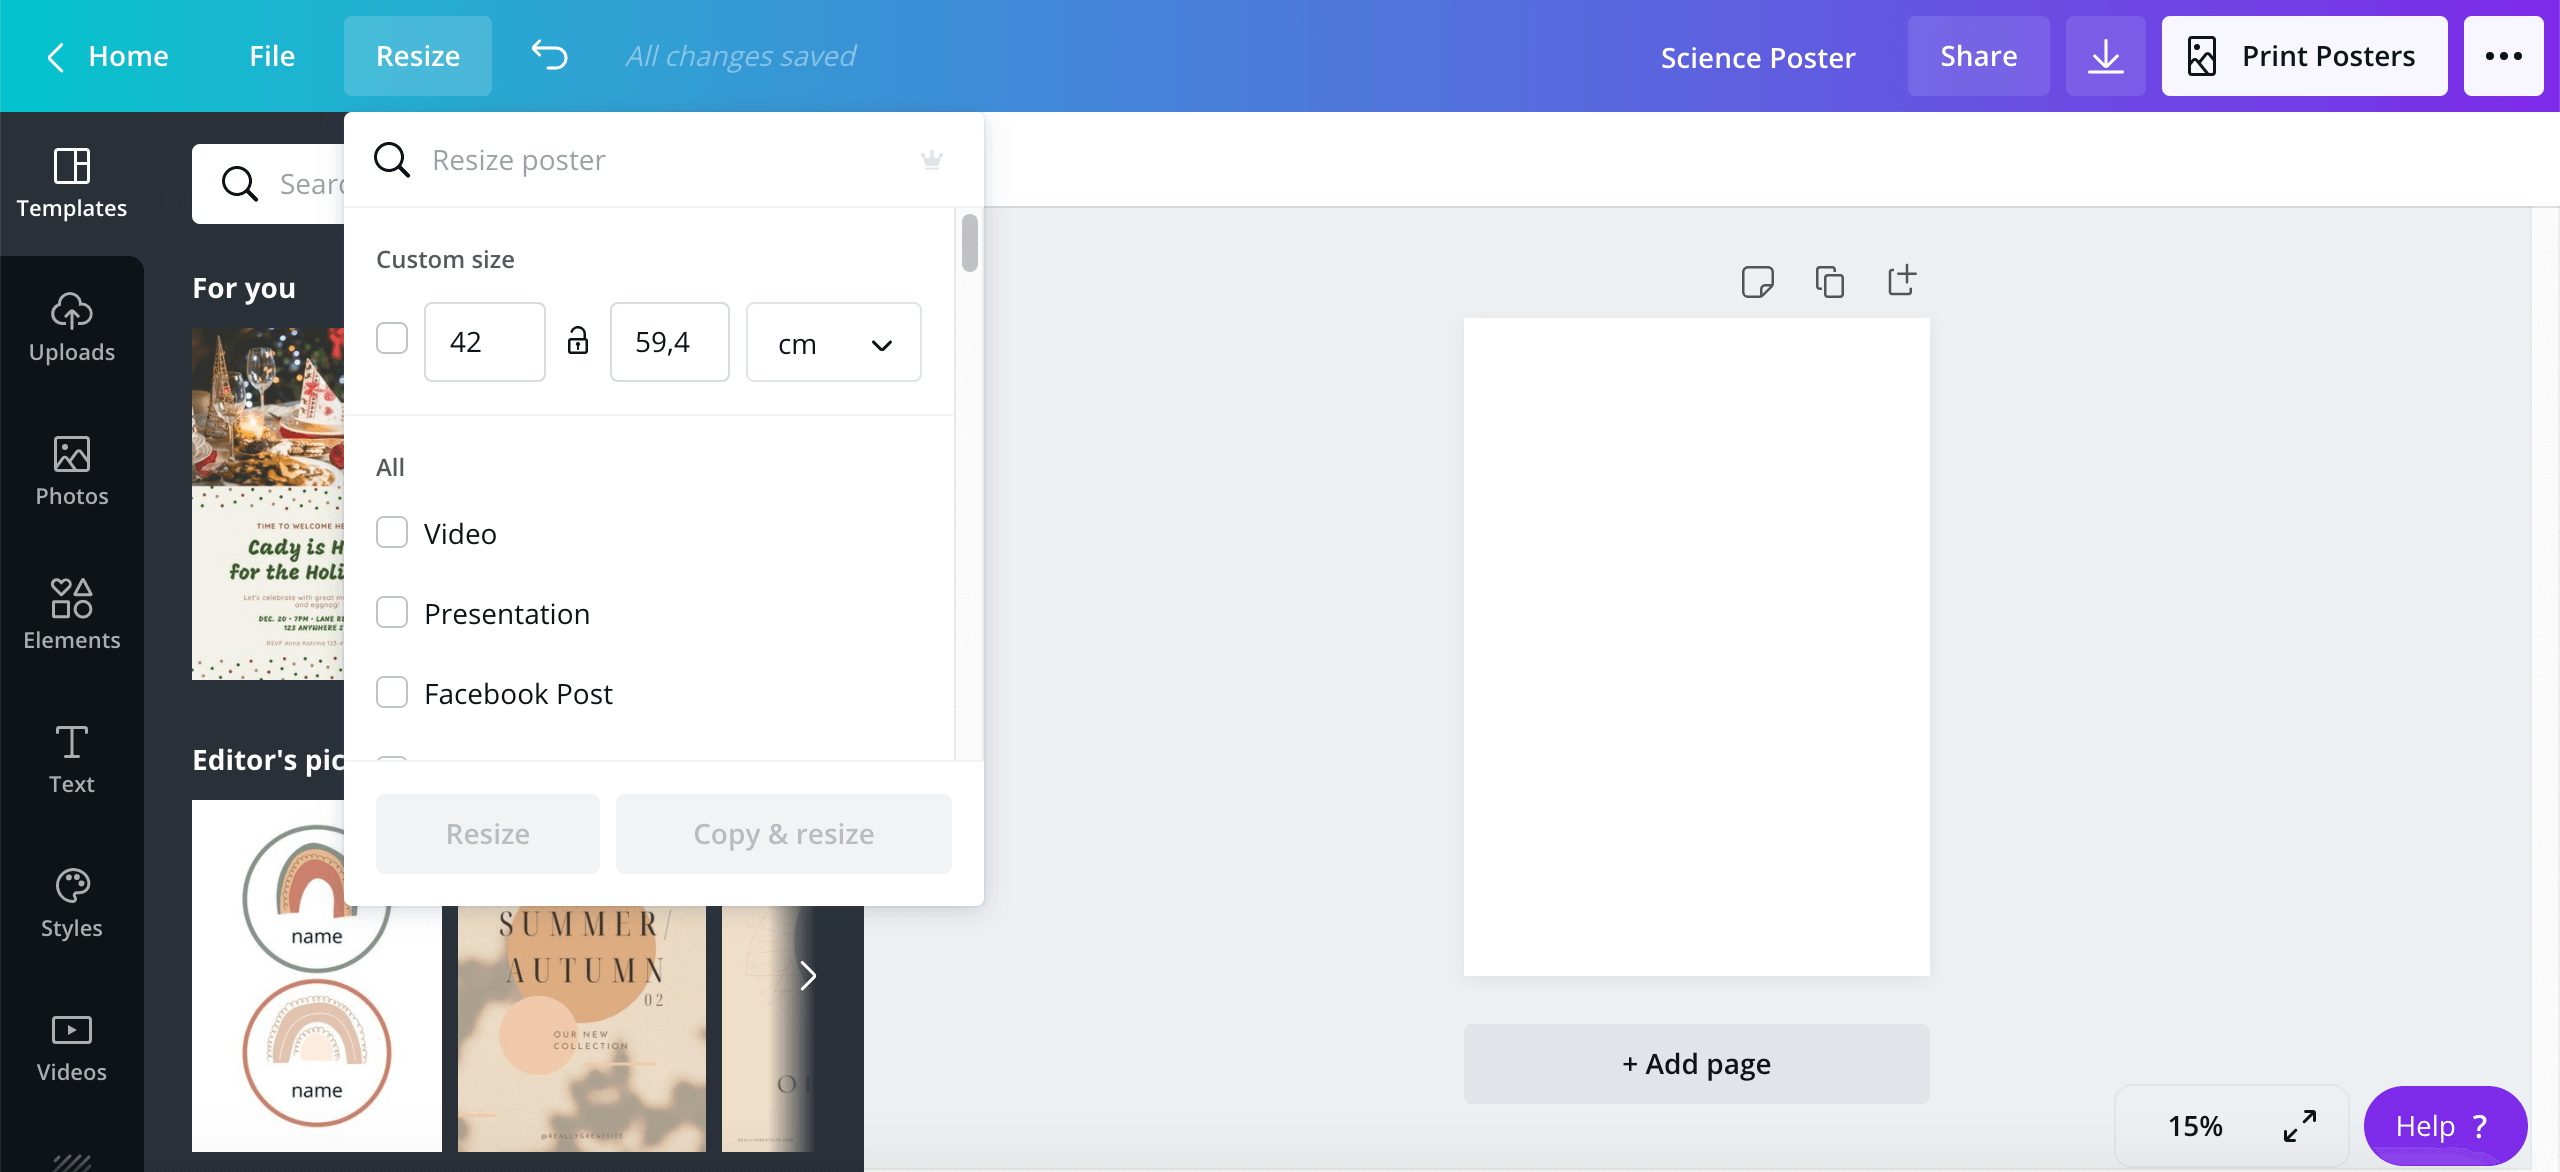
- Go to top bar > Resize (image 1).
- Fill in the custom size: 841 x 1189 mm.
- Click 'Resize'.
3. Add your colour palette
- Go to the left bar > Styles (image 1).
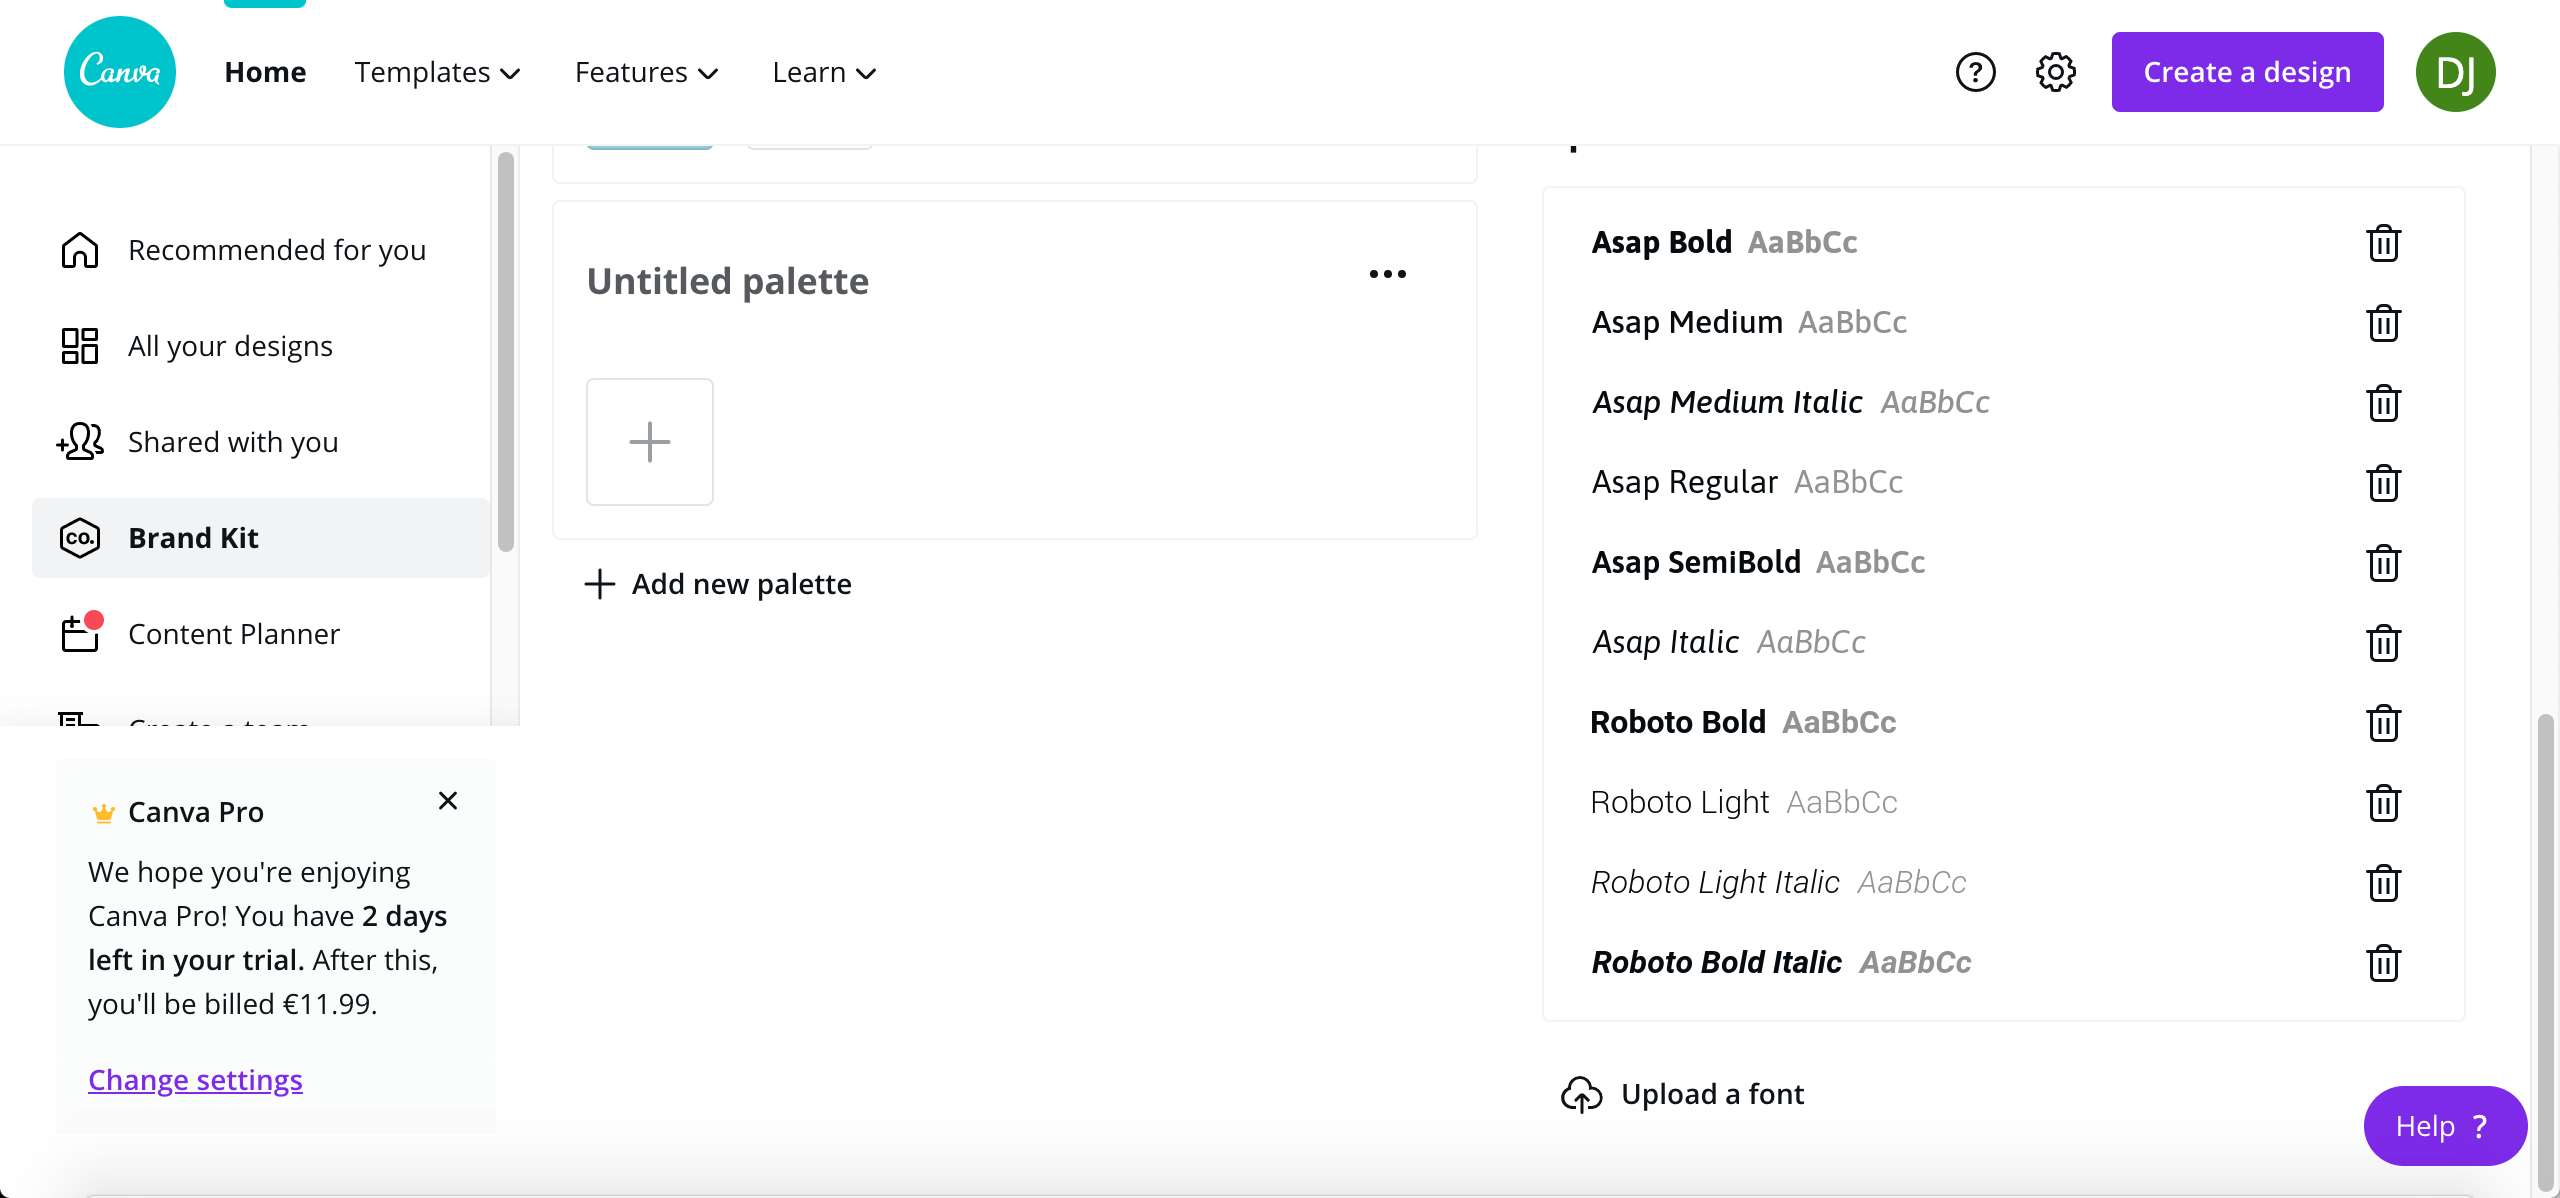
- Click on ’Set your heading style' under ‘Brand Kit'. You automatically go to canva.com/brand.
- Under ‘Brand colours’, click on ‘Untitled palette' (image 2).
- Give your palette a name
- Click on the ‘+’ sign and add your colour.
- Repeat step 5 until you have added all your palette colours.
4. Add your typography styles

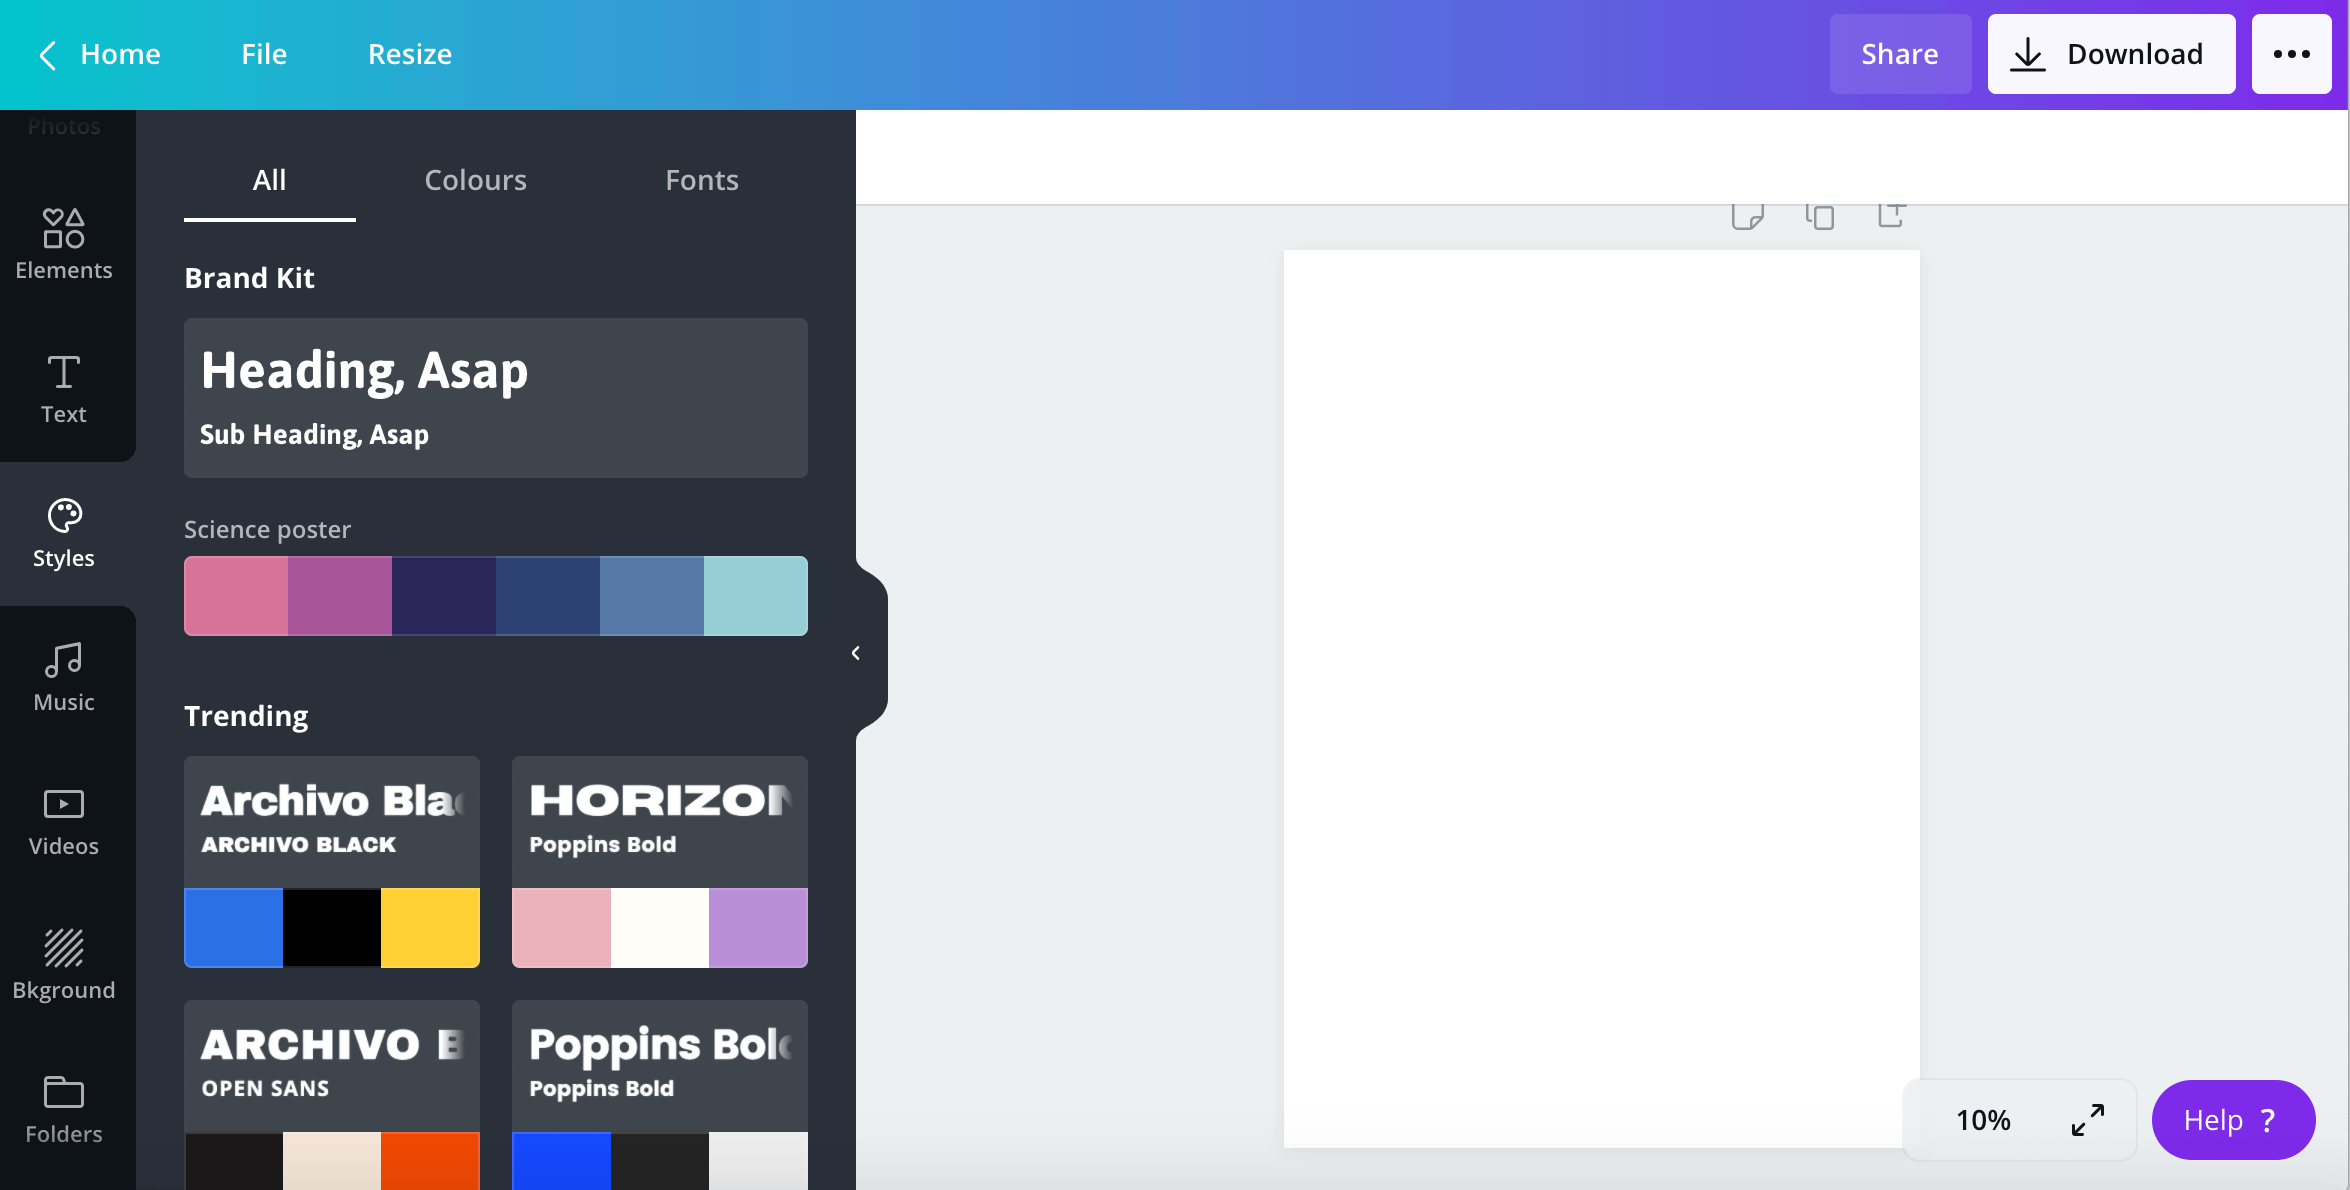
- Return to your Canva poster design page and go to the left bar > Styles.
- Click on the '+' sign under 'Set your brand colours'. You automatically go to canva.com/brand.
- Under ‘Brand fonts’, click on ‘Add a heading style' (image 1).
- Choose or upload a font and choose a font size. You can for example download great free fonts on fonts.google.com.
- Repeat step 3 and 4 for the subheading and the body.
- Go back to your Canva poster design page and refresh the page. The colour palette and the typography styles are now visible in the ’Styles section (image 2).
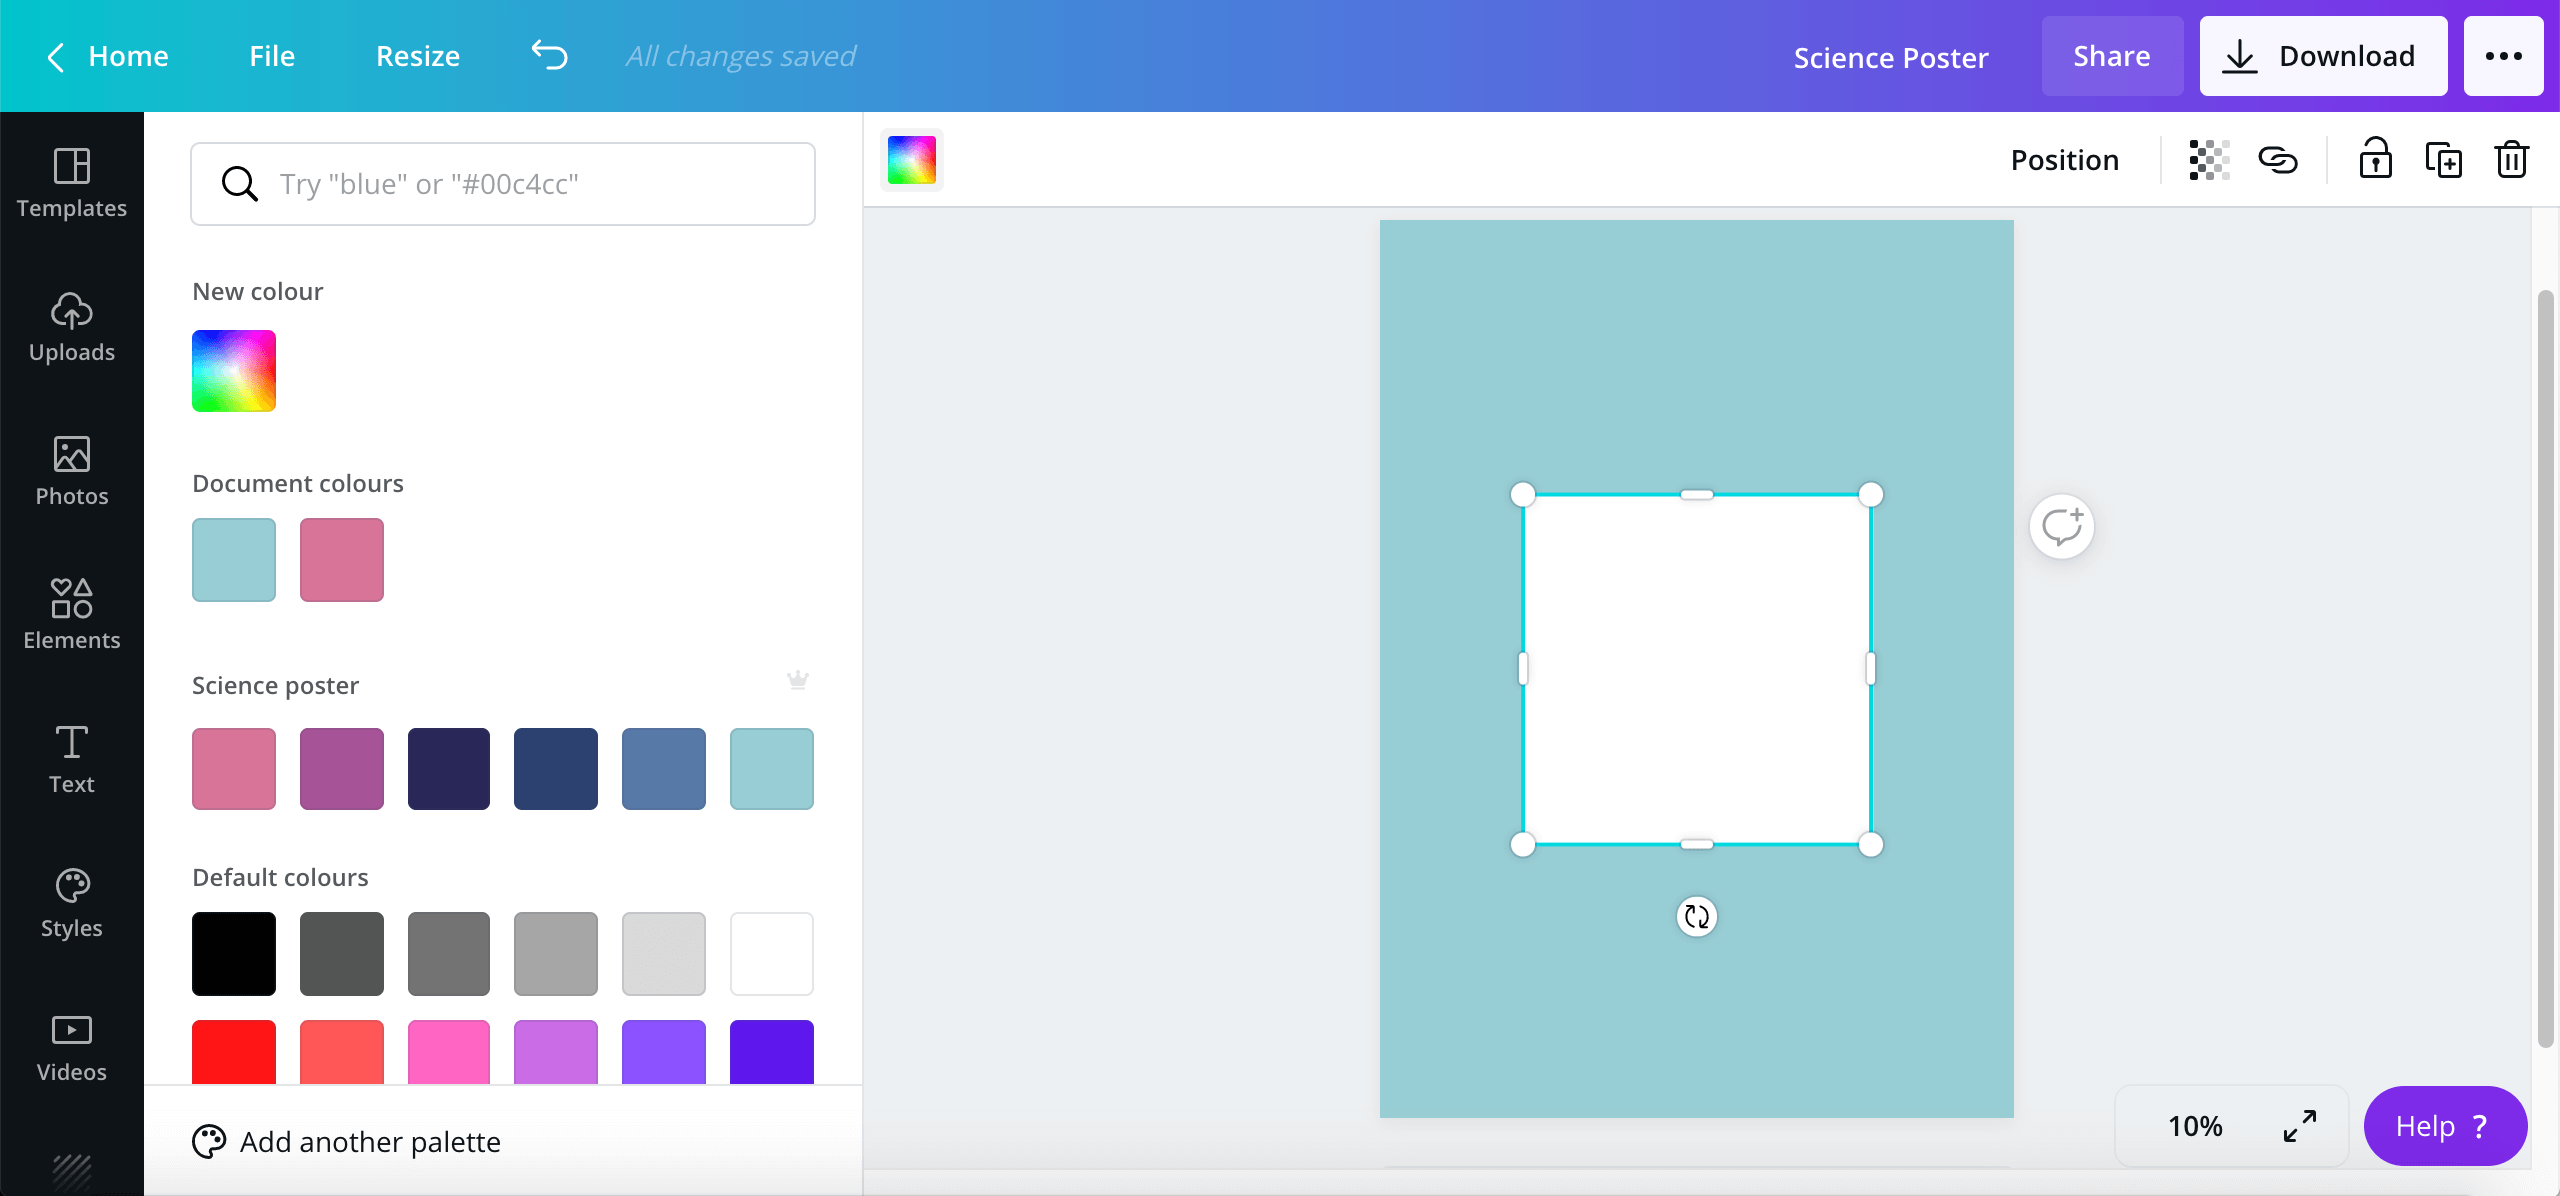
5. Choose your background color


- If you want to use a background color, go to the left bar > Bkground (image 1).
- Choose your background colour: from your palette or a colour that is very close to the colours in the palette (image 2).
6. Add background shapes (optional)


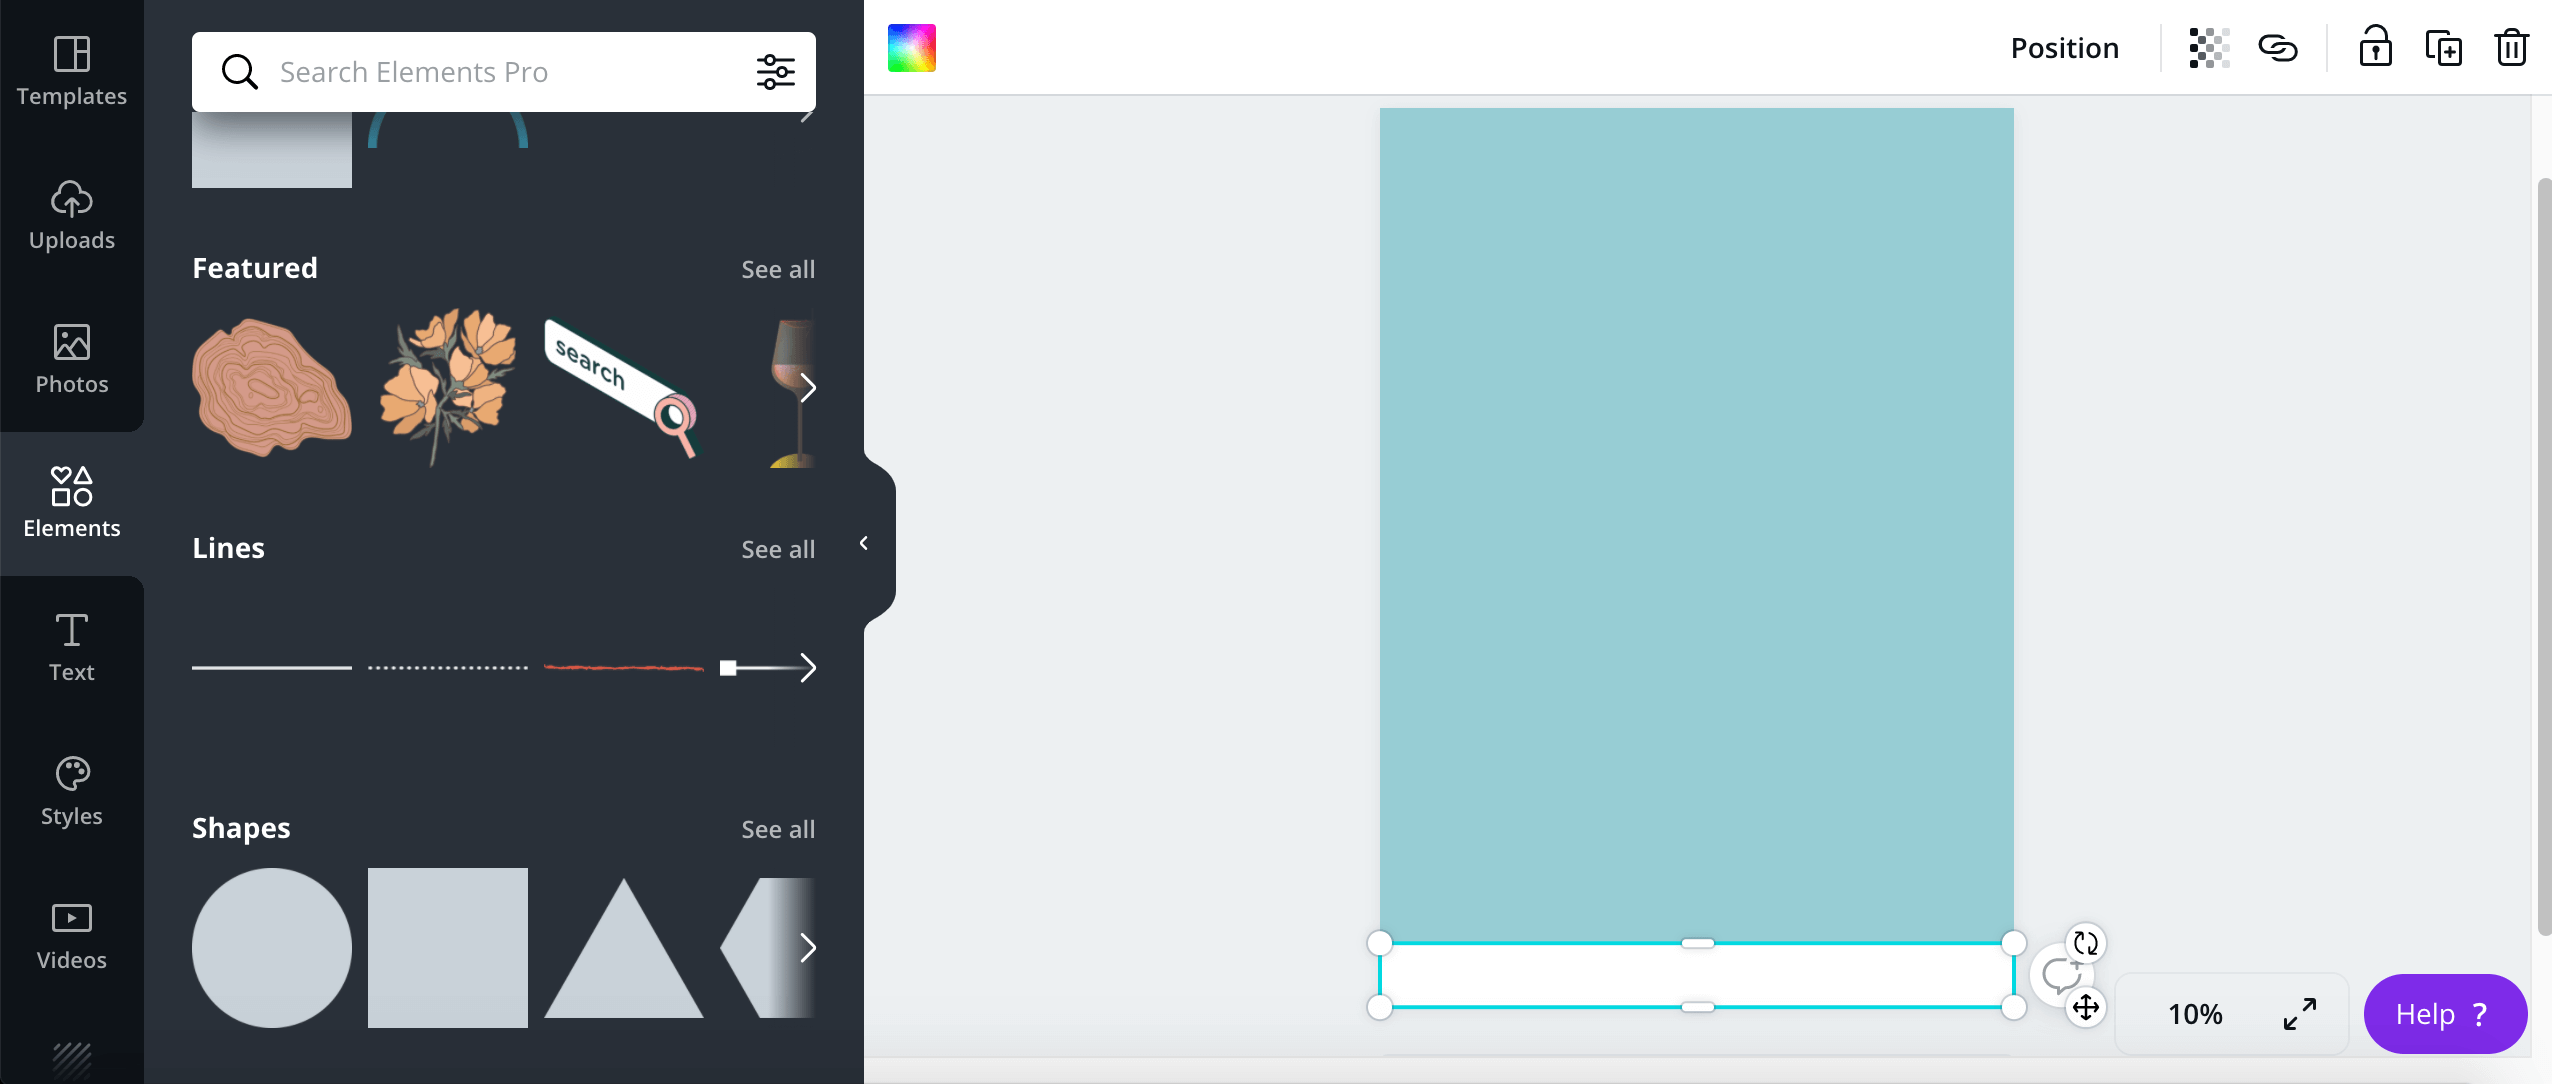
- if you use background shapes, such as a top bar or a rectangle that contains text, go to the left bar > Elements (image 1).
- Select the shape you want to add (image 2).
- Give it the right colour (click on the colour icon in the bar above the poster design, image 3).
- Give it the right size (by adjusting the shape with the shape handles, image 4).
- Repeat previous steps for all your background shapes.
7. Add your texts
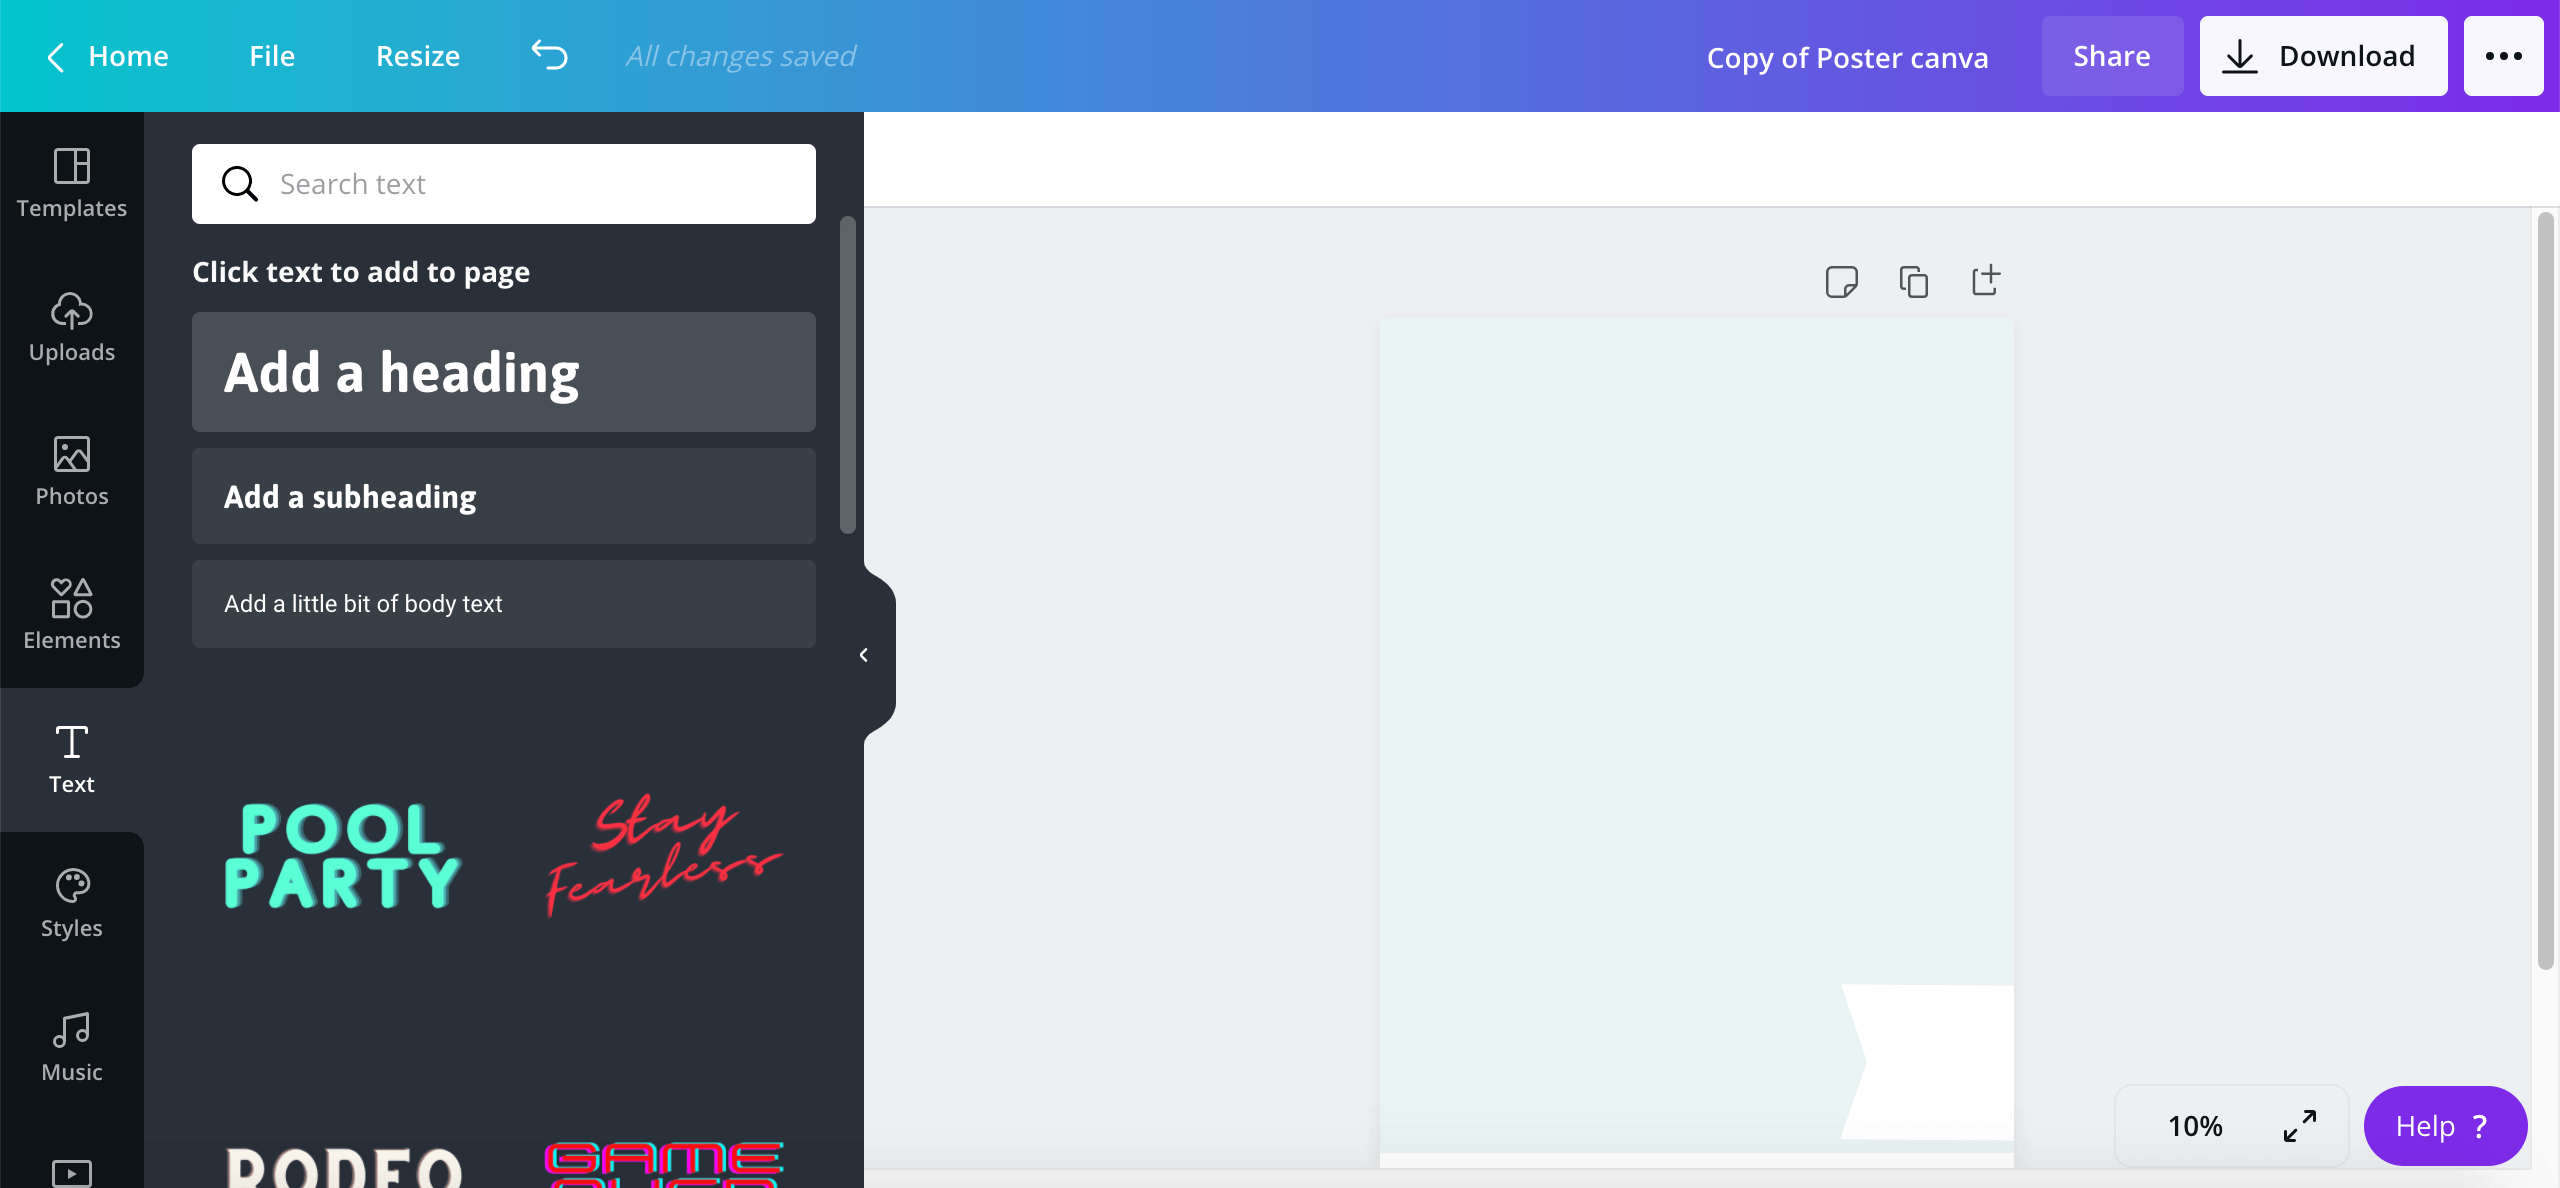


- Go to the left bar > Text.
- Click on ‘Add a heading' (image 1).
- Add the title of your poster in the text frame and drag it to the right place (image 2).
- Give the title the right text alignment (see bar above poster) and size (image 2).
- Give the title the right colour: select the text and change the colour of the text in the top bar above the poster (image 3).
- If you want to adjust the text frame, you can adjust it by dragging the left or right handles.
- Good to know regarding subscript and superscript: this is not a feature of Canva, so you have to add it manually, by for example making a new text frame with the smaller sub- or superscript size and place it next to the word.
- Repeat step 1-5 for the other texts. You can use the text type (heading/subheading/body) that suits your text and optionally further change it to your liking.
8. Add/create images in Canva

- If you want to add or create images in Canva: you can add simple shapes, create charts (see step 10) and add illustrations. Illustrations and shapes can be adjusted in color, size and orientation. Charts can be filled with your own data and adjusted in color, size, typography.
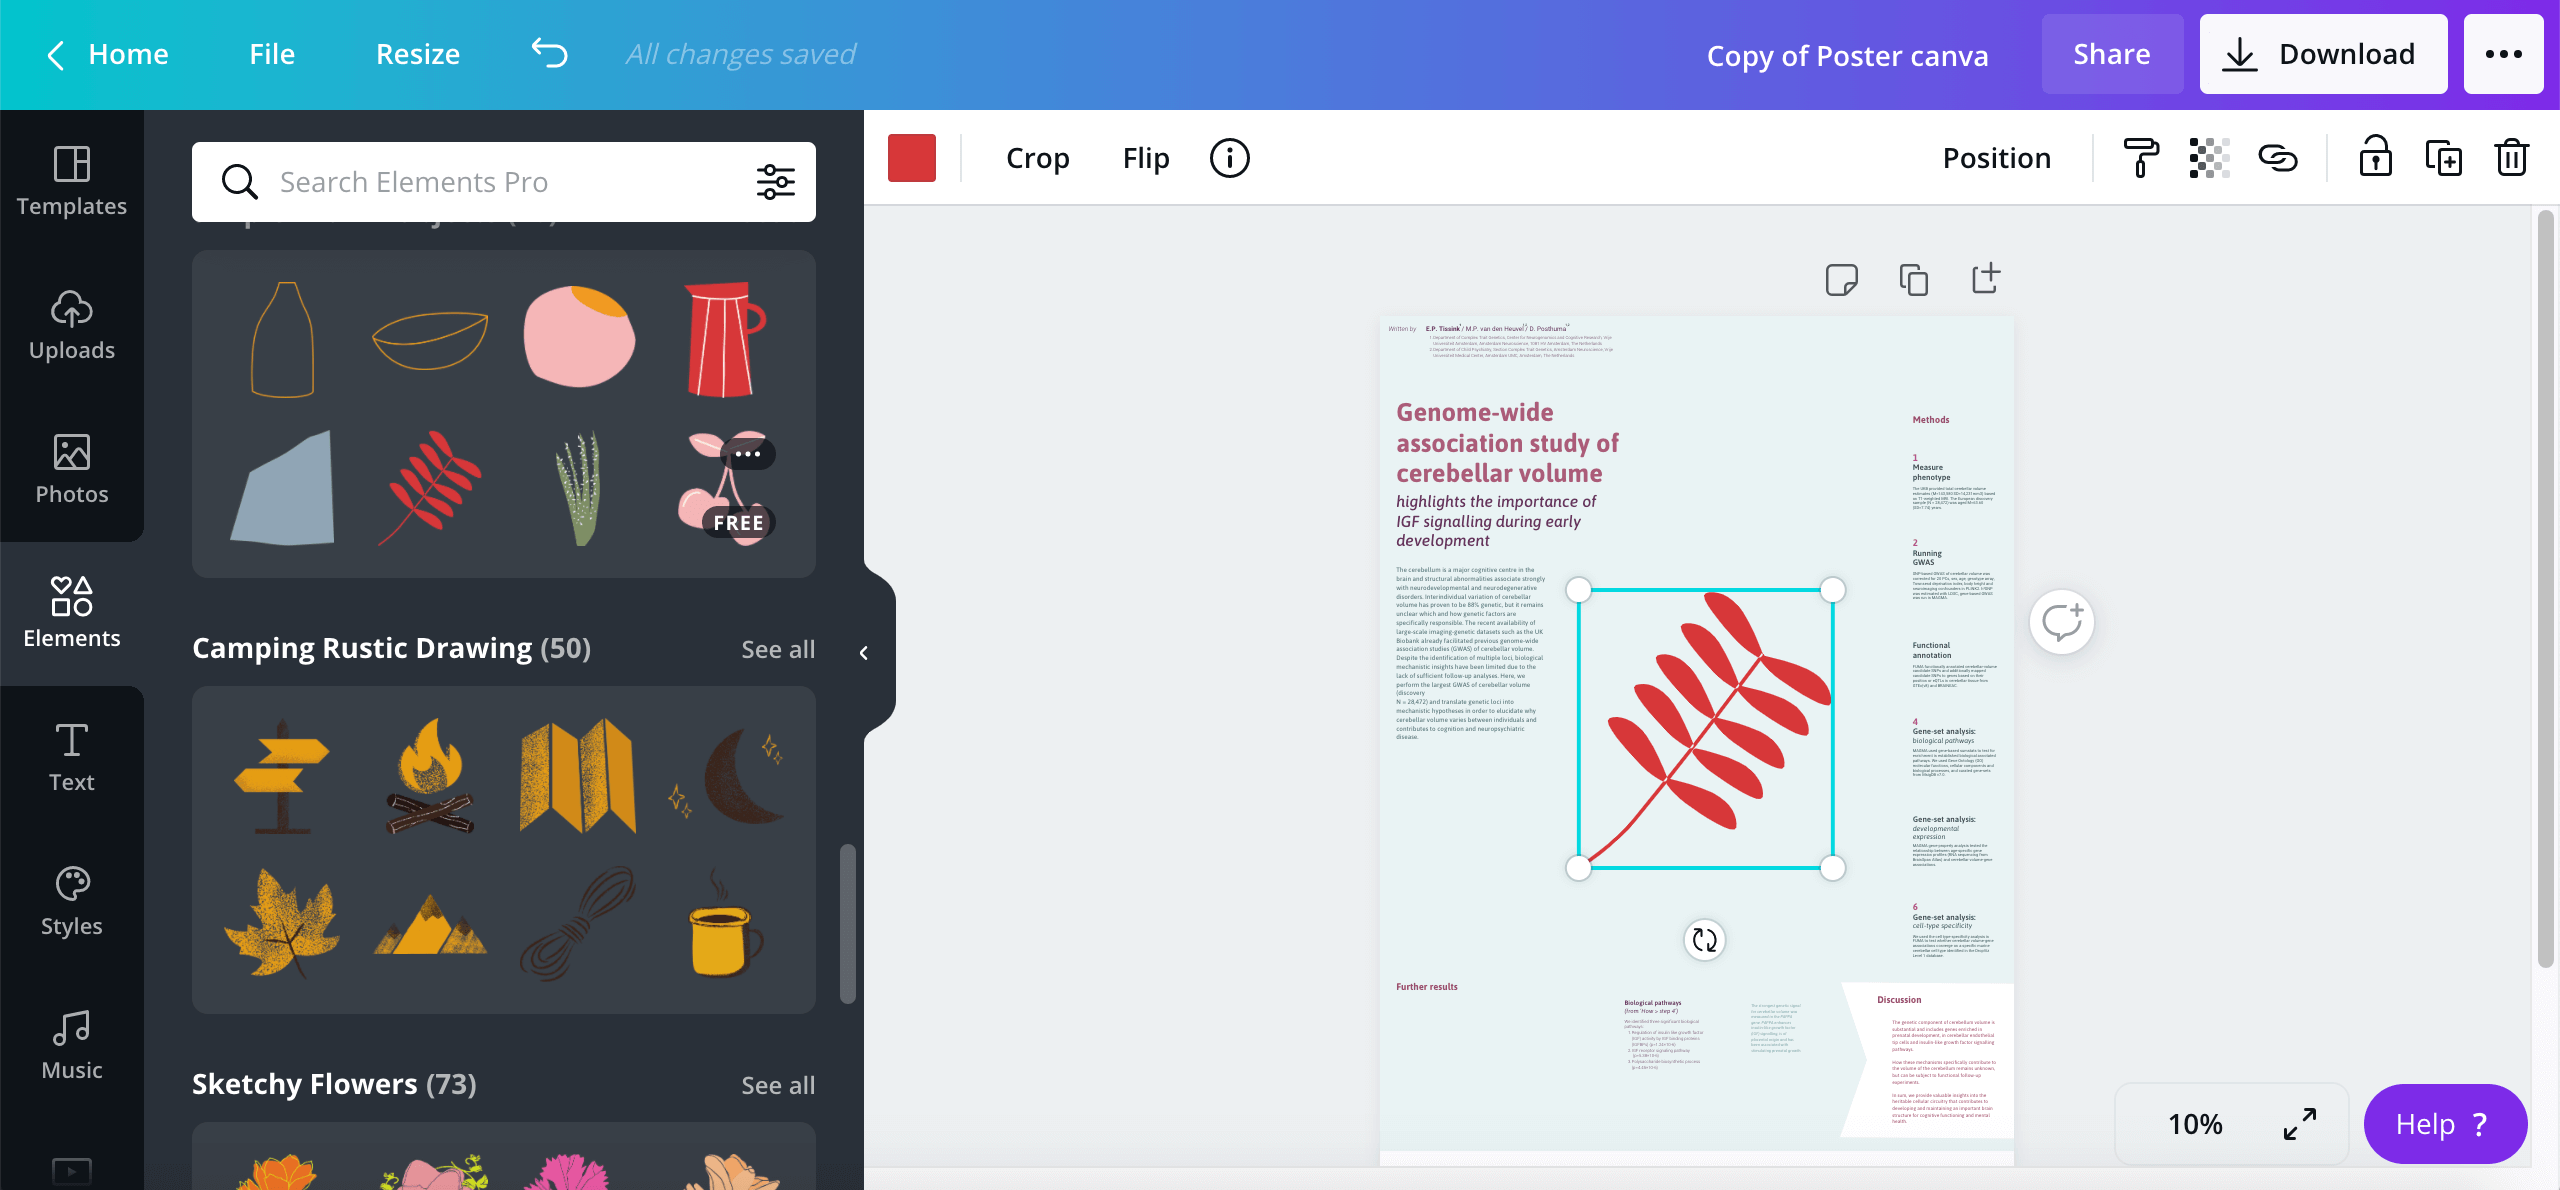
- Go to the left bar > Elements.
- Click on the shape, chart or image you want to add. It automatically is added in the poster design (image 1).
- Edit the element to your liking (image 2).
9. Add external images
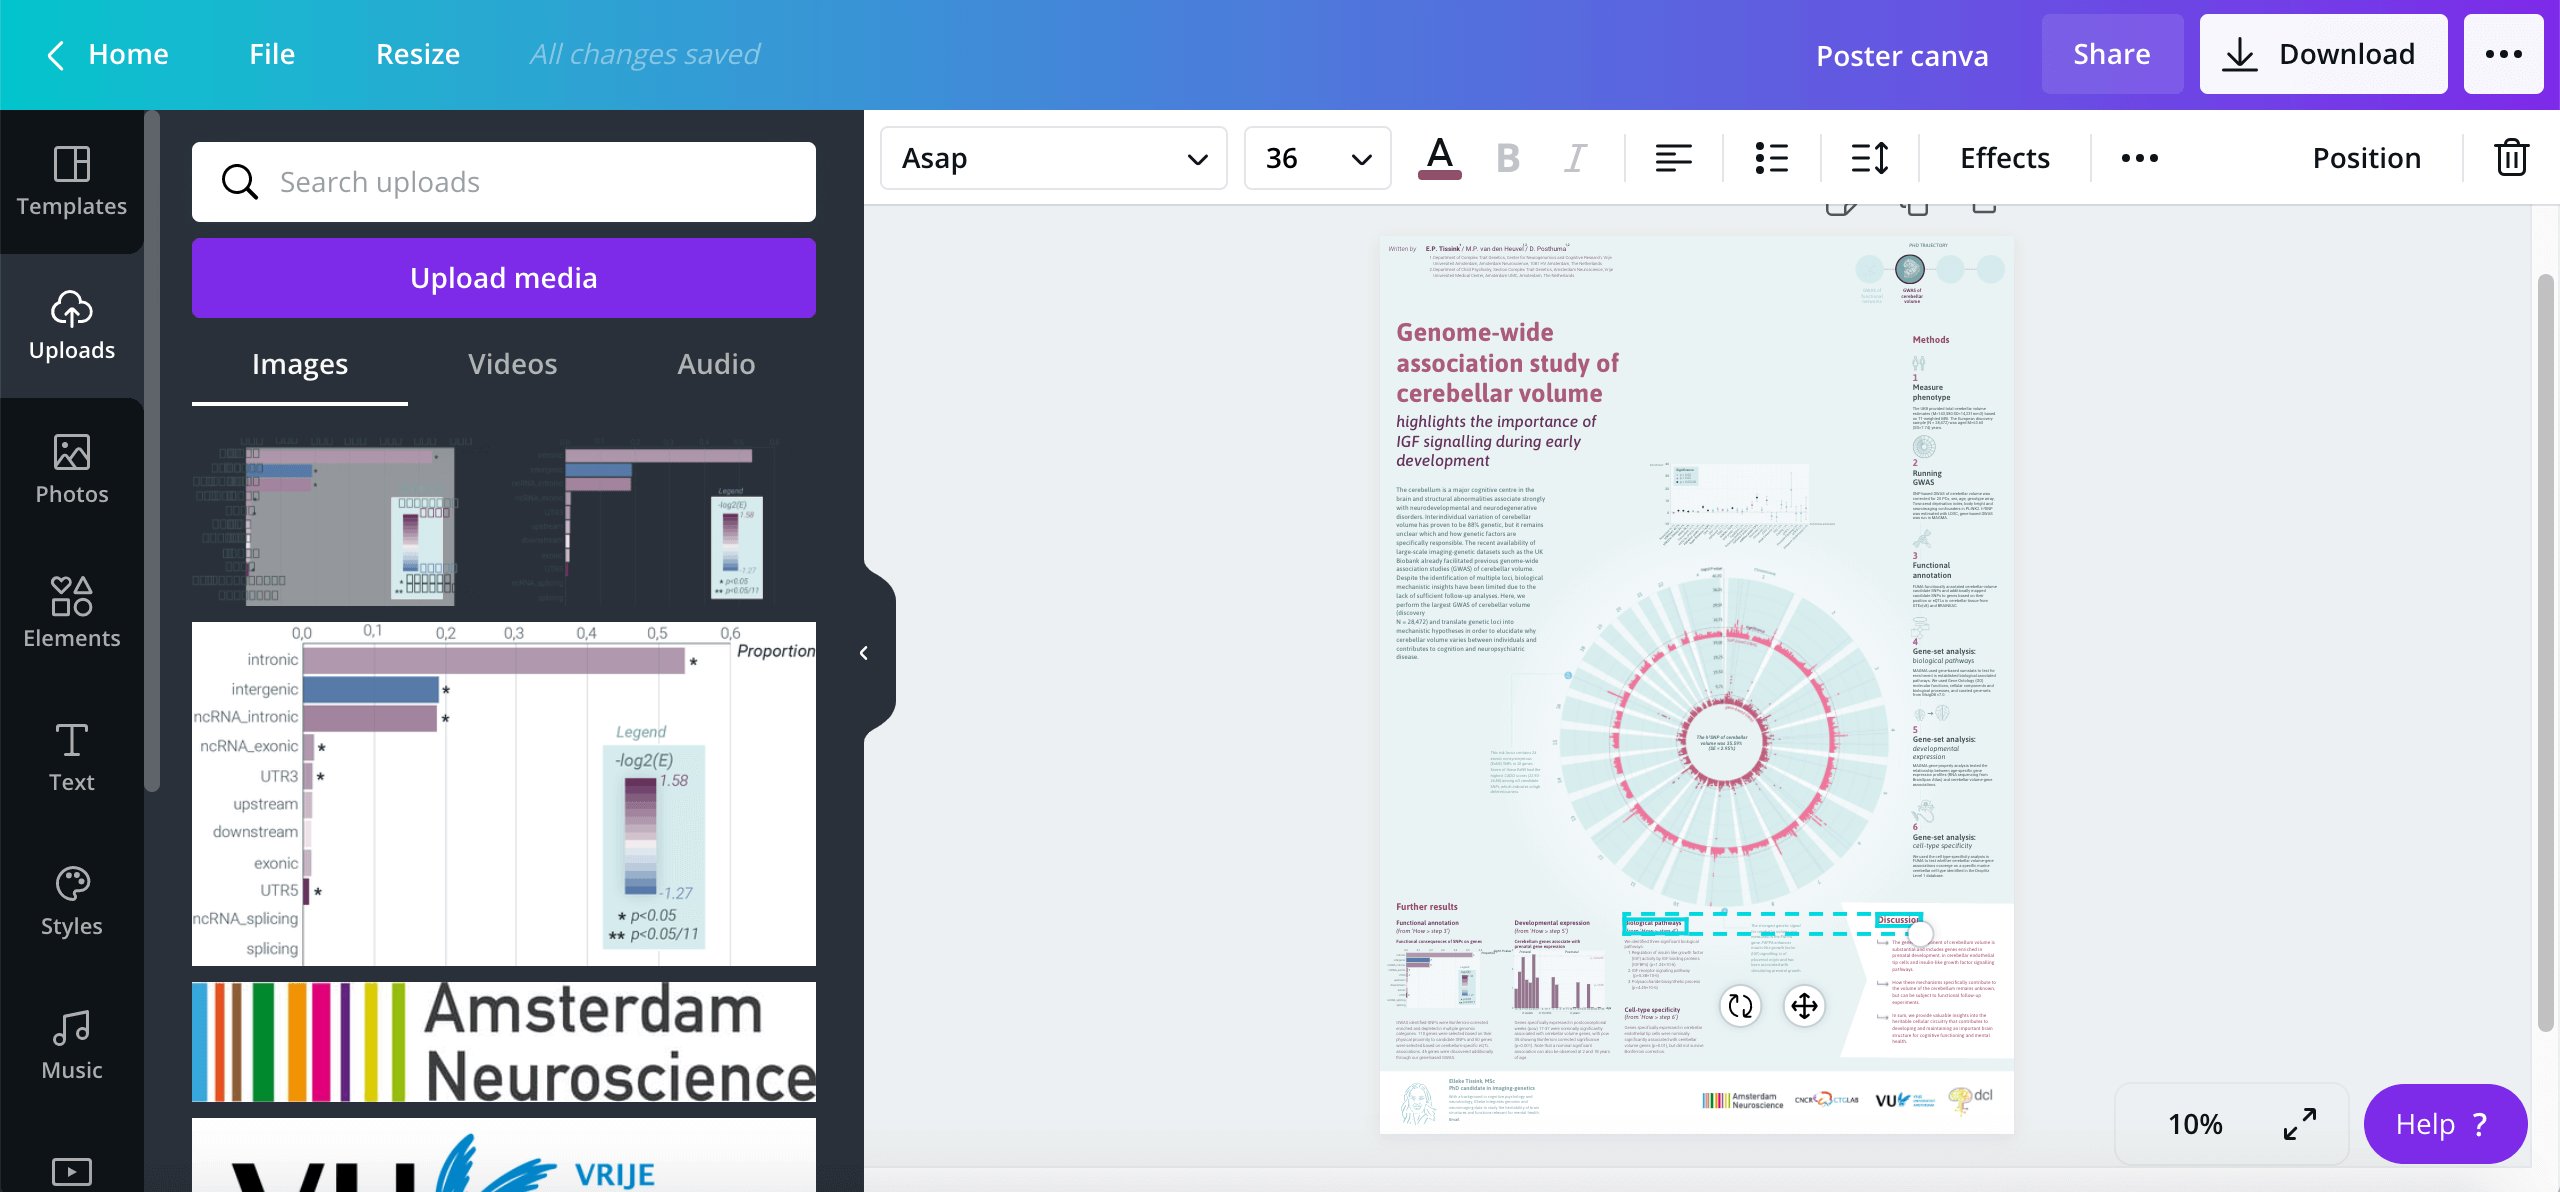

- If you want to add external images (that you didn't create in Canva), go in the left bar to Uploads (image 1).
- Click on ‘Upload media'.
- Select ‘Upload from Device' (image 2).
- Select the image you want to add and drag it into the page. Sometimes it’s bigger than you want, so you have to scale it (by dragging the handles of the image). This Canva function supports JPG, PNG, SVG (= vector)
10. Add your charts


- If you use charts on your poster, there is an option to make them in Canva. Keep in mind that these are chart templates, so they might not be suitable to show your data.
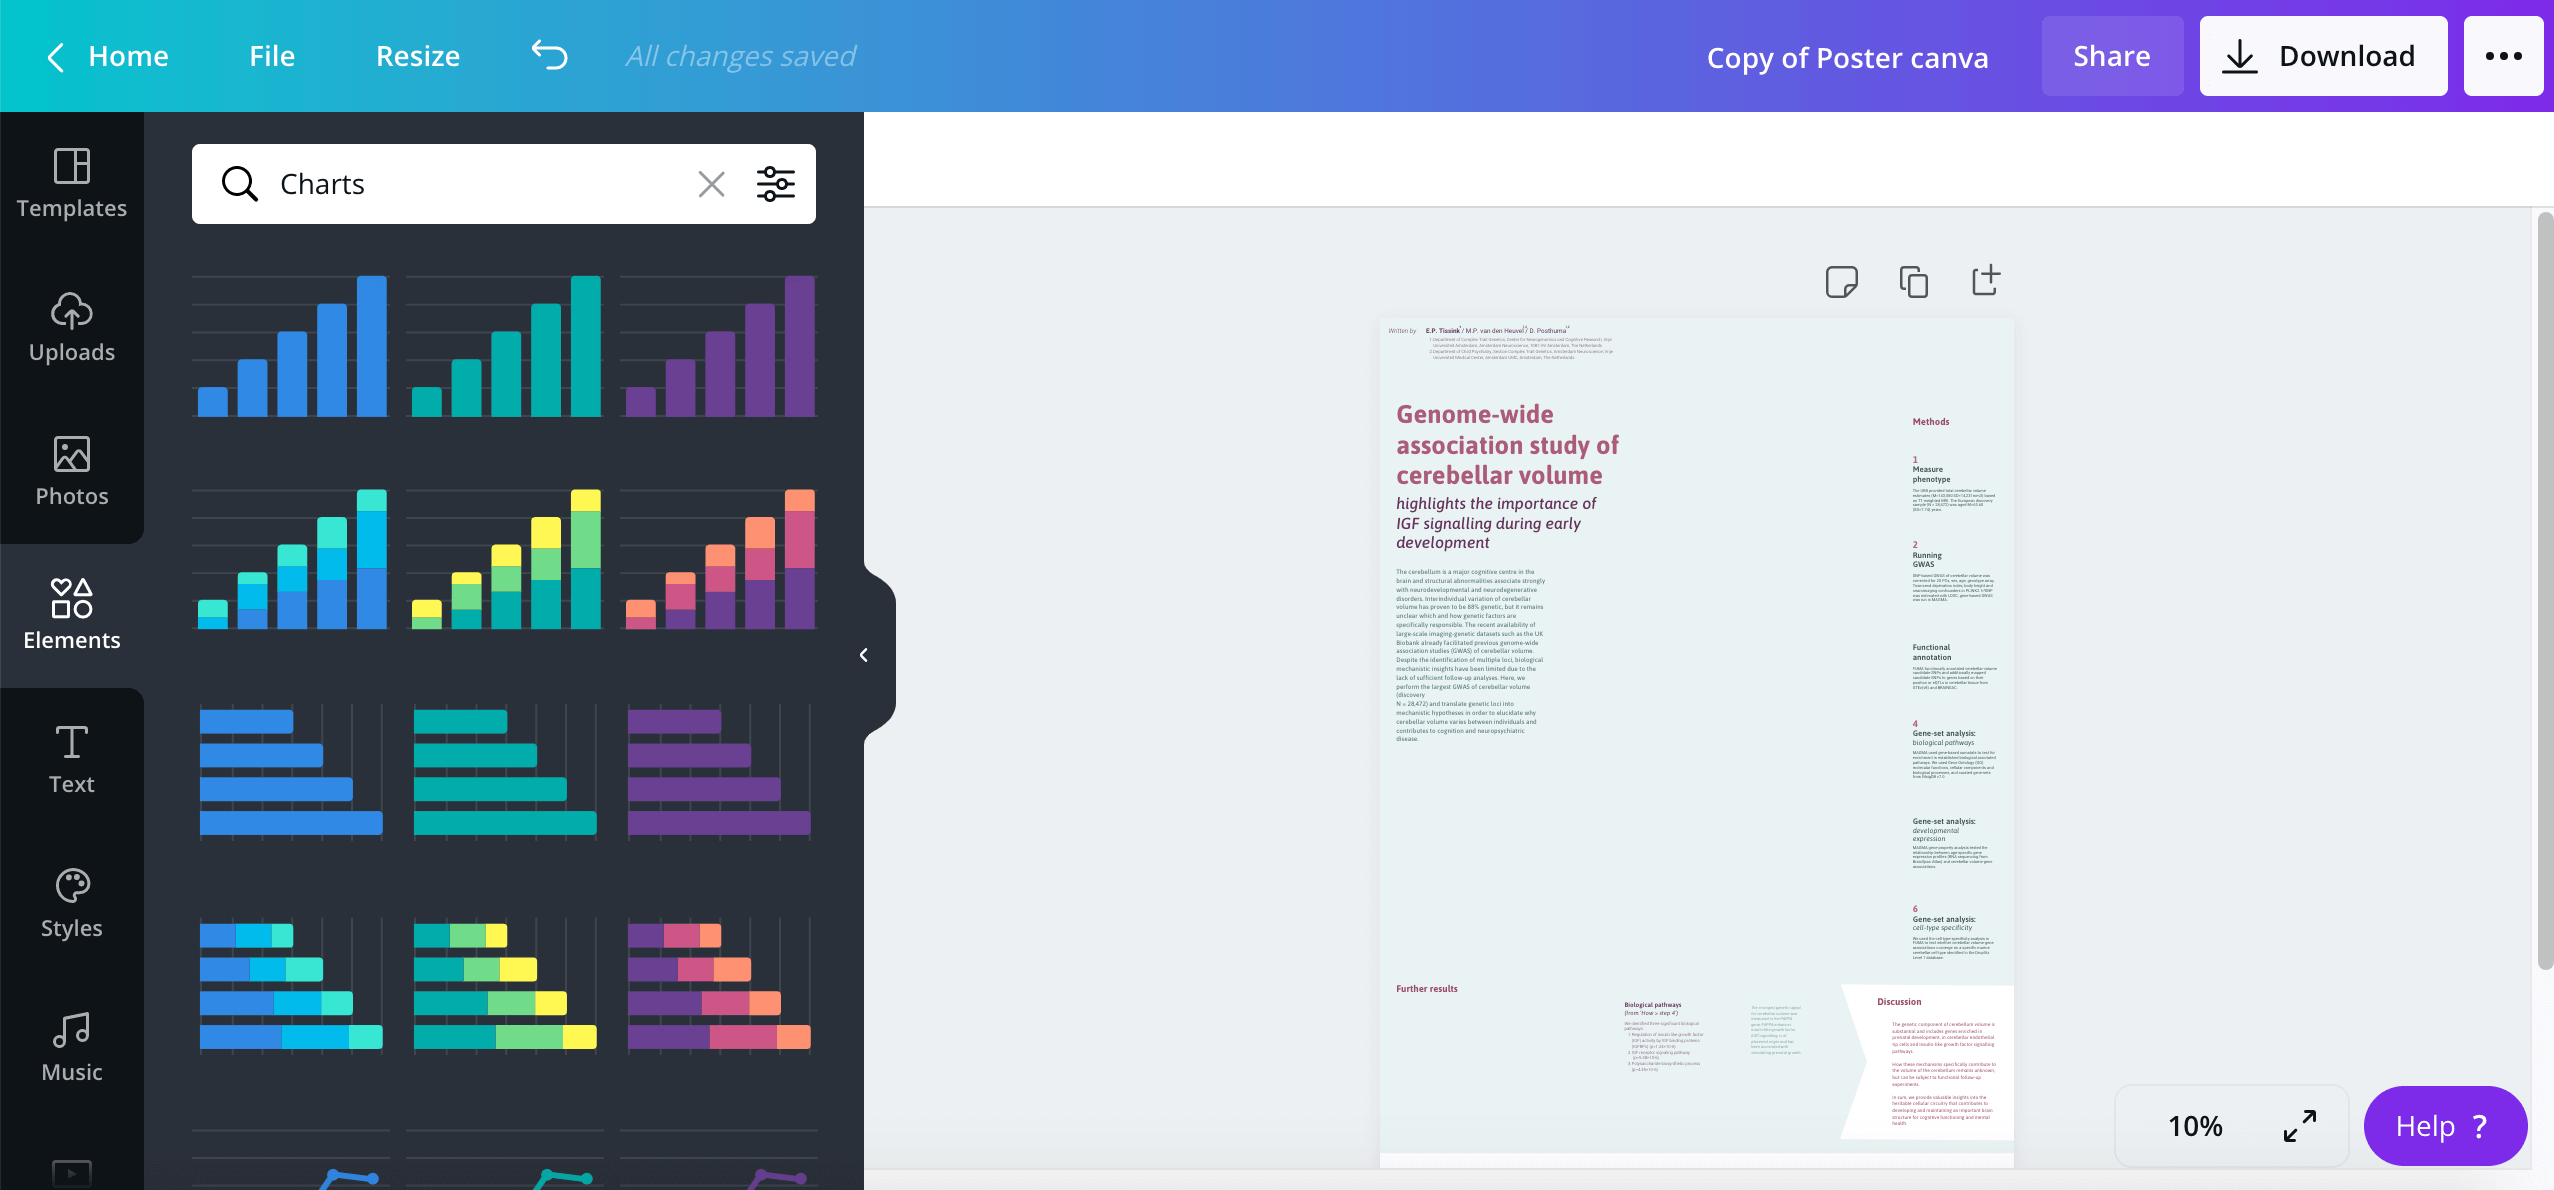
- Go in the left bar to 'Elements' (image 1).
- Click on 'Charts'. You now see all the chart types (image 2).
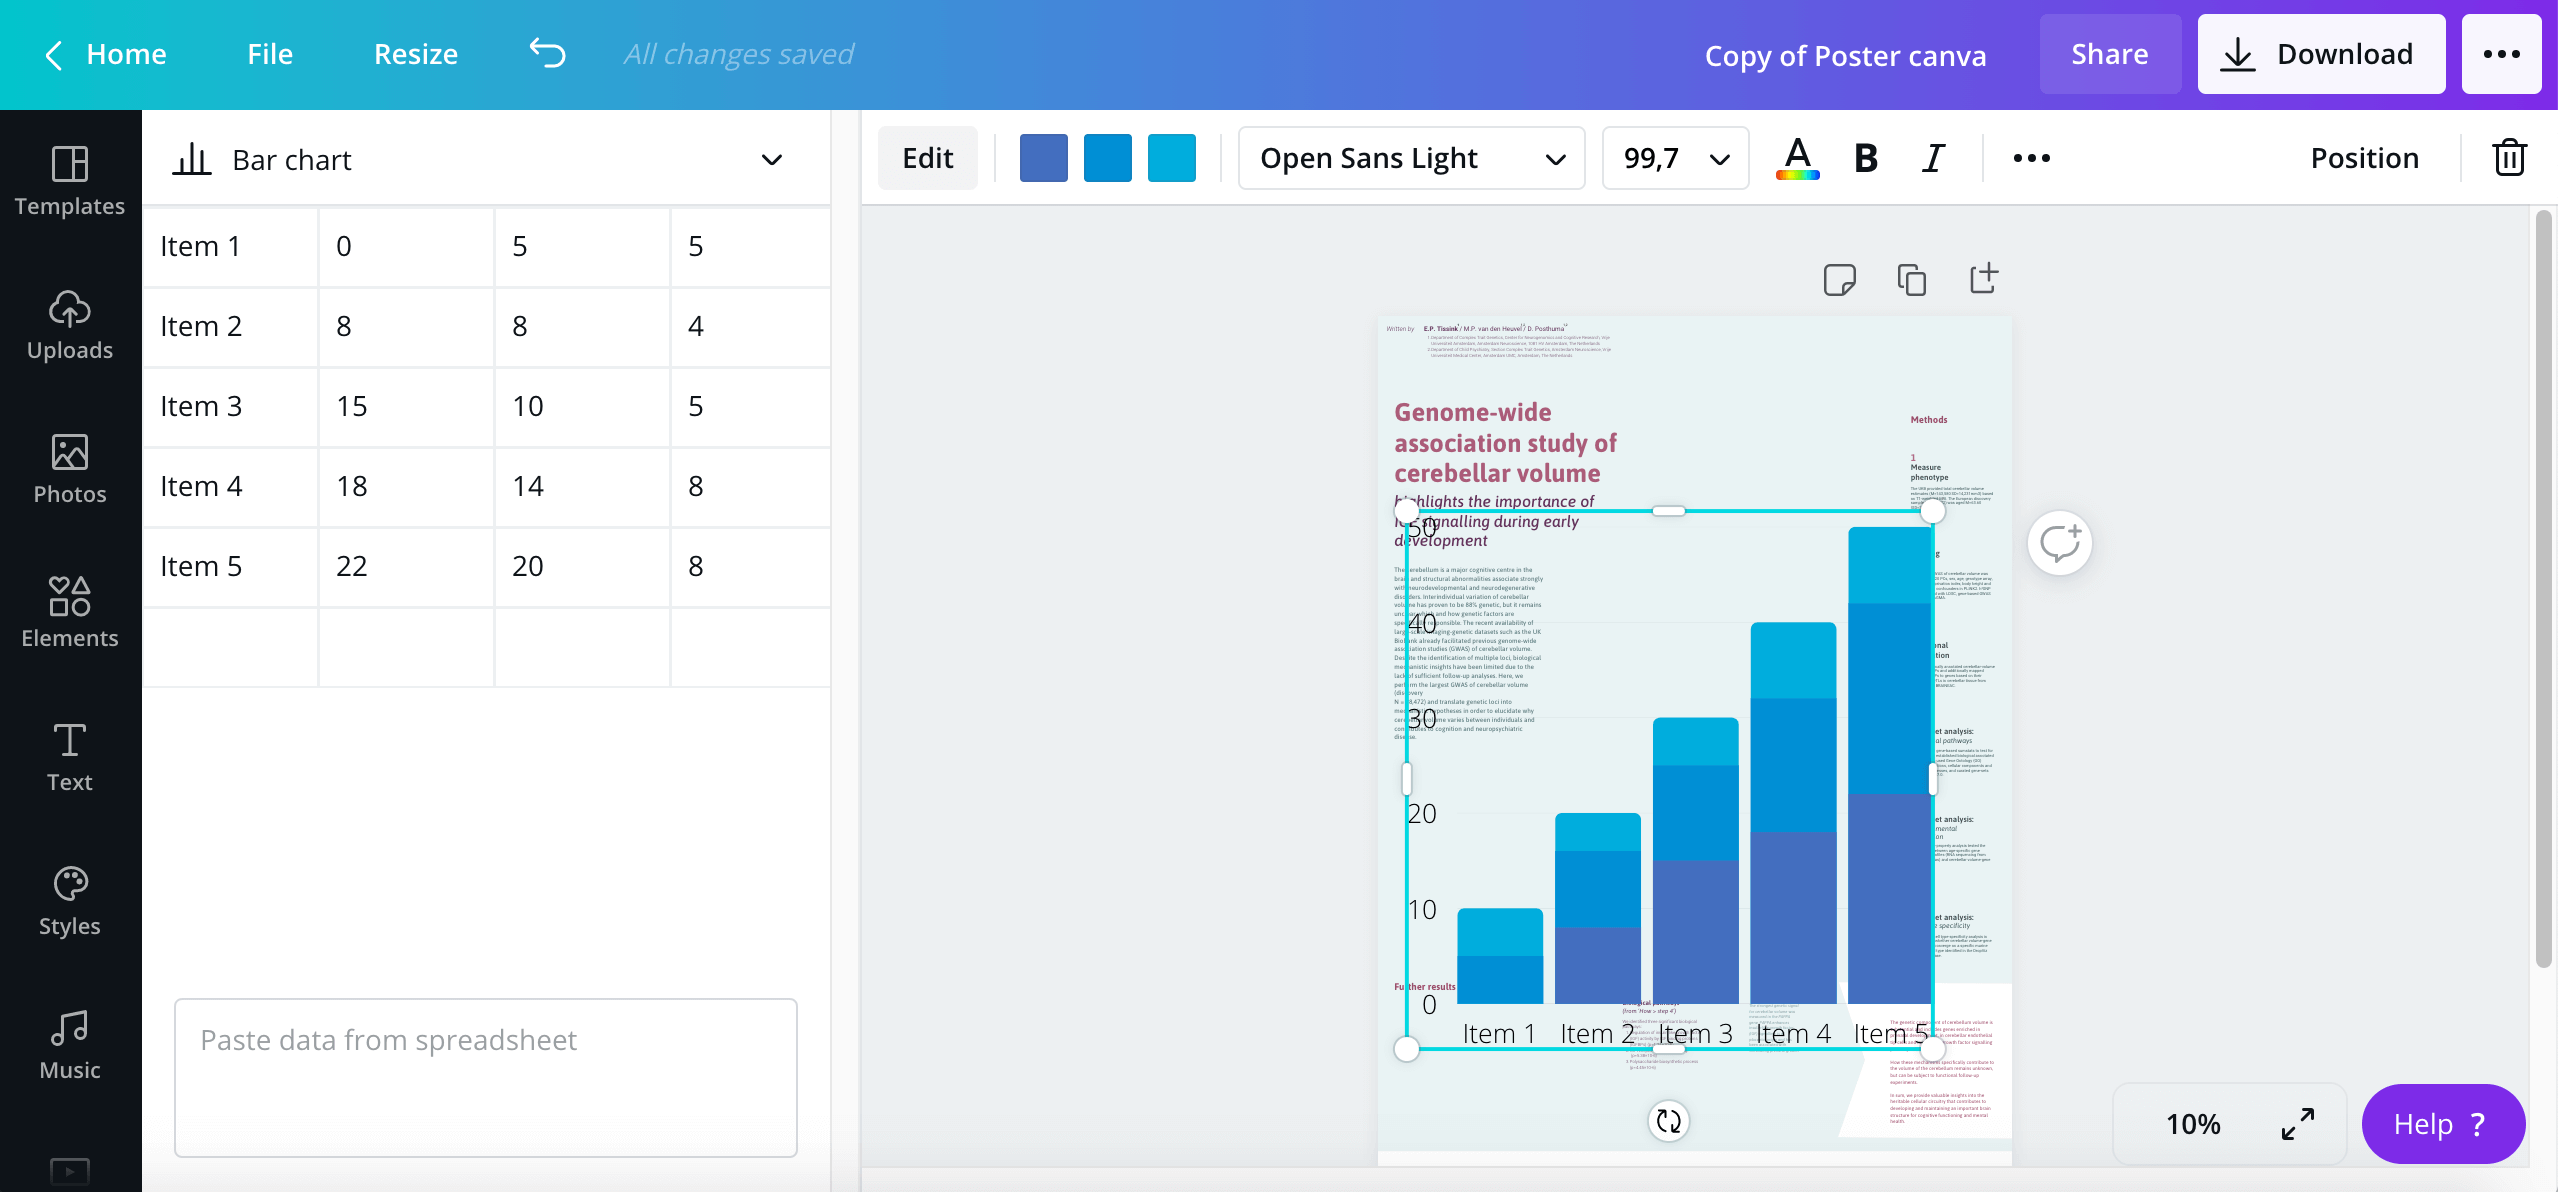
- Select the chart you want to add and edit. Once selected, the chart automatically appears on your poster (image 3).
- In the left bar you can add your own data.
- In the top bar, above the poster, you can edit the colours and the typography of the chart (image 4).
- Edit the chart to your liking, with the usage of your poster fonts and colour palette. Don't forget to give the chart a header. If you want to know more about designing a clear chart, read chapter 7 of the Science Poster Design Guide.
11. Export to PDF (including bleed)


- Go in the top bar to File > Show Print bleed (image 1).
- Make sure that the elements that are at the border of the poster, are large enough, so that they also cover the bleed area. If they are not, make them large enough.
- Go in the top bar to Download (image 2).
- Select in File type: ‘PDF Print’.
- Check ‘Crop marks and bleed' (image 3).
- Click on Download button.
You are done, congratulations with your science poster!